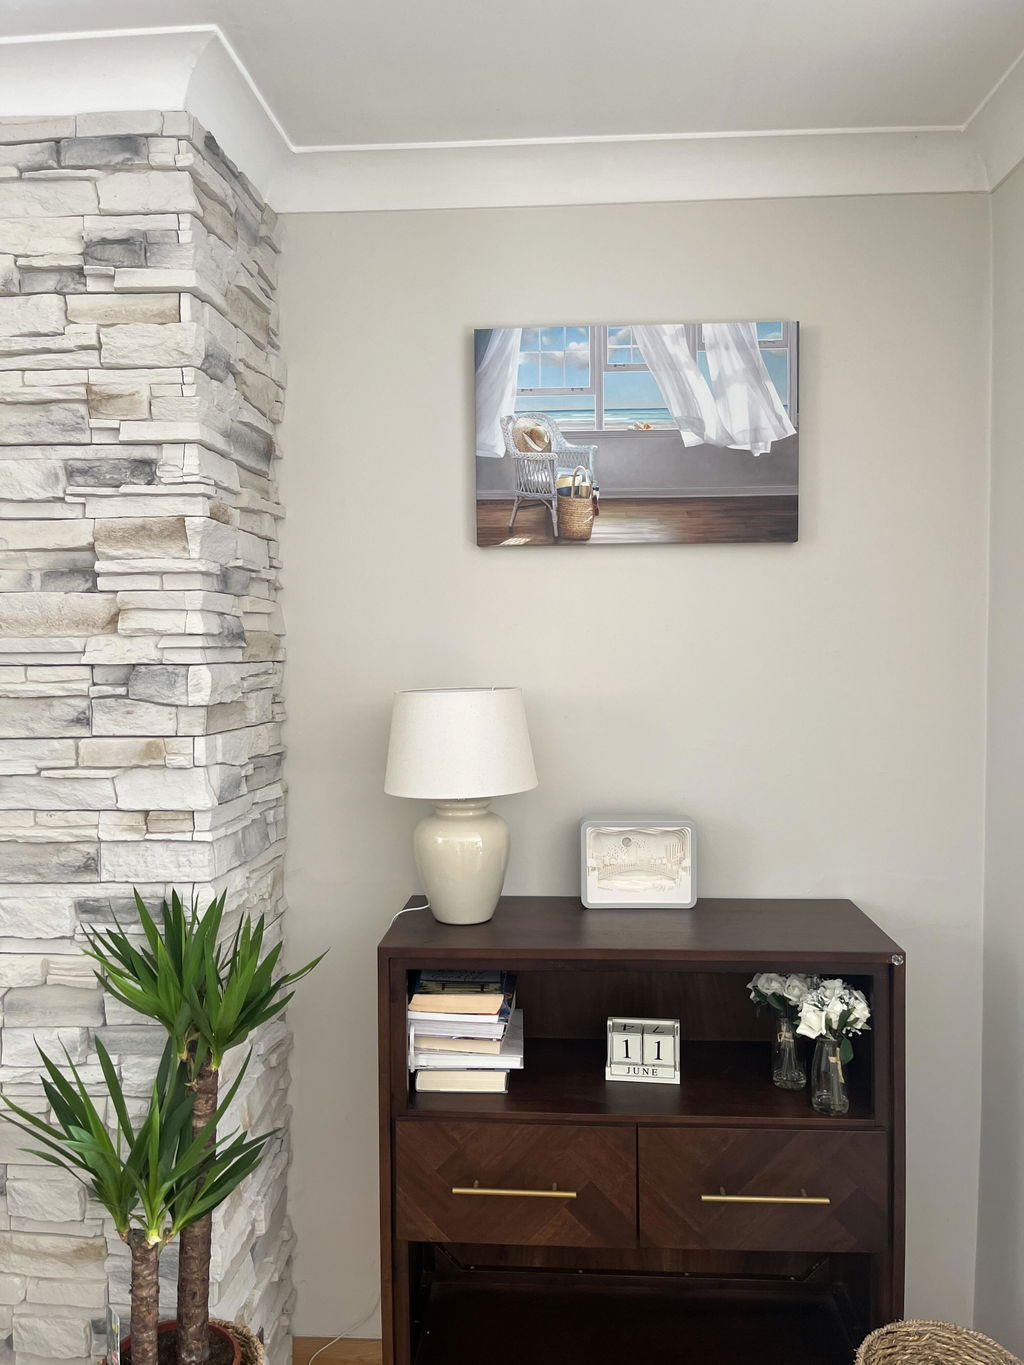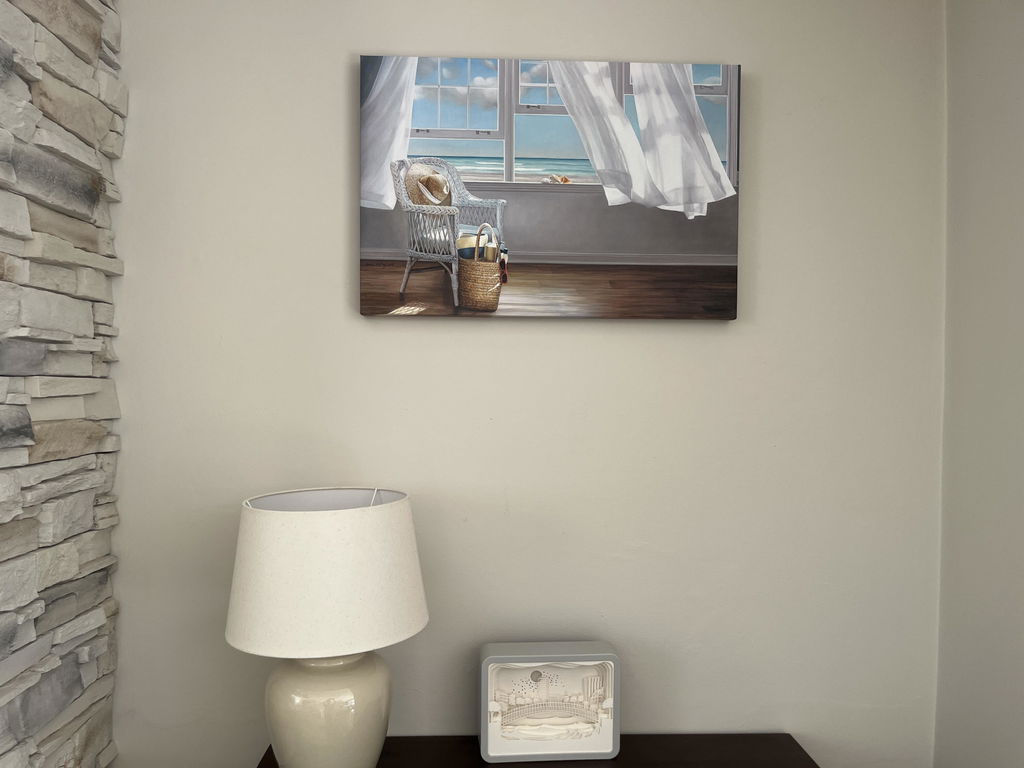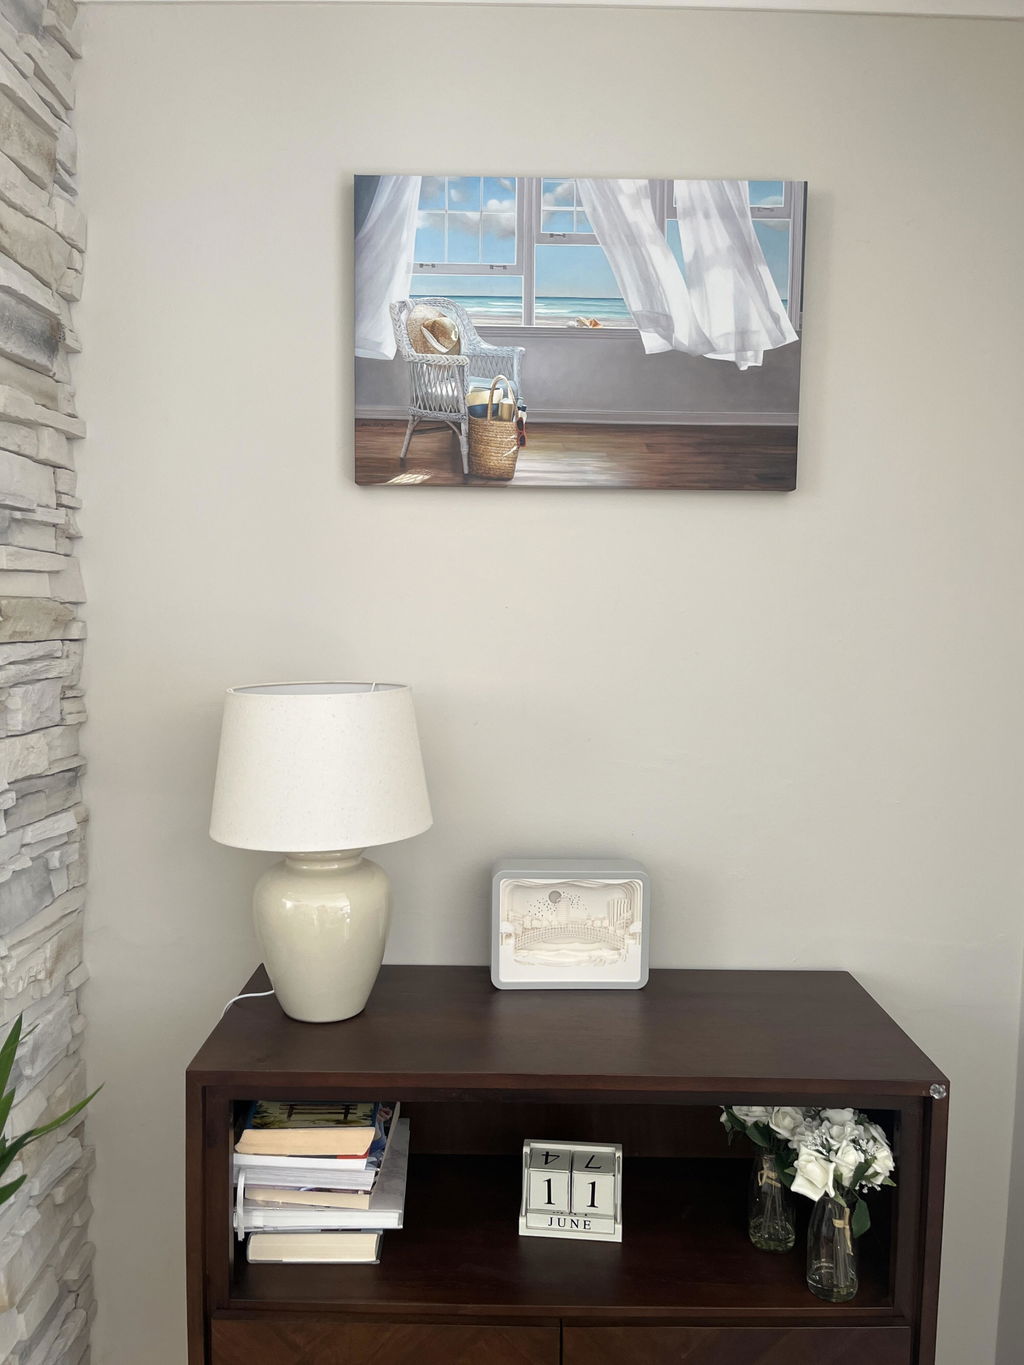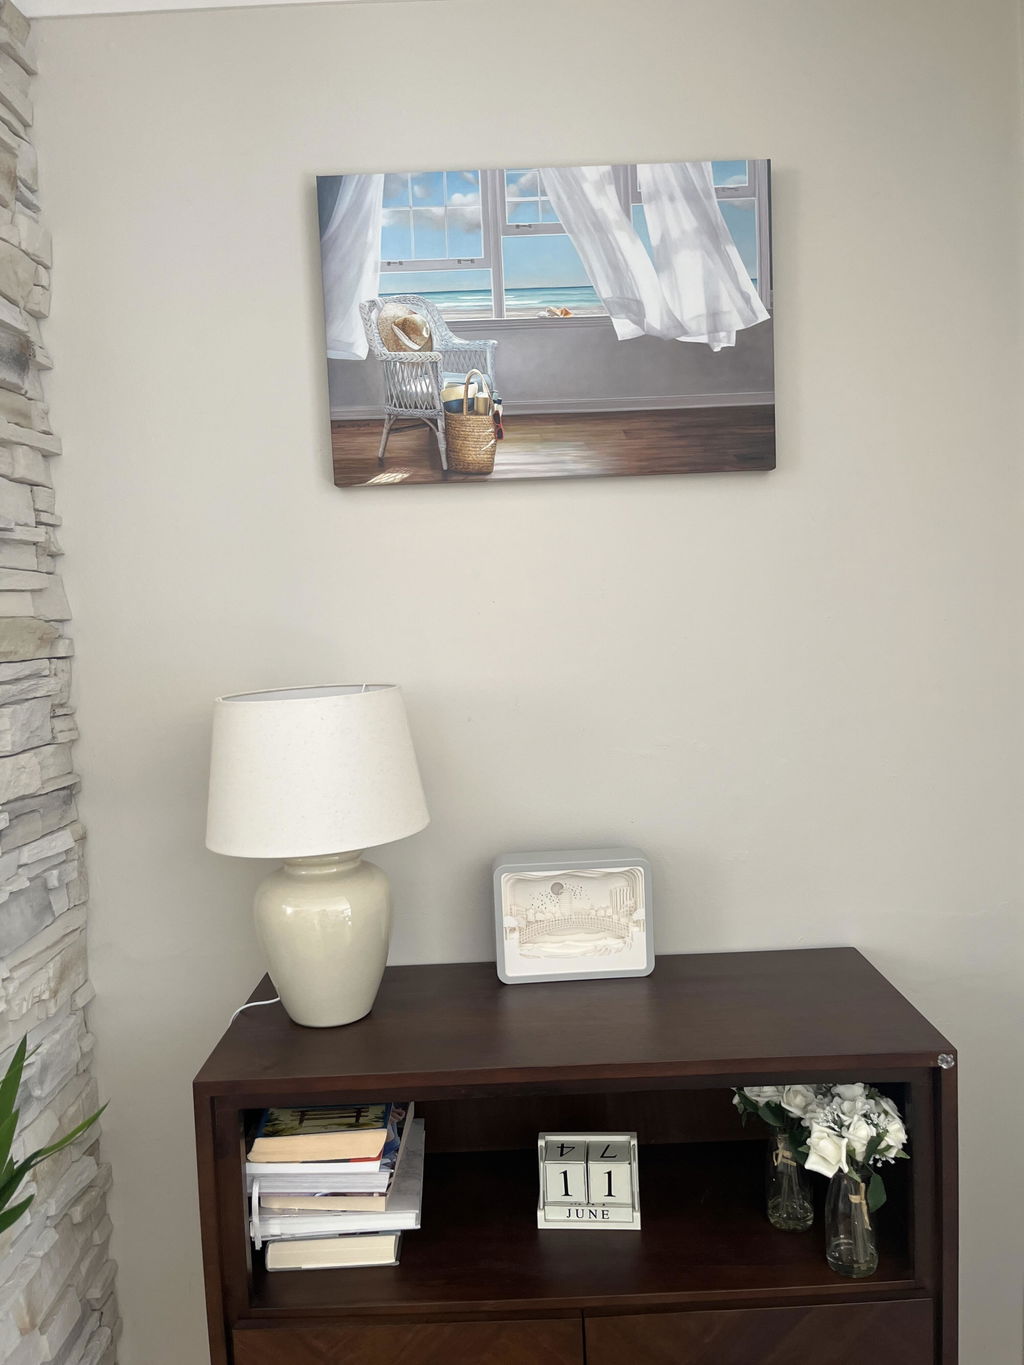

You're standing in a hallway with a phone in one hand and a tape measure in the other, staring at a blank wall that connects every room in the house. It looks simple at first, then the first question hits, how wide can art be before the corridor starts to feel crowded? That's the point where hallway wall art stops being generic décor and starts being a spatial planning decision.
The category is bigger than commonly assumed, which explains why the hallway keeps getting treated like leftover wall space. The broader wall art market is a multi-tens-of-billions category and still growing, with estimates ranging from USD 61.01 billion in 2025 to USD 66.89 billion in 2025, and projections extending into the 2030s in both major market studies (Fortune Business Insights). Wall art is already mainstream in homes too, with many consumers owning some form of it, so the hallway is often the last place where the room-to-room logic gets ignored (YouGov).
Table of Contents
- Why Hallways Deserve a Dedicated Art Strategy
- Measuring Your Hallway for the Right Artwork Size
- Planning Layouts That Avoid the Tunnel Effect
- Choosing Materials and Frames for Hallway Conditions
- Adapting Art Choices to Hallway Lighting Conditions
- Installing Hallway Art Without Common Mistakes
Why Hallways Deserve a Dedicated Art Strategy
A client once pointed to a long, white corridor and said, “Just put something there.” That usually means the wall has become an afterthought, a place for whatever print did not fit in the living room. Hallways do not behave like living rooms. They are narrower, more interrupted, and they are read while you are moving, not lingering.
The corridor is a visual connector, not a spare wall
Hallways link rooms, so the art has to respect that movement. A piece that feels right in a bedroom can feel too dense in a passage, especially when doorframes, light switches, and corners keep breaking the sight line. The goal is to create a rhythm rather than filling every inch.
Practical rule: in a hallway, negative space is not wasted space. It is what keeps the wall from turning into visual noise.
That is why hallway-specific planning matters. A strong art choice can make a dead stretch feel like a gallery moment, while a random cluster of frames makes the space feel busier, not better. The difference is not taste alone, it is proportion, spacing, and where the eye lands as you walk through. For a broader look at scale options, see these large wall art ideas before choosing pieces for a narrow passage.
A good hallway feels edited
The best corridors I have seen do not compete with the rooms on either side. They act like a calm transition with one clear idea repeated well. That might mean a single large work at the end of a corridor, a disciplined row of similar prints, or a small series that lets each wall section breathe.
Hallways also force trade-offs that open rooms do not. Tall art can help a tight corridor feel less compressed, but only if the width stays under control. A wide frame may look strong on its own and still overwhelm a passage once the doors start swinging and the wall breaks into short segments. The job is to choose art that works with the corridor's pace, its interruptions, and the amount of wall that is visible at one time.
Measuring Your Hallway for the Right Artwork Size

Begin by measuring the wall you have access to. Record the usable width at the narrowest point, then subtract the interruptions that affect hanging, including doorframes, switches, vents, radiators, and wall lights. If you skip that part, you end up sizing artwork for a wall that does not exist in daily use.
Convert corridor width into a workable art width
For narrow hallways, sizing has to protect circulation first. If the corridor is 80–100 cm wide, keep artwork around 40–60 cm wide. If the passage is under 80 cm, stay closer to 30–50 cm wide. That range helps the wall feel considered without making the walkway feel tighter, which matters just as much as appearance.
Portrait orientation usually fits these spaces better because the wall reads vertically while movement stays horizontal. Repeated pieces should stay the same size and sit on a consistent center line of 145–150 cm from the floor, with 15–20 cm spacing between pieces when you are building a run of similar works. For a useful visual reference on scale choices, see these large wall art ideas before you commit to a format.
Practical rule: in a long corridor, a few properly scaled pieces almost always work better than one oversized image that crowds the passage or several tiny ones that disappear as you walk past.
Use the wall zone, not just the print size
The other mistake is buying by image dimensions alone. Frame depth, matte borders, and nearby circulation space all affect how large a piece feels once it is on the wall. A hallway console that is 180 cm wide, for example, points to artwork about 108–135 cm wide when you follow the 60%–75% furniture-width benchmark, with the bottom edge set 6–8 inches above the furniture when there is furniture beneath it (Wallnora).
The same principle applies when you are choosing between vertical, horizontal, and square formats. Start with the wall zone, then decide which image shape fits it best. That keeps the art aligned with the actual architecture instead of forcing the architecture to accommodate the art.
Planning Layouts That Avoid the Tunnel Effect

The biggest hallway mistake is not choosing the wrong image, it's adding too many things. Every spare wall gets a frame, then the corridor starts to feel shorter and tighter than it is. The fix is to treat each stretch of wall as its own composition, not as a blank container that must be filled.
Break the hallway into segments
Doors, alcoves, switches, and radiators divide a hallway into visual chapters. That's useful, because each section can carry one clear idea instead of competing with the rest of the corridor. In practice, one strong piece per roughly 4 m of corridor length is a useful restraint, and in hallways under 100 cm wide, art should stay on one wall only to avoid a tunnel effect (Heva Unique Art Gallery).
That advice matters because hallway walls are rarely continuous. A composition that looks balanced on paper can fall apart once a door opens into it, or when a thermostat and light switch split the run of frames. Each section between interruptions should be measured and judged on its own. If the wall feels visually busy before the art goes up, it'll feel worse after.
Keep the composition readable in motion. A hallway is seen in passing, so the arrangement has to make sense in two seconds, not twenty.
Stop before the wall starts working against you
The common guides are right about size and height, but they often skip the harder question, how many pieces are too many? A useful rule is to leave enough negative space that the wall still feels like a wall, not a showroom grid. If a section starts to read as clutter from across the hall, stop adding frames.
For longer corridors, gallery walls can work, but only when the print sizes stay coherent and the spacing stays disciplined. Keep repeated pieces consistent in scale, and let the rhythm do the work. If you need layout help for a narrower strip or a longer run, this reference on how to arrange wall art is a practical companion, because hallway layouts fail fastest when symmetry is accidental rather than planned.
The video below is useful if you want to see how a composition reads in a real corridor rather than on a flat mockup.
Choosing Materials and Frames for Hallway Conditions
Hallways get more contact than most rooms. Bags brush the wall, elbows clip the frame edge, and doors swing close to whatever's hanging nearby. That means the frame and surface choice matter just as much as the image itself.
Low-profile frames usually win in tight circulation
Slim frames are the safest choice in narrow corridors because they reduce protrusion and keep the wall line clean. A deep, ornate frame can look impressive online, then feel bulky once it's in a passage. For tight spaces, visual weight should stay light, even when the art itself is bold.
Museum-quality prints and framed formats are especially useful here because hallway art gets viewed quickly. Fine detail still matters, but the image has to read clearly at a glance. Printano offers framed art prints, premium textured paper, and ready-to-hang formats in vertical, horizontal, and square orientations, which makes it easier to match the physical constraints of a corridor without forcing the artwork into the wrong shape.
Practical rule: choose the least protrusive format that still gives the piece enough presence. In a hall, depth is part of the design.
Compare the material choices against the wall
Canvas can work when you want a softer look and reduced glare, especially in a passage that catches light from nearby rooms. Paper prints are sharper and more precise, which helps when the hallway is seen in motion and the composition needs to read instantly. Framed prints add structure, but the frame should stay slim enough that it doesn't crowd the walkway.
If you're weighing natural finishes, this guide to natural wood frames is worth a look because wood changes the tone of a hallway fast. A warm frame can soften a severe corridor, while a darker or metal finish can sharpen a modern one. Pick the frame to support the architecture, not to fight it.
The material choice is also about maintenance. Hallways collect fingerprints faster than living rooms, so finishes that are easy to wipe down tend to hold up better over time. If you want a more tactile surface, the choice of canvas wall art can make sense in a passage where glare would otherwise be distracting.
Adapting Art Choices to Hallway Lighting Conditions
Many hallway art guides assume bright walls and even daylight, but real corridors are often the opposite. Some get only a ceiling fixture, some are shadowed between rooms, and some look fine at noon but disappear at night. That changes what works.
Contrast matters more when light is weak
In dim hallways, art with stronger contrast, lighter backgrounds, or higher visual clarity usually reads better than delicate, low-contrast imagery. A subtle print can be elegant in a living room and nearly invisible in a darker passage. That doesn't mean every corridor needs loud color. It means the image has to survive the light level it lives in.
Reflective framing can help too, as long as it's controlled. A little sheen catches available light and gives the wall more presence. Too much glare becomes a problem, especially under overhead fixtures, so the point is lift, not shine. A hallway that feels a bit shadowed often benefits from artwork that gives back some brightness instead of absorbing it.
Match the art to the lighting source
Overhead fixtures flatten some pieces and overstate others. Wall sconces create directional shadows that can deepen texture and make frames look more dimensional. Natural light from adjacent rooms can change the same artwork throughout the day, which is why a hallway needs to be judged in situ, not just on a screen.
The contrarian move is often the right one. In a dim passage, the most effective art is not always the quietest or most neutral. A lighter ground, a higher-contrast image, or a frame that reflects a bit of light can make the space feel more open because the wall stays legible. If you want to compare those choices with a wider product range, Printano's framed and textured-paper formats give you options that behave differently under changing light.
Installing Hallway Art Without Common Mistakes
A strong layout can still fail at installation. The pieces may look balanced on the floor, then end up too high on the wall, with spacing that drifts from one frame to the next, or a door that catches the edge every time it opens. These are practical mistakes, and they are easy to avoid with careful measurement and a steady install.
Lock the height and spacing before the first hole
Start by setting the center of the artwork around 145–150 cm from the floor, then keep the spacing consistent if you are hanging more than one piece. For a gallery rhythm, a gap of about 8–12 cm usually works well in many hallway settings because it keeps the group reading as one composition without turning the wall into a crowded strip. If the art sits above a console or credenza, keep the bottom edge 6–8 inches above the furniture surface and use the 60%–75% width rule to check the overall scale.
Hardware matters too. Heavier framed pieces need anchors matched to the wall type, and the frame depth has to stay within the corridor clearance. A hallway has little tolerance for sloppy measurements, especially compared with a larger room.
A practical hanging reference like perfectly level picture hanging helps because getting the piece level is only part of the job. The placement also has to hold up to daily traffic, tight turns, and quick changes in how the hallway is used. Careful measurement followed by swift execution gives the cleanest result.
Check the door swing and mark carefully
Before drilling, open every nearby door and watch where the arc lands. That simple check prevents the most frustrating hallway mistake, hanging a frame where a handle clips it on day one. Mark the points lightly, step back, and verify the center line against the surrounding wall sections, not just the measuring tape.
For a clear method, this guide on how to hang wall art works well alongside the kind of hallway planning that rewards precision. The wall should feel calm once it is finished, and that usually means the install was measured with care before the drill came out.
A small corridor often needs each segment treated as its own composition. One wall may hold a single work cleanly, while the next wall needs tighter spacing or a smaller frame to avoid crowding the passage. That adjustment is what keeps the hallway readable instead of overfilled.