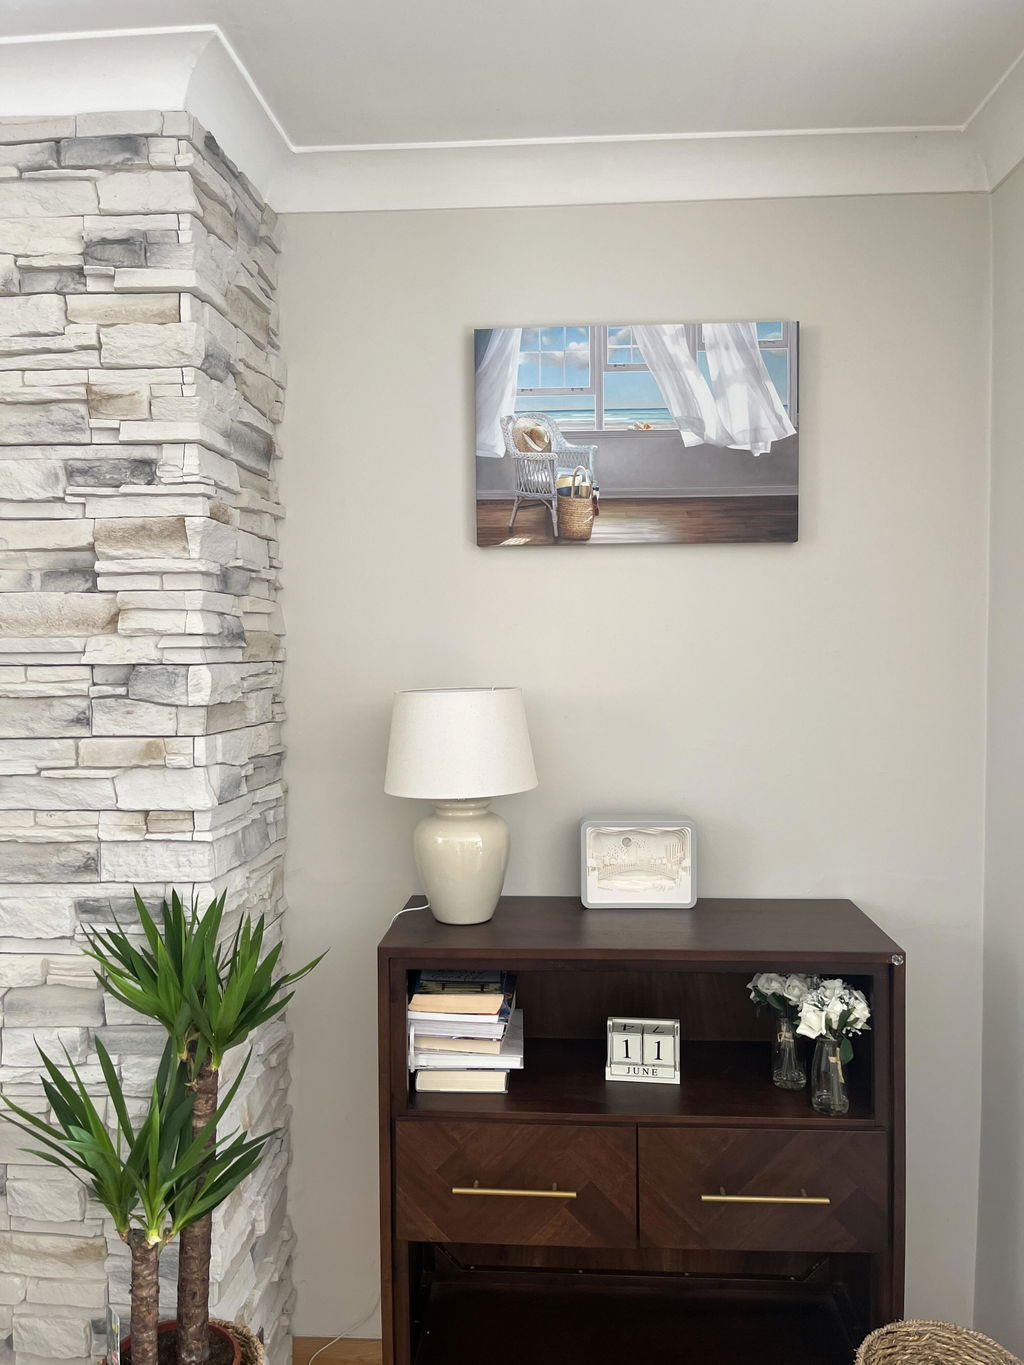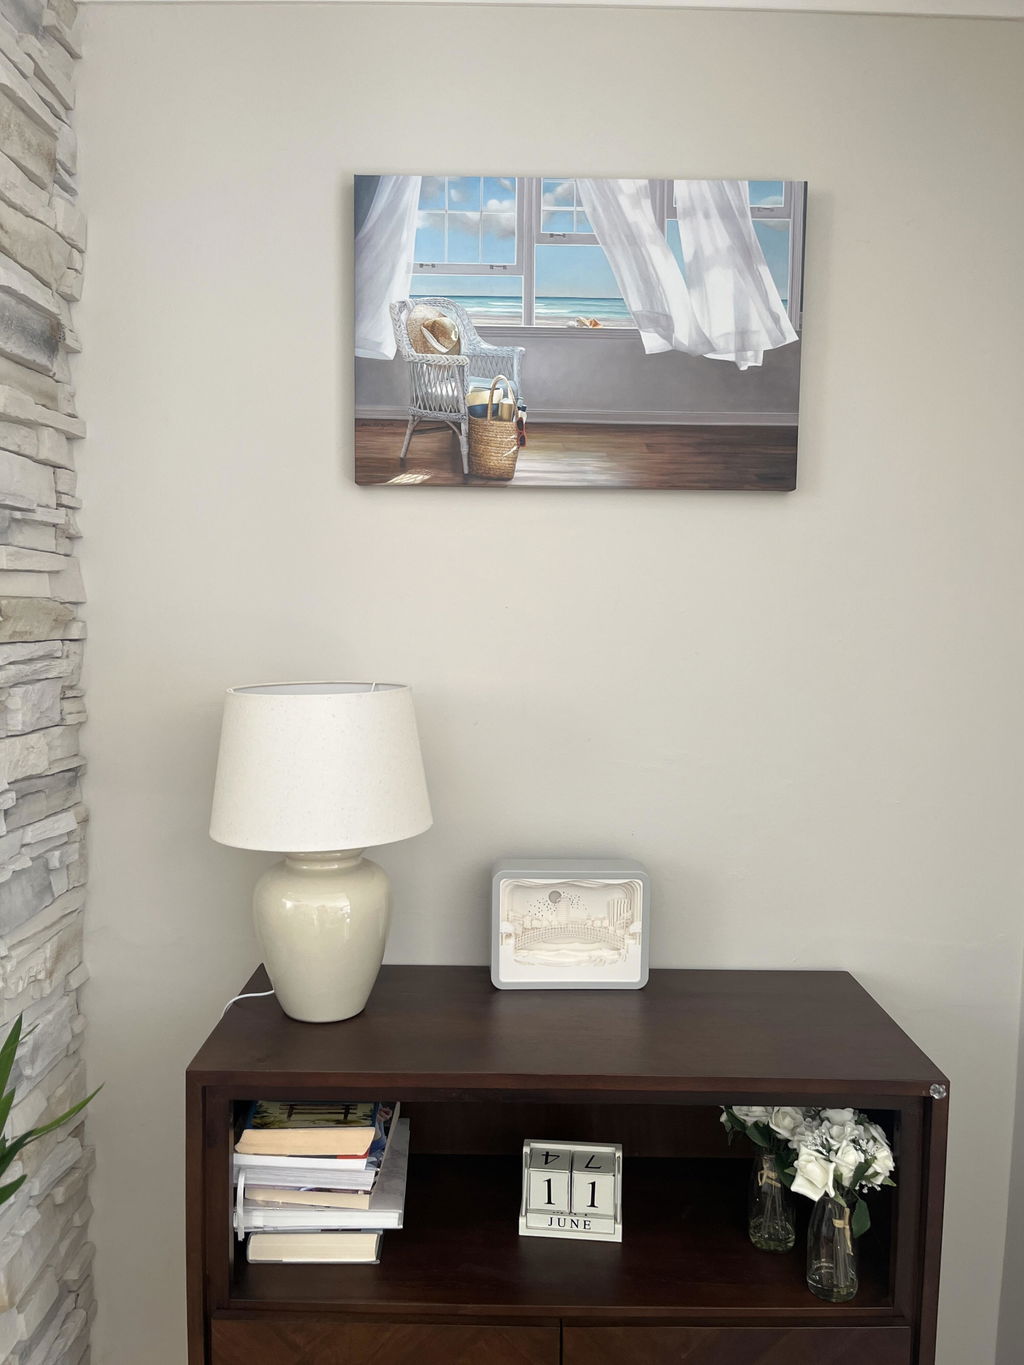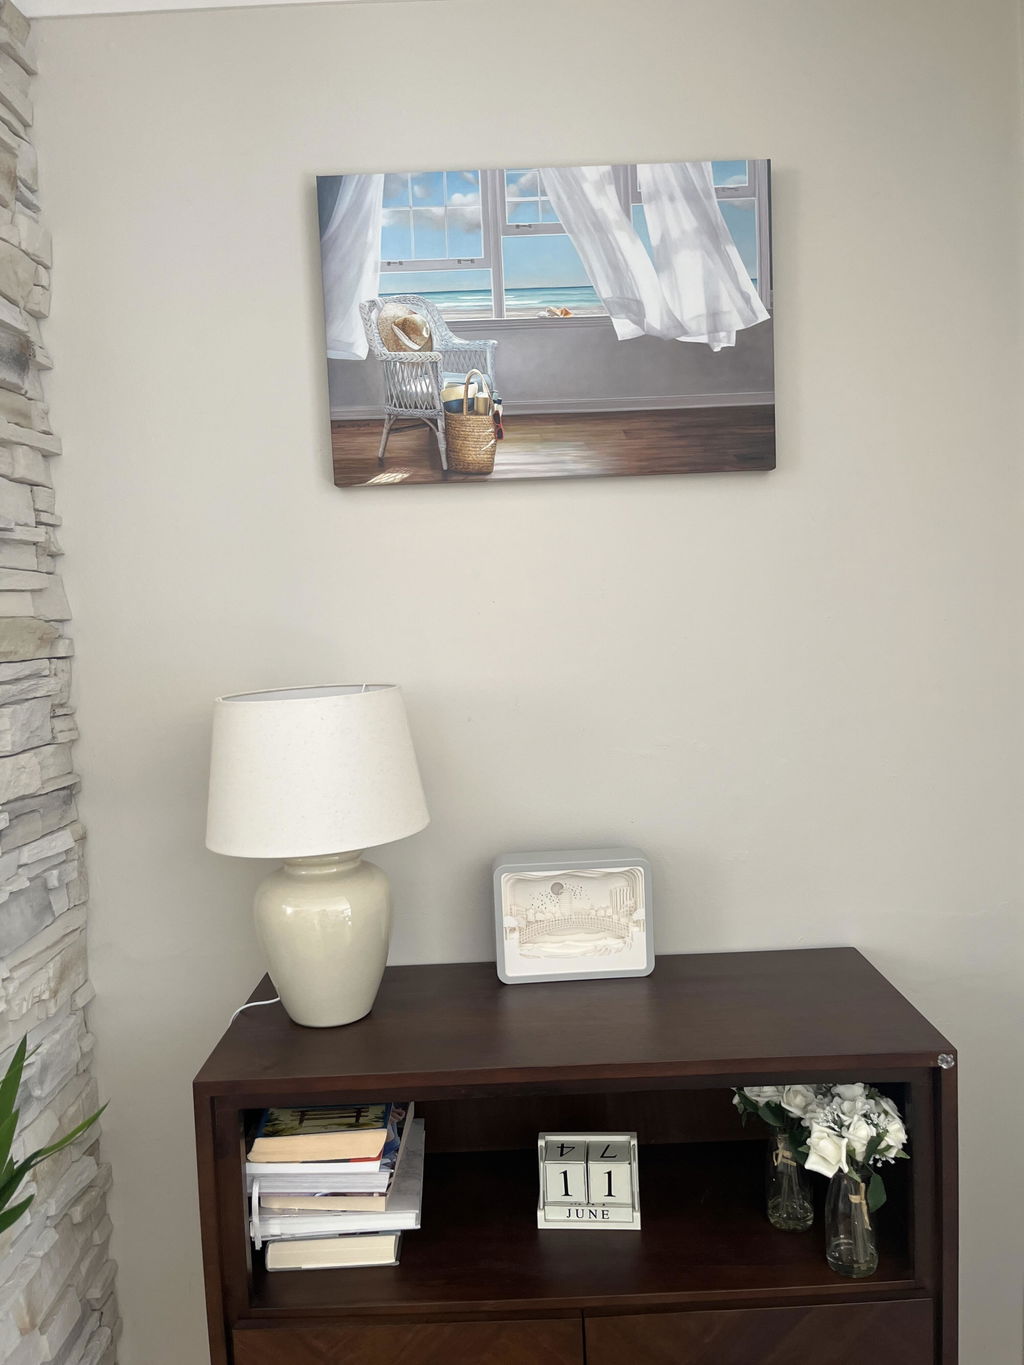

You finally find the print. The colors are right, the subject feels personal, the frame looks perfect, and then you get home and freeze in front of the wall.
That pause is normal. The struggle is typically not about taste; it's about placement. A blank wall can feel high-stakes because one nail hole in the wrong spot turns a simple decorating job into patching, repainting, and second-guessing.
The good news is that learning how to arrange wall art isn't about having a mysterious designer instinct. It's about using a few dependable rules, understanding why they work, and then adjusting them for the room in front of you. A narrow hallway needs a different approach than a tall stairwell. A long sofa wall asks different questions than a bed wall. Once you know what to look for, the decisions get much easier.
If your wall is especially large and you're trying to avoid a tiny-art-on-a-huge-wall mistake, these large wall art ideas can help you think in terms of scale before you hang anything.
Table of Contents
- From Blank Wall to Beautiful Display
- The Three Golden Rules of Wall Art Placement
- Find Your Perfect Layout Template
- Choose the Right Scale and Frame
- Gather Your Tools for a Flawless Installation
- Solve Tricky Spots and Style Like a Pro
- Frequently Asked Questions About Arranging Art
From Blank Wall to Beautiful Display
A lot of beautiful rooms start the same way. One framed print is leaning against the sofa, the measuring tape is on the coffee table, and someone is standing back saying, "Maybe it's too high. Or too small. Or maybe it should go in the bedroom."
That hesitation usually has nothing to do with the artwork itself. It comes from not having a placement system. Once you stop treating the wall as a giant mystery and start treating it like a set of proportions, the room gets easier to read. You can look at a wall and decide whether it needs one strong focal piece, a balanced pair, or a grouped arrangement that fills the shape of the space.

The biggest shift is this. Don't start with the nail. Start with the relationship between the art, the wall, and the furniture nearby. A piece over a console should feel anchored to that console. A gallery wall in a hallway should match the rhythm of how you move through the space. Art in a bedroom should settle the room rather than feel like it's hovering up near the ceiling.
I've seen people fix a room without buying a single new piece, by lowering what they already had and grouping it more intentionally. That's why wall art placement is so powerful. It changes how the whole room feels.
The Three Golden Rules of Wall Art Placement
Some decorating advice is flexible. Fabric choices are flexible. Frame finish is flexible. Wall art placement has a few rules that are much less negotiable because they're grounded in how people look at a room.

Start with eye level, not guesswork
The most reliable starting point is the 57 to 60 inch eye-level standard. The center of a single artwork, or the visual center of a grouped arrangement, should land at 57 to 60 inches from the floor. That standard comes from museum practice, where curators set work at the average human eye level for standing adults, as explained in this guide on museum-based art hanging standards.
Practical rule: If you're hanging one piece on an open wall, place the center first. Most bad art placement starts with the top edge.
This is why so much art looks "off" when you walk into a room. It isn't always the art. It's often that the piece was hung with too much empty wall below it. People tend to overestimate how high art belongs, especially in rooms with tall ceilings.
Connect the art to the furniture
When art hangs above a sofa, bed, sideboard, or console, the furniture changes the equation. In that case, the piece shouldn't float in the middle of the wall by itself. It should visually belong to the object below it.
Keep the bottom edge of the frame about 6 to 8 inches above the furniture so the two elements read as one composition.
That gap is one of the most useful design moves in a home. It closes the visual distance and makes the room feel intentional. If the artwork drifts too far upward, the furniture and art stop talking to each other.
A second practical point matters here too. When you're hanging over furniture, the width of the art should usually feel substantial enough to hold the wall. A tiny piece over a long sofa almost always looks accidental. A piece that spans a healthy portion of the furniture width usually looks considered.
Treat groups as one composition
Gallery walls work when you stop thinking about each frame as a separate event. The full cluster needs one outer shape and one visual center.
That means your spacing should be consistent and your arrangement should have a clear boundary. If one piece is stranded far from the rest, the grouping falls apart. If every frame is tightly considered, even a mixed collection can look calm.
A useful way to plan grouped art is to decide which feeling you want first.
| Arrangement type | Best for | What usually goes wrong |
|---|---|---|
| Tight grouping | Smaller rooms, intimate walls, reading nooks | Pieces get too crowded if frames are bulky |
| Moderate spacing | Living rooms, bedrooms, entry walls | Inconsistent gaps make the layout look messy |
| Looser grouping | Large rooms viewed from farther away | The collection can lose cohesion if spread too far |
If you're learning how to arrange wall art, these three rules will carry most of the load. Eye level sets comfort. The furniture gap creates connection. Group logic creates order.
Find Your Perfect Layout Template
Choosing the layout is often the moment when the project stops feeling abstract. Once you can name the pattern, you can build it. Most walls don't need endless experimentation. They need the right template.

Five layouts that solve different problems
Here are the arrangements I return to most often.
Single statement piece
Use this when the artwork is strong enough to carry the wall on its own. It's excellent over a console, bed, or fireplace, especially when the room already has enough visual activity from textiles, lighting, or architectural details.
Balanced pair
Two pieces hung side by side create calm symmetry without looking stiff. This works beautifully over nightstands, dining room buffets, or a modest sofa where one oversized piece might feel heavy.
Grid layout
A grid works when you want order. Same-size frames, aligned edges, and repeated spacing give the room a cleaner architectural feeling. Home offices, hallways, and modern dining spaces respond especially well to this.
Eclectic gallery wall
This is the most personal layout. Different sizes, orientations, and subjects can coexist as long as the spacing is disciplined and the outer silhouette feels intentional. If you're building a collection slowly, this format gives you room to evolve.
For readers collecting coordinated pieces rather than starting from scratch, these gallery wall art sets can make planning much simpler because the proportions are already working together.
Linear horizontal arrangement
A row of pieces is ideal above long furniture. It stretches the eye sideways and can make a room feel wider. This is my default when the wall is long but not especially tall.
This short visual walkthrough is useful if you want to see how different arrangements read in a room:
How spacing changes with the room
One reason gallery walls disappoint people is that they use the same spacing rule everywhere. That rarely works. A compact apartment wall and a hotel lobby wall don't want the same rhythm.
According to 2025 interior design research on viewing distance and art spacing, optimal spacing in commercial and hospitality settings increases by 1.5 inches per additional foot of viewer distance, while 89% of consumer articles still apply fixed spacing regardless of room type. That's a helpful reminder to stop treating spacing as universal.
In a small room, tighter spacing helps a group read as one unit. In a large room viewed from farther away, slightly more breathing room keeps the arrangement legible.
A quick decision guide helps:
- Use a statement piece when the wall already has strong furniture below it and you want one focal point.
- Choose a pair when you need symmetry without formality.
- Build a grid when the room wants structure and repetition.
- Create a gallery wall when the collection is personal and varied.
- Run a linear row when the furniture is long and the wall is shallow.
The best template isn't the trendiest one. It's the one that fits how the wall is shaped, how the room is used, and how far away the art will usually be seen.
Choose the Right Scale and Frame
A good layout can still fall flat if the art itself is undersized, overframed, or pointed in the wrong direction for the wall. Placement and product choice are tied together more than people think.

Size and orientation do most of the work
Start by reading the wall shape. A tall, narrow space wants vertical art or a stacked arrangement. A long wall over a sofa usually wants horizontal art or a row of pieces. A square wall can handle a square composition, a centered statement piece, or a tight salon grouping.
This is why shopping by orientation matters so much. If the wall is narrow and you keep forcing horizontal pieces into it, you'll end up compensating with awkward spacing or oversized mats. If the wall is broad and you hang one small vertical frame in the center, the result often feels underpowered.
When art sits near mirrors, glass tabletops, or reflective finishes, I also think about what the frame is doing to the room's light. In spaces where you're coordinating materials, this overview of custom mirrors and glass styles is useful because it shows how reflective surfaces can either support an art arrangement or compete with it.
A simple checklist keeps selection on track:
- Match the wall shape: Vertical for narrow spaces, horizontal for long spans, square for balanced focal walls.
- Respect the furniture below: The art should feel related in width and visual weight.
- Think about viewing distance: Fine detail rewards close viewing. Bold forms hold up from across the room.
Frames can quiet a piece or sharpen it
Frame choice isn't decoration around the art. It changes the mood of the whole arrangement.
A slim black frame tends to sharpen contemporary work and gives a gallery-like edge. Natural wood softens a piece and makes it easier to blend into relaxed interiors. A wide mat adds presence to smaller art and can make a modest print feel more architectural. No mat creates a more direct, graphic look.
If you want the art to feel a little more elevated and dimensional, floating frame prints are worth studying because the presentation itself changes how the piece sits against the wall.
A frame should solve a problem. It should add contrast, add warmth, add presence, or simplify the composition. If it isn't doing one of those jobs, it's probably the wrong frame.
The strongest walls usually get one thing right. The scale feels believable. Once that happens, the frame becomes the finishing move instead of the rescue plan.
Gather Your Tools for a Flawless Installation
A clean installation comes from preparation, not luck. Most hanging mistakes happen before the first nail goes in, when people eyeball the location, forget to account for hardware, or skip a layout test.
A small toolkit prevents big mistakes
You don't need a workshop's worth of gear. You need a dependable set of basics:
- Tape measure: For center points, furniture width, and spacing between frames.
- Level: For keeping single pieces straight and making grouped arrangements line up.
- Painter's tape: For marking boundaries and hanging temporary templates without damaging the wall.
- Pencil: For light marks you can erase after installation.
- Hammer and appropriate hangers: Choose hardware that suits the piece and wall surface.
- Paper or kraft paper: For full-size wall templates.
If the installation involves heavier wall-mounted elements nearby, such as shelves or display structures, it helps to review proper XTREME EDEALS wall mounting solutions so the surrounding components are supported correctly too.
Use the paper template method
This is the lowest-stress way to hang art, especially for gallery walls.
- Trace every frame onto paper. Mark the top on each template so you don't accidentally rotate one.
- Cut out the shapes. Tape them to the wall and move them around until the composition feels right.
- Stand back often. Look from the doorway, from the main seating area, and from any adjacent room.
- Mark the hanging point on each template. This is the step people skip, and it's the one that saves holes.
The technical part matters here. To reach the correct center point, you need the hardware measurement, not just the frame height. This guide on measuring for a 57-inch center point explains the method clearly. Measure the distance from the top of the frame to the hanging hardware, subtract that from the target center height, and mark the wall based on that result.
Paper templates let you solve the composition before you commit to the wall. That's why professionals use them.
If you want a more detailed walkthrough for nail placement, leveling, and hardware choices, this step-by-step guide on how to hang wall art is a useful companion.
When the templates look right, install one anchor piece first, then build outward. That's much easier than trying to hang every piece independently and hoping the whole grouping lands where you wanted.
Solve Tricky Spots and Style Like a Pro
The standard rules are useful, but some walls need interpretation. Tall stairwells, double-height living rooms, and narrow in-between zones can make ordinary advice feel incomplete.
Handle stairwells and tall walls with sightlines
Modern homes create this problem more often than older ones. Data cited by The Copper Wolf on hanging art in modern homes says 68% of new US homes now have 9-foot or higher ceilings, yet 72% of how-to-arrange guides still rely on single-story eye-level rules. That's exactly why tall walls confuse people. The room has changed, but the advice often hasn't.
In a stairwell, don't force a flat eye-level line across the wall. Follow the movement of the staircase. The arrangement should climb with the banister so the viewer experiences the pieces naturally while moving up or down.
For extra-tall walls, resist the urge to chase the ceiling. Most rooms look better when the art occupies the lower, livable portion of the wall rather than stretching upward just because the drywall continues. If you need more presence, add width, add a second row, or use a larger piece. Don't move everything higher.
A few strong fixes work well:
- For staircases: Keep the composition parallel to the stair angle.
- For high ceilings: Create a grounded visual zone instead of trying to fill every inch.
- For double-height spaces: Use fewer, larger moments rather than many small frames.
If you're styling a tall wall that needs stronger vertical impact without feeling busy, a coordinated 3-piece wall art arrangement can create height while still reading as one composition.
Use awkward spaces on purpose
Small leftover walls can become some of the best places for art if you stop treating them as scraps. A hallway end wall can take one compelling piece. A narrow section between windows can hold a vertical frame. A corner can support leaning art on a shelf or console if hanging feels too rigid.
Lighting matters more in these tricky spots than people expect. A dark hallway or stair landing can make even excellent artwork disappear, so consulting a qualified lighting installation electrician is often worthwhile when you're adding picture lighting, sconces, or targeted accent light near the display.
Difficult walls don't need filler. They need a layout that respects how the space is actually seen.
The common mistake is trying to decorate every wall the same way. Good rooms don't repeat a formula. They repeat a sense of balance.
Frequently Asked Questions About Arranging Art
Can I mix different frame styles and colors in one gallery wall
Yes, as long as something else is consistent. That consistency might be the spacing, the color palette in the art, or the overall shape of the arrangement. If every frame is different and the spacing is random too, the wall usually feels noisy. Mixed frames work best when the layout itself is disciplined.
What's the best way to arrange art around a TV so it doesn't look awkward
Treat the TV as one element in a larger composition instead of pretending it isn't there. Keep the artwork lighter in visual weight than the TV, and don't place tiny pieces so close that they look accidental. Matching the outer shape of the full arrangement to the furniture below helps a lot. In many rooms, a pair of pieces beside the TV or a balanced asymmetrical grouping works better than art directly above it.
Are there alternatives to hanging art
Absolutely. Leaning framed pieces on a console, picture ledge, mantel, or deep shelf can look relaxed and layered. This works especially well when you like to rotate art often or don't want to commit to extra holes. The key is to make the lean look intentional. Use overlap, vary heights, and avoid leaving one lonely frame floating by itself on a long surface.
If you're ready to put these principles into practice, browse Printano for wall art in multiple sizes, orientations, and framing options. That makes it much easier to match a piece to the wall you have, whether you need a tall vertical print for a narrow space, a horizontal focal piece over a sofa, or a coordinated set for a gallery-style arrangement.