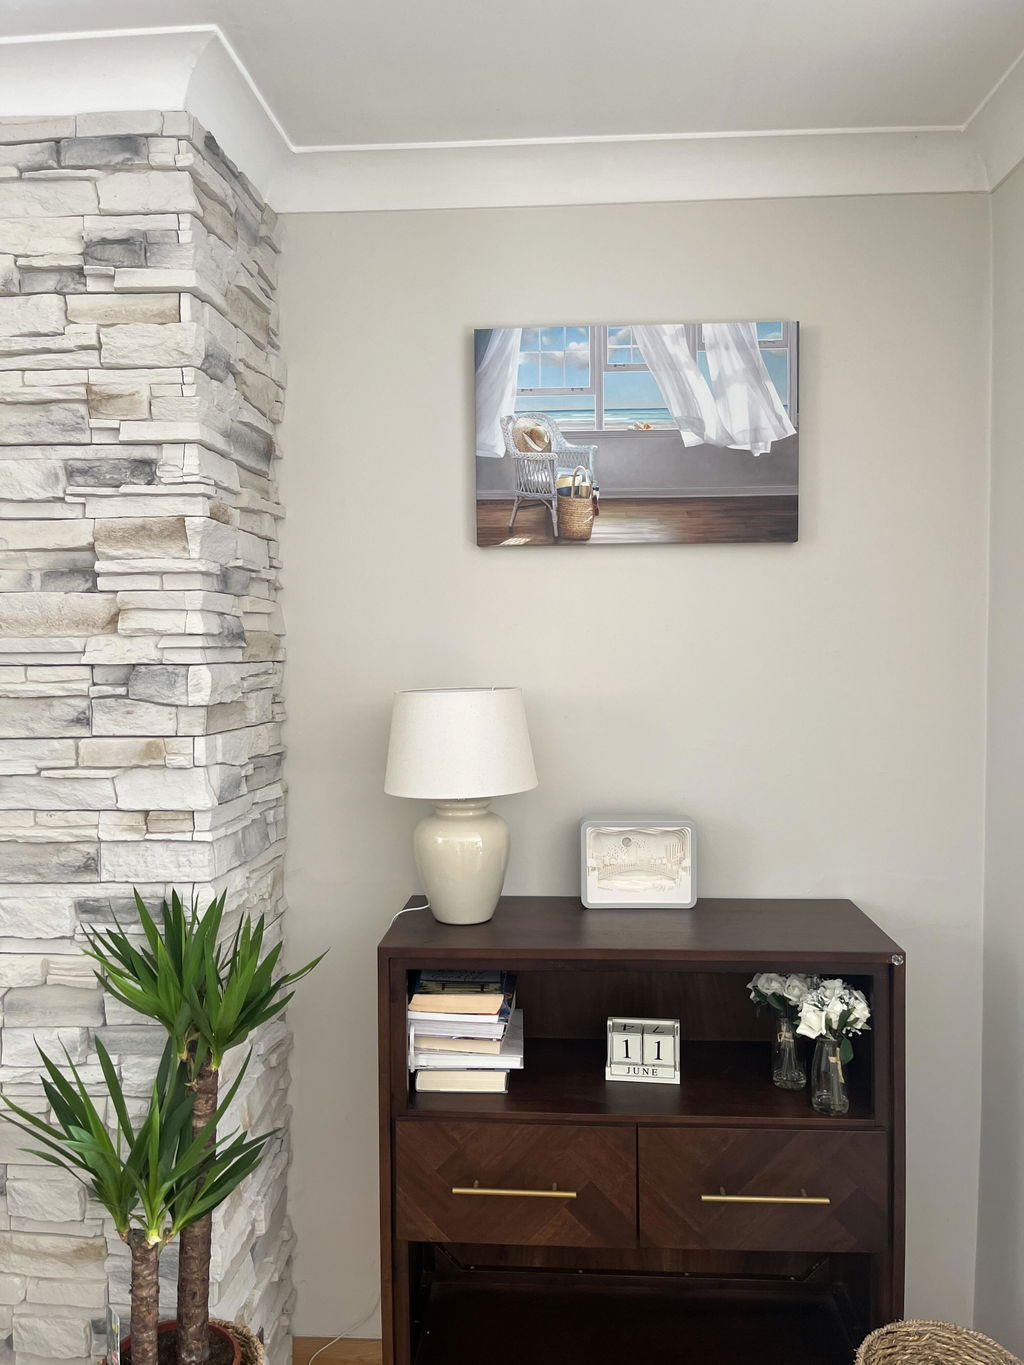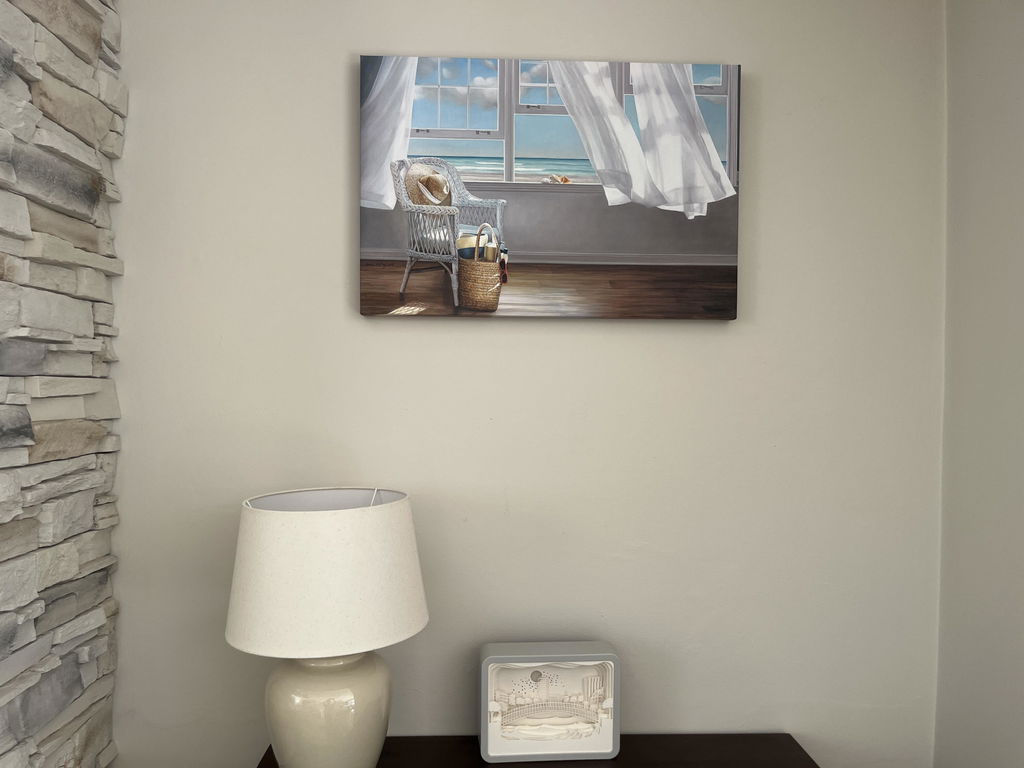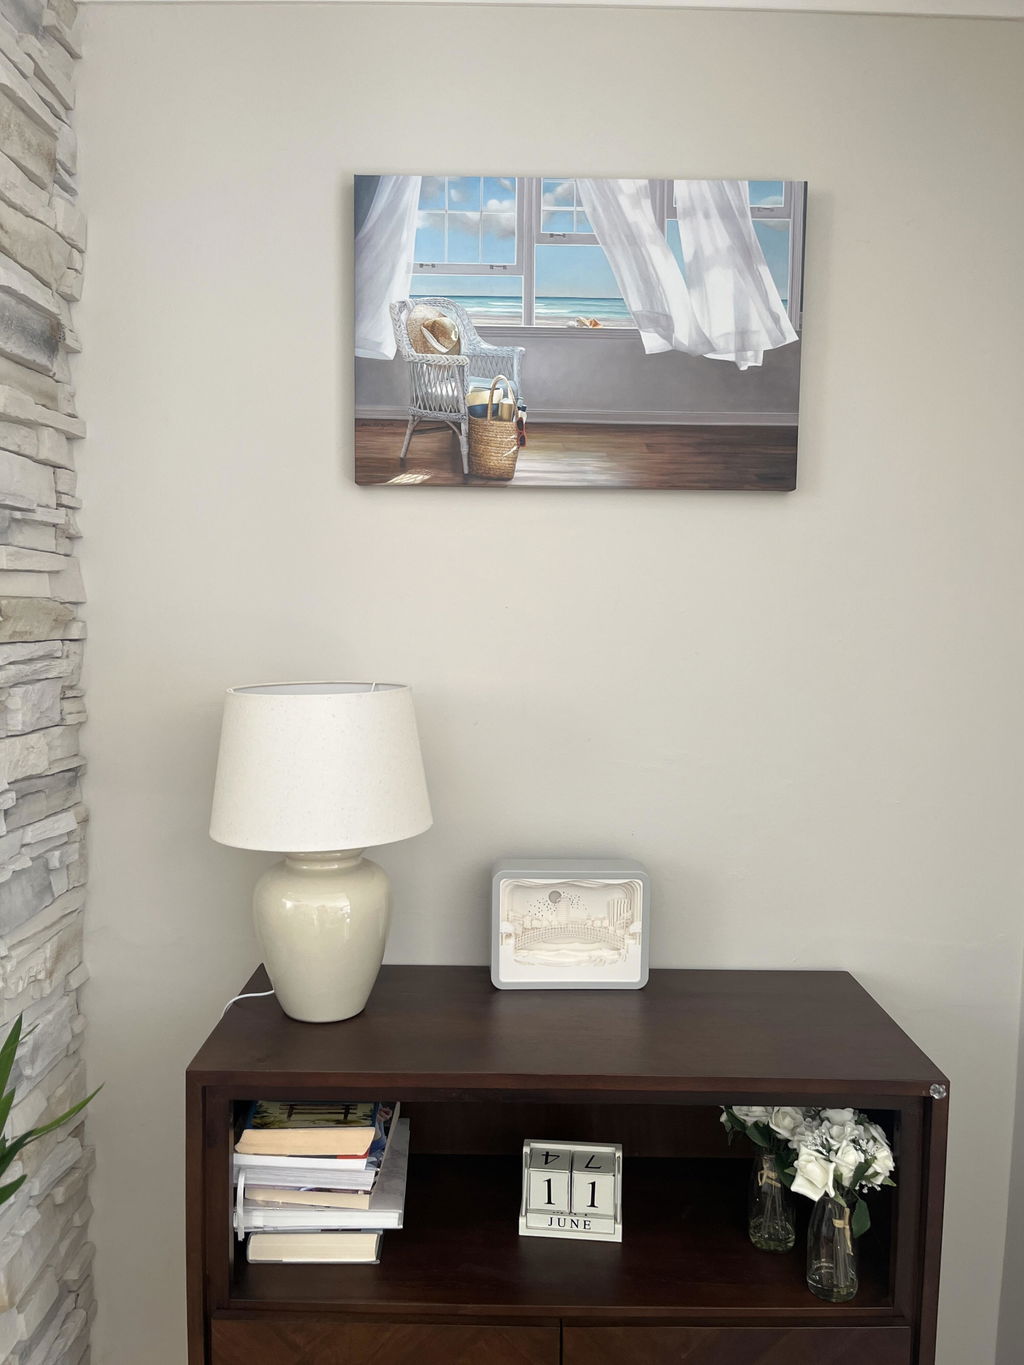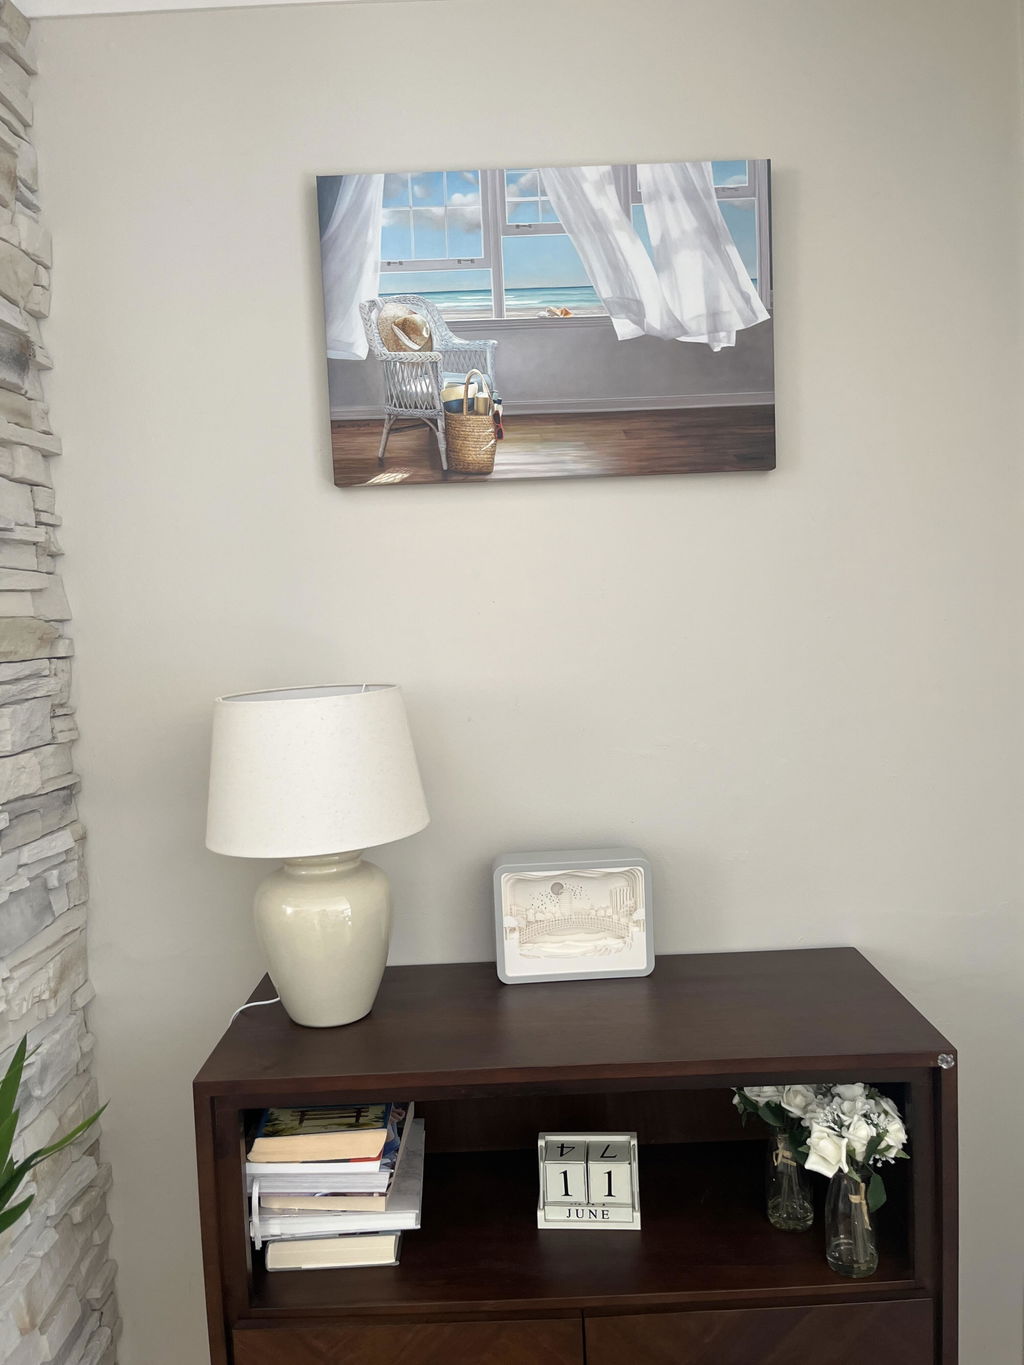

Wall art for high ceilings should span about 60 percent of the wall's height or width, with the center of the piece positioned at roughly 57 to 60 inches from the floor regardless of ceiling height. The most common mistake is hanging art too high to “meet” the ceiling, which makes it float and look smaller than it is.
High ceilings do need larger art, but size alone won't fix a piece that isn't anchored correctly. The wall reads best when proportion, furniture, and sightline all work together, and that's where most hanging advice falls short. Printano's large wall art ideas are useful to browse once you know the scale problem you're trying to solve.
Table of Contents
- Why Your Art Looks Lost on Tall Walls
- Sizing Wall Art for High Ceilings
- Composition Strategies for Vertical Spaces
- Hanging Height and Placement Rules
- Framing and Material Choices for Scale
- Lighting Techniques for Oversized Artwork
- Putting It All Together
Why Your Art Looks Lost on Tall Walls
The biggest failure on a tall wall is usually not the artwork itself. It's the placement. People see the vertical volume and assume the answer is to move the frame higher, but that only makes the art feel detached from the room and from the people using it.
The better fix is simpler. Keep the composition visually grounded near standard eye level, then let the size do the work. That 57 to 60 inch centerline is still the anchor, even when the ceiling is dramatically higher, because it keeps the art readable whether you're standing, sitting, or passing through the room.
Proportion beats height chasing
Tall walls don't ask for a higher hang, they ask for a stronger proportion. If a piece is too small, the empty wall above and around it overwhelms the art, and the room starts to feel unfinished. The eye doesn't need more vertical distance to appreciate the ceiling, it needs a clear visual point of rest.
Practical rule: if a wall feels empty, enlarge the artwork before you move it upward.
That's why the most reliable advice for wall art for high ceilings keeps circling back to scale and anchoring, not just drama. A well-sized piece at the correct height usually looks more intentional than a larger piece hung too high. If you've ever walked into a room and noticed the ceiling before you noticed the art, that's the problem.
The fix is especially important in bedrooms, dining rooms, hallways, and stair landings, where people don't stand directly in front of the wall for long. Those spaces reward comfort and clarity over spectacle. For a useful visual reference on oversized statements, see Printano's oversized art guide.
What works on real walls
A tall wall usually needs one of two things. It needs a larger composition, or it needs a composition that has enough vertical presence to hold its own. What doesn't work is a modest-size print with a lot of blank wall around it.
That's why the strongest installations feel attached to a room's existing furniture, architecture, or circulation path. The art should register as part of the interior, not as something floating in the upper half of the wall. Once you see the wall that way, the rest of the choices become much easier.
Sizing Wall Art for High Ceilings
Sizing comes first because it prevents almost every other mistake. A piece that's the wrong scale can't be rescued by a better frame, brighter lighting, or a nicer wall color. On tall walls, you need a size rule that works from both height and width.
Two reliable ways to measure
The first method is ceiling-based. Interior design guides converge on a simple range, wall art should occupy about 60 percent of the wall's height or width, or roughly two-thirds to three-quarters of the wall space. One guide recommends art that's 36 to 48 inches tall for 8-foot walls, 42 to 54 inches for taller walls, and over 60 inches tall for walls above 12 feet (J.D. Dennison).
The second method is width-based. Measure the usable wall width, then choose artwork or a grouped composition that spans about 60 to 75 percent of that width, with the centerline at roughly 57 to 60 inches from the floor (Canvas Art Prints). That method works especially well when furniture is already in place.
Measure the wall you actually have, not the wall you wish you had. Doorways, trim, built-ins, and furniture all change the usable span.
A good way to apply this is to tape out the full footprint on the wall before ordering. If the taped shape looks too narrow, it probably is. If it feels disconnected from the sofa or console below, it needs more width or a different layout.
Recommended Artwork Sizes by Ceiling Height
| Ceiling Height | Single Piece (Tall) | Multi-PANEL / Gallery |
|---|---|---|
| 8-foot ceiling | 36–48 inches tall (J.D. Dennison) | Smaller grouped composition that still reaches meaningful vertical presence |
| Taller walls | 42–54 inches tall (J.D. Dennison) | Vertical stack, triptych, or grid sized to about 60 to 75 percent of usable wall width (Canvas Art Prints) |
| Above 10 feet | Larger statement piece or stacked arrangement (Great Big Canvas) | Multi-panel layouts with unified spacing |
| Above 12 feet | Over 60 inches tall or a multi-piece gallery wall (J.D. Dennison) | Vertical column, triptych, or grid that reads as one mass |
The main error is under-scaling. A narrow canvas on a double-height wall looks timid, even if it's beautifully printed. For especially tall, narrow spans, some guides point to minimum vertical formats around 120 cm × 180 cm and stronger fits closer to 150 cm × 225 cm (Canvas Art Prints).
For more examples of how oversized pieces behave on large walls, Printano's oversized art overview is a helpful visual check before you commit.
Composition Strategies for Vertical Spaces
Once the size is right, composition decides whether the wall feels calm or chaotic. High ceilings give you room to build height, but they also expose bad proportions immediately. The best layout depends on the wall shape, the furniture below it, and how much width you can use.
Four layouts that solve different problems
A single oversized piece works best when the wall is wide and open, because it can command attention without competing with lots of nearby objects. This is the cleanest option above a large sofa or a long console when you want one strong focal point.
A vertical format is better for narrow double-height spaces, stair landings, and hallway columns. It draws the eye upward while keeping the work slim enough to feel deliberate.
A multi-panel arrangement is the practical answer when the wall is tall but the width is limited. It builds visual mass without requiring one massive print, which makes it easier to balance above lower furniture.
A diagonal or stair-step layout helps in awkward architectural zones, especially along stairs or slanted ceilings. The movement of the composition can echo the architecture instead of fighting it.
Use the architecture, not against it. A stair-step layout makes more sense on a staircase wall than a centered rectangle that ignores the angle.
The choice often comes down to the room's furniture. Above a sofa, a wide horizontal grouping usually relates better to the seating below. In a hallway, a vertical stack tends to look more natural because the circulation path is already vertical. For more layout options, Printano's arrangement guide is worth a look.
How to keep multiple pieces cohesive
Mixed layouts only work when the spacing is disciplined. Keep multi-panel spacing tight enough to preserve one unified mass, and keep the frames or prints visually related through color, scale, or orientation. When the spacing spreads too far, the arrangement stops reading as one composition.

A strong vertical wall doesn't need visual clutter. Sometimes two or three large, related pieces do a better job than a dense gallery wall because they leave enough negative space for the ceiling to feel intentional. That's the trade-off, fewer pieces can look more refined if each one has enough scale.
Hanging Height and Placement Rules
Placement is where good plans usually fall apart. Someone buys the right art, then hangs it too high because the wall looks empty. The room feels off, even though the artwork itself is strong.
Start from eye level, then adjust for furniture
The core rule stays the same in tall rooms, the center of the art belongs around 57 to 60 inches from the floor (J.D. Dennison, Great Big Canvas). That's the easiest way to keep the piece readable from different positions in the room. Hanging higher just because the ceiling is high usually creates a floating effect.
When art sits above a sofa, console, or headboard, leave about 6 to 10 inches between the top of the furniture and the bottom of the artwork (Great Big Canvas). That gap keeps the arrangement connected without crushing the furniture.
A simple installation sequence helps:
- Mark the furniture anchor. Use the top edge of the sofa or console as your reference point.
- Measure the centerline. Keep the center of the composition near 57 to 60 inches overall.
- Account for hardware. The hanging point is not the center of the frame, so measure from the actual wire or cleat position.
- Tape the outline first. The full paper or painter's-tape footprint tells you more than a guessing sketch.
- Check sightlines. Sit down, stand up, and see whether the art still feels grounded.
That process matters more on tall walls because the margin for error is bigger. A piece can look fine on a floor plan and still feel awkward once it's on the wall.
Vaulted and slanted ceilings need discipline
Slanted ceilings tempt people to follow the roofline with the art. That usually makes the piece drift upward and lose its anchor. Keep the visual center where viewers naturally look, then let the architecture sit above it.
For awkward or high spaces, it's often better to increase the artwork height than to mount it unusually high (Heva Unique Art Gallery). That's a more comfortable viewing height, especially in rooms where people sit, eat, or pass through instead of stopping to study the wall.
Printano's hanging guide is useful if you want a product-side reference while you measure. The goal is simple, make the wall feel intentional from the furniture upward, not from the ceiling downward.
Framing and Material Choices for Scale
The wrong material can make a large piece feel weak. The wrong frame can make it feel heavy for no reason. On high walls, those choices matter because the scale is already working hard, and the surface treatment needs to support it.
Match the finish to the amount of visual weight you need
Framed prints are the most flexible option when the room needs definition. A frame gives the piece a clear edge, which helps it stand up to tall walls and nearby furniture. Thin frames can look fragile on oversized artwork, while ornate frames can overwhelm smaller compositions.
Canvas works well when you want a softer read and less reflection. It can suit larger pieces because the surface itself becomes part of the visual mass, instead of relying on a border to create presence. Unframed paper prints are lighter visually, which can be helpful in gallery walls where too much framing would make the arrangement feel stiff.
Material trade-offs at a glance
| Format | Strengths | Trade-offs |
|---|---|---|
| Framed art prints | Clear edges, easy to anchor on tall walls, polished finish | Can feel heavy if the frame is too ornate |
| Unframed photo paper | Lightweight look, good for grouped compositions | Needs careful handling and a clear hanging strategy |
| Premium textured paper | Matte appearance, more tactile presence | Texture reads best when sizing is right |
| Canvas | Softer surface, good for oversized statements | Less crisp edge definition than framed work |
Lighting also changes how each material reads. Satin surfaces catch more room light, while matte and textured finishes reduce glare. In bright rooms, that difference can be the reason a piece looks calm instead of reflective.
If you're choosing natural finishes for a large composition, Printano's natural wood frames guide can help you think about warmth versus contrast. The point isn't to make the frame dominant, it's to keep the artwork from getting visually lost.
Lighting Techniques for Oversized Artwork
Lighting can make a large piece feel finished, or it can flatten all the detail you paid for. High ceilings complicate this because the light source is often too far away to wash the wall evenly. The result is shadow, glare, or a dull patch of color where the art should be strongest.
Light the art, not just the room
Ambient light is a starting point, not the whole answer. On tall walls, ceiling fixtures can leave the lower portion of the art underlit while the upper wall feels too bright. Adjustable recessed lights, track lighting, and picture lights do a better job of directing light where the composition sits.
Track lighting works especially well for vertical arrangements because it can be aimed to follow the full height of the piece. Picture lights are better for singular statement works when you want the frame to feel like a finished object. Floor lamps can also help if they're positioned to wash the wall without reflecting directly off the surface.
Test the light at night before you commit to a permanent layout. What looks balanced in daylight can feel harsh after sunset.
Surface finish matters here too. Matte paper and textured prints are usually easier to light because they cut glare. Satin finishes can look rich, but they need better aiming to avoid hot spots.
For room-by-room lighting thinking, DLG Electrical's bedroom lighting tips are a smart reference point because they make the same practical distinction between overall room light and focused task light. The principle carries over directly to large artwork.
Where people go wrong
The most common mistake is relying on the ceiling fixture alone. That often puts the art in a shadow zone or makes it look washed out. Another frequent issue is aiming the light too steeply, which creates reflections instead of clarity.
A well-lit piece doesn't need to be spotlighted like a stage set. It just needs enough even light to show its scale, color, and detail clearly from the room's main viewing points.
Putting It All Together
The best results come from a simple sequence, not from guesswork. Measure the usable wall, choose a composition that spans about 60 to 75 percent of the available width, and keep the center near 57 to 60 inches from the floor. Then check whether the piece needs a framed edge, a softer canvas surface, or a vertical or multi-panel layout to stay grounded.
A practical ordering checklist keeps buyers from making the usual mistakes:
- Measure the actual wall span. Include furniture, trim, and openings in your thinking.
- Decide on the anchor. Sofa, console, headboard, or open wall, each one changes the composition.
- Pick the layout type. Single piece, vertical stack, triptych, or grid.
- Match the finish to the scale. Frame weight and surface reflectance matter.
- Test placement with tape. The wall tells the truth better than a product thumbnail.
Browsing also gets easier when filters are doing some of the work for you. Color, orientation, and format filters narrow a huge catalog quickly, especially when the room already has a fixed palette or a long wall that needs a specific shape. That's much safer than buying from room photos alone and hoping the art will magically fit.
For international buyers, shipping and returns matter just as much as aesthetics. Clear fulfillment terms reduce the risk of choosing a piece that's right visually but wrong logistically. Over time, a high-ceiling wall can also be refreshed seasonally by changing the art's orientation, material, or grouping without starting over.
If you're ready to turn a tall blank wall into something that feels balanced and finished, Printano makes it easier to find art by size, orientation, and frame style. Browse the collection, compare formats against your measurements, and choose a piece that stays grounded instead of floating up near the ceiling.