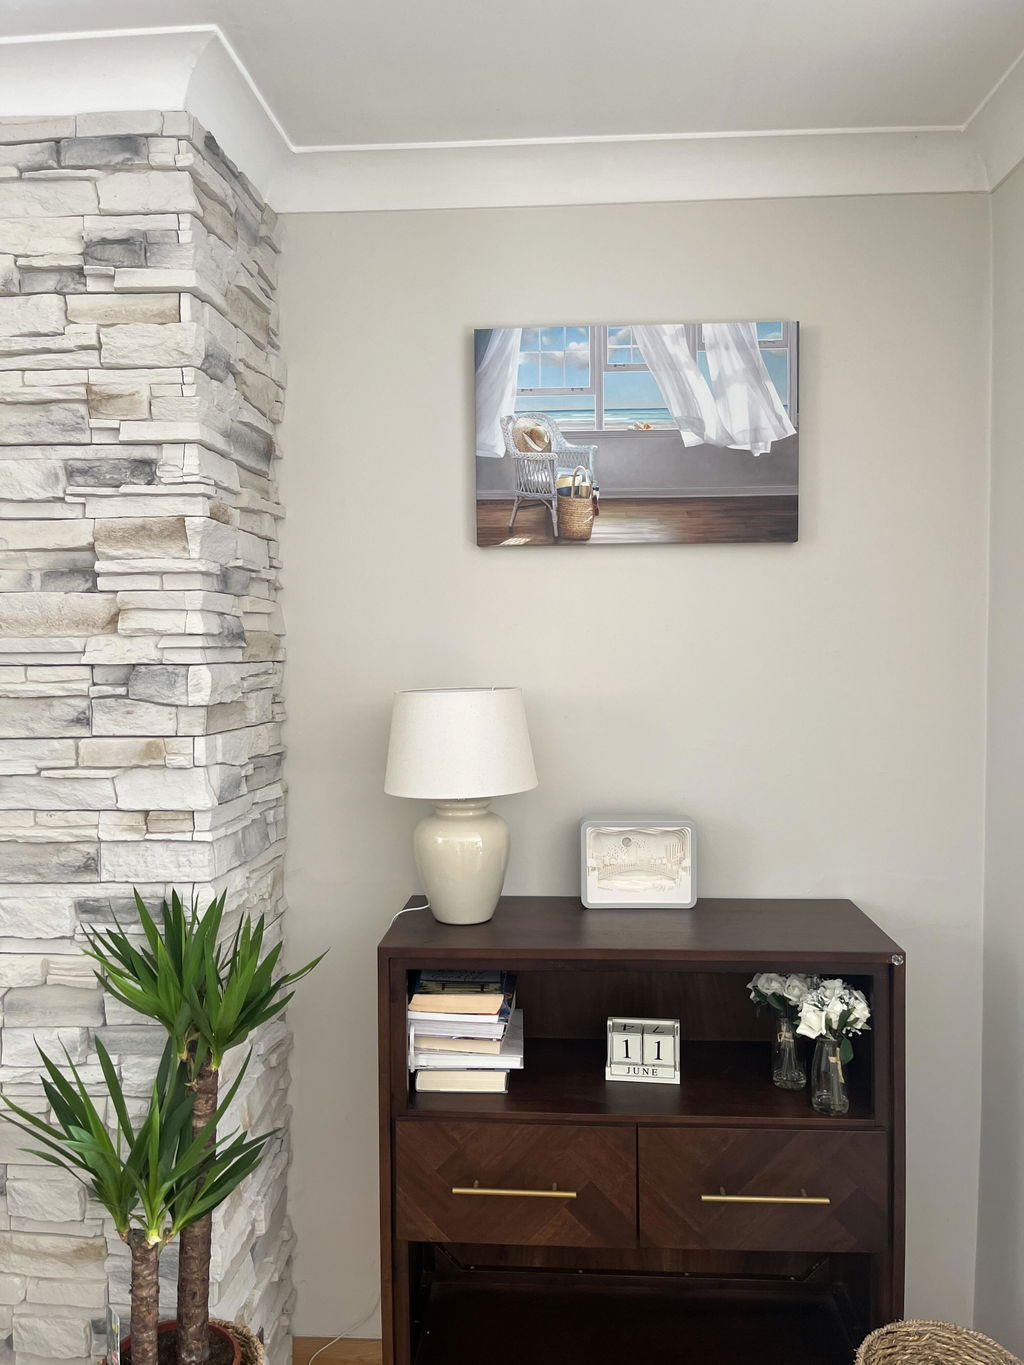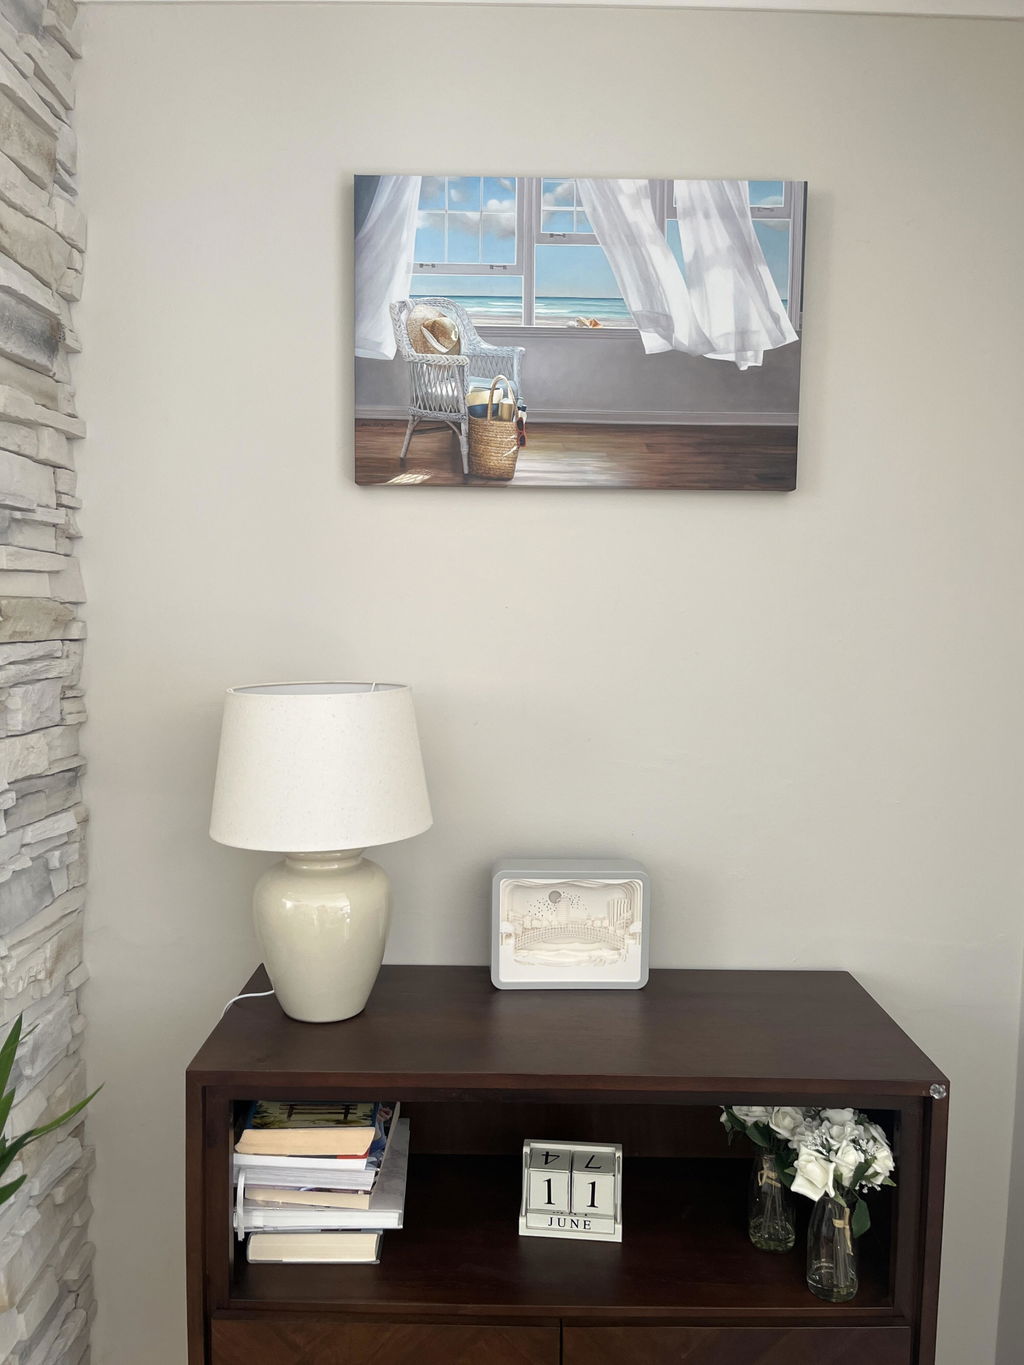

Most advice on 70s retro wall art pushes you straight into overload. More brown, more orange, more psychedelia, more everything. That approach turns a room into a costume set, and it's the wrong move for modern homes that still need light, balance, and flexibility.
The smarter approach is edited nostalgia. Use the 1970s as a controlled accent, not a full-room takeover, and the space keeps its warmth without drifting into kitsch. That matters because the decade still has real pull across markets, and a 2023 study across 12 markets found that 67% of baby boomers born between 1958 and 1963 reported nostalgia for 1970s media, which helps explain why the look still lands emotionally (1970s nostalgia). For framed pieces, a clean presentation keeps that nostalgia looking intentional, especially if you browse a framing-focused guide like vintage posters framed.
Table of Contents
- The Case for Edited Nostalgia
- Defining the 70s Visual Language
- Room by Room Sizing and Placement
- Choosing Materials for Retro Palettes
- Sourcing Art with Precision Filters
- Final Styling and Care Recommendations
The Case for Edited Nostalgia
The biggest mistake with 70s retro wall art is treating it like a theme park. You do not need shag carpeting, macramé everywhere, and three psychedelic posters fighting for attention. You need one strong visual cue that carries the mood of the decade while the rest of the room stays calm.
One statement piece beats a crowded wall
A single oversized print, or a tight pair of coordinated pieces, does more design work than a scattershot gallery wall. The wall becomes a focal point, not visual noise. That's especially useful in rentals and staging, where you want character without locking the room into one era.
Practical rule: if the art is the loudest object in the room, everything around it should get quieter.
That doesn't mean sterile. It means the surrounding furniture, rug, and lighting should support the print instead of competing with it. For a room built around a strong 70s image, choose one or two supporting tones, then let the art do the heavy lifting.
Why the edited approach lasts
The history of the decade supports this restraint. 70s interiors leaned on bold visual language, but the most usable version today is the one that borrows the signal, not the whole broadcast. If you want to anchor a living room, hallway, or hospitality space, one good piece outperforms a wall of references.
That's the logic behind earth tone wall art as a category. Earthy warmth reads as vintage, but it still feels livable in a modern shell. Keep the room edited, and the nostalgia feels curated instead of forced.
Defining the 70s Visual Language

The 70s were not one fixed look. Their visual language moved between organic warmth and more theatrical expression, but the constant was conviction. Bold shapes, saturated color, and walls that were allowed to carry personality defined the decade's interiors (Country Living, "Decorating Trends 70s").
The motifs that actually read as 70s
Start with big geometric patterns. Circles, arches, stacked waves, sunbursts, and blocky abstractions belong here because they echo the decade's interiors and graphics. Add nature cues when you want the softer side of the style, especially leaves, stylized florals, and organic curves.
The palette matters just as much as the shapes. A technically faithful 70s scheme usually sits in warm, low-to-mid chroma earth tones, especially orange, brown, mustard, avocado green, and rust. Keep the room disciplined by repeating only two or three main colors across the space, so the art feels intentional instead of scattered.
Keep the strongest color inside the artwork, then let the room stay quieter.
That gives you the edited version of the decade without drifting into a full period recreation. Earthy minimal 70s styling relies on restrained geometry, warm neutrals, and one or two saturated accents. Psychedelic maximalism goes brighter, denser, and much harder on the eye, which works only if the entire room is committed to that mood.
Typography, texture, and the right amount of attitude
70s graphics often carry thin black outlining, rounded letterforms, and saturated blocks that feel hand-built rather than digitally polished. That roughness is part of the appeal. If the piece looks too crisp and cold, it starts to read as modern art with retro colors instead of a true 70s revival.
Surface finishes should support the art, not compete with it. Keep the larger elements of the room calm, then let the graphic language appear in smaller, deliberate touches. If you want a tighter palette strategy, the Printano earth tone wall art guide is a useful reference point because it stays close to the warm, grounded side of the decade.
Room by Room Sizing and Placement
Scale makes or breaks this style. Too small, and the print looks accidental. Too large, and the room starts to feel like a set built around one prop. The useful benchmark is that artwork should cover about 60% to 75% of empty wall area to keep visual balance, according to expert guidance on placement (size guidance).
Living room and dining area
Use one large print above a sofa, sideboard, or dining bench when you want the room to feel confident. The art should connect to the furniture below it, not float in isolation. A centered composition works well in straightforward spaces, while a slightly off-center placement can soften a rigid layout.
For dimensions, The Brooklyn Initiative size chart is useful because it helps you think in proportion rather than in vague guesswork. That matters when you're choosing between a single hero piece and a smaller cluster. If the wall already has a lot going on, keep the art simpler and larger rather than adding more frames.
Home office, hallway, and bedroom
A home office benefits from one vertical print with a strong graphic rhythm. It gives the space identity without distracting from work. Hallways can handle narrow posters or stacked framing, but only if the spacing stays disciplined.
Bedrooms need the softest hand. Use the style as an accent above the headboard or on one side wall, then keep bedding and lamps calmer. If you want a broader framing strategy, how to choose wall art is a practical companion because it keeps the decision tied to room purpose, not just taste.
The room should still feel like a room after the art goes up.
That's the test. If the print improves the architecture, the placement is right. If it dominates every other object, you've gone too far.
Choosing Materials for Retro Palettes

Material choice changes the entire read of a retro print. A 70s palette depends on crisp shape edges, saturated blocks, and color relationships that stay clean under glare or surface texture. Pick the wrong finish and the piece looks dull before it reaches the wall.
Matte, satin, and canvas
Matte paper is the quiet option. It softens the image and works best when you want the art to sit back rather than take over the room, but it can flatten a palette that depends on strong tonal separation. Satin and lustre papers are a better fit for this category, especially in the 200–280 gsm range, because they keep edges sharper and hold tonal shifts without losing clarity (printing guidance).
Canvas plays a different role. It adds texture and suits more painterly retro pieces, but it is not the first choice for groovy typography or hard geometry. Those designs need clean edge definition, and canvas can soften that reading. For a broader sense of where this format works, canvas wall art is worth comparing against paper before you buy.
Finish should match the composition
Choose the finish with the artwork itself in mind. Matte-to-satin works well for 70s wall art because it cuts glare while keeping color depth intact, which matters in bright rooms and under mixed lighting. Reflective surfaces can make warm tones look uneven, so bold outlines and flat color fields usually read better on satin than on glossy stock.
Practical rule: if the design depends on lines, choose a finish that protects the lines first.
The wall surface matters too. A smooth, well-kept wall gives retro graphics a cleaner read, while a busy, uneven, or overly reflective surface works against the print. For general context on walls and maintenance painting, it helps to remember that the wall is part of the composition, not just the backdrop.
Sourcing Art with Precision Filters
The fastest way to find strong 70s retro wall art is to stop browsing like a tourist and start filtering like a designer. Color, orientation, and collection matter more than people think. A tight search path gives you better options and cuts the noise.
Use color first, then style
Start with the room's existing tones. If the sofa has warm neutrals, a mustard, avocado green, or rust-forward print will feel integrated immediately. If the room already has a lot of wood or brown, use orange or teal with more restraint so the art doesn't sink into the furniture.
That is where curated browsing helps. Printano's catalog is built around multiple ways to narrow choices, including color, category, collection, and format, which makes it easier to isolate a sub-aesthetic instead of scrolling through every nostalgic poster at once. I'd use that kind of filtering before I'd open a broad marketplace search.
Treat curation as a control system
A gallery of 70s art can swing from tasteful to tacky very quickly, so curation matters. Designer Picks, featured collections, and artist pages help reduce choice overload and push you toward cleaner reproductions with better visual discipline. That's especially important if you're buying for a client, staging a property, or building a hospitality interior where consistency matters.
If you want a more museum-like presentation, museum quality art prints is the right frame of reference. It keeps the focus on reproduction quality, not just image novelty. For a room that needs one or two strong retro pieces, that standard is usually the correct one.

Use the filters to match the art to the wall, not the other way around. That's the discipline that keeps a 70s piece from feeling like a random thrift-store find.
Final Styling and Care Recommendations

Framing is where a good retro print turns into a finished interior object. Light wood, natural wood, and brushed metal keep 70s art feeling intentional without overcommitting to the decade. Heavy ornate frames usually drag the look backward in the wrong way.
Keep the frame quiet
Choose a frame that supports the palette instead of competing with it. Light oak and natural wood work well with mustard, rust, and avocado tones. Brushed metal suits cleaner geometric pieces when you want a slightly more modern edge.
Matting helps too, but keep it simple. Off-white or cream matting gives the art breathing room and stops earth tones from getting too dense. Protect the print from direct sun and damp spaces, especially in rooms where humidity changes quickly.
Care is part of the design decision
Dust with a soft, dry cloth and avoid overhandling the print surface. If you're storing extras, use archival packaging so the piece stays clean and flat. That matters more than people admit, because retro prints lose impact fast when edges curl or surfaces scuff.
A quick installation checklist keeps the result sharp.
- Confirm scale first: make sure the art sits comfortably within the wall's visual field.
- Level the frame carefully: retro graphics look sloppy when they tilt even slightly.
- Match the finish to the room light: satin or lustre avoids the glare that can wash out warm tones.
- Leave negative space: one strong piece needs room to breathe.
A restrained installation strategy is the whole point. You want atmosphere, not nostalgia overload. Keep the palette edited, the frame clean, and the room will feel current for years.
If you want to source 70s retro wall art without overdoing the look, browse Printano for framed prints, material choices, and color-filtered collections that make the edited approach easy to execute. It's a practical way to find one strong piece, match it to your room, and keep the final result polished instead of kitschy.