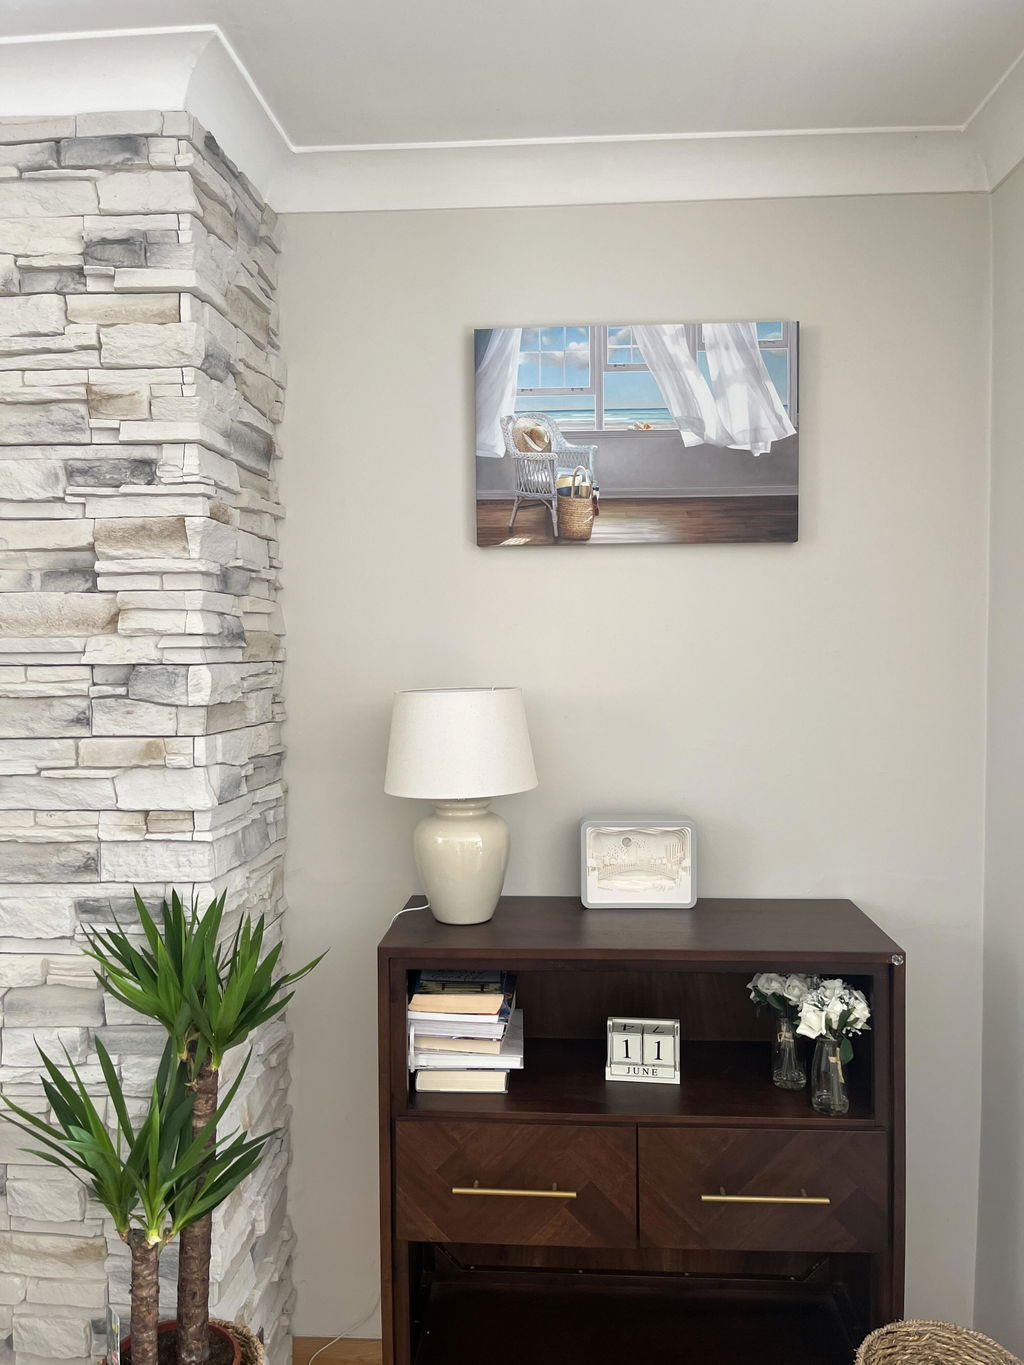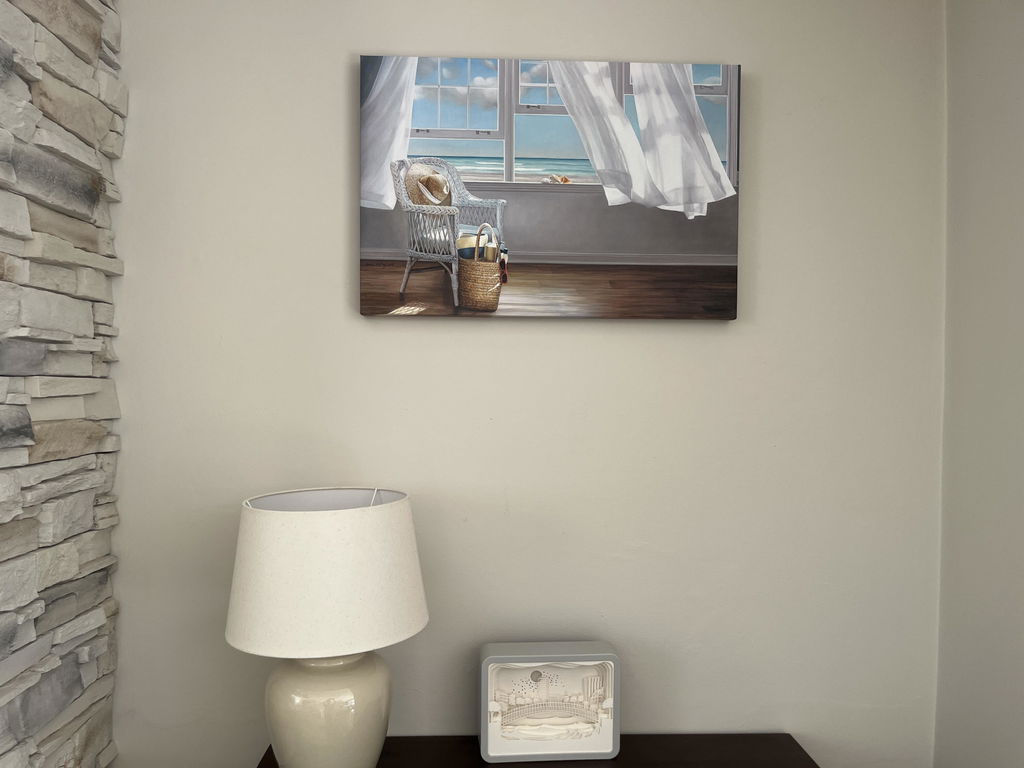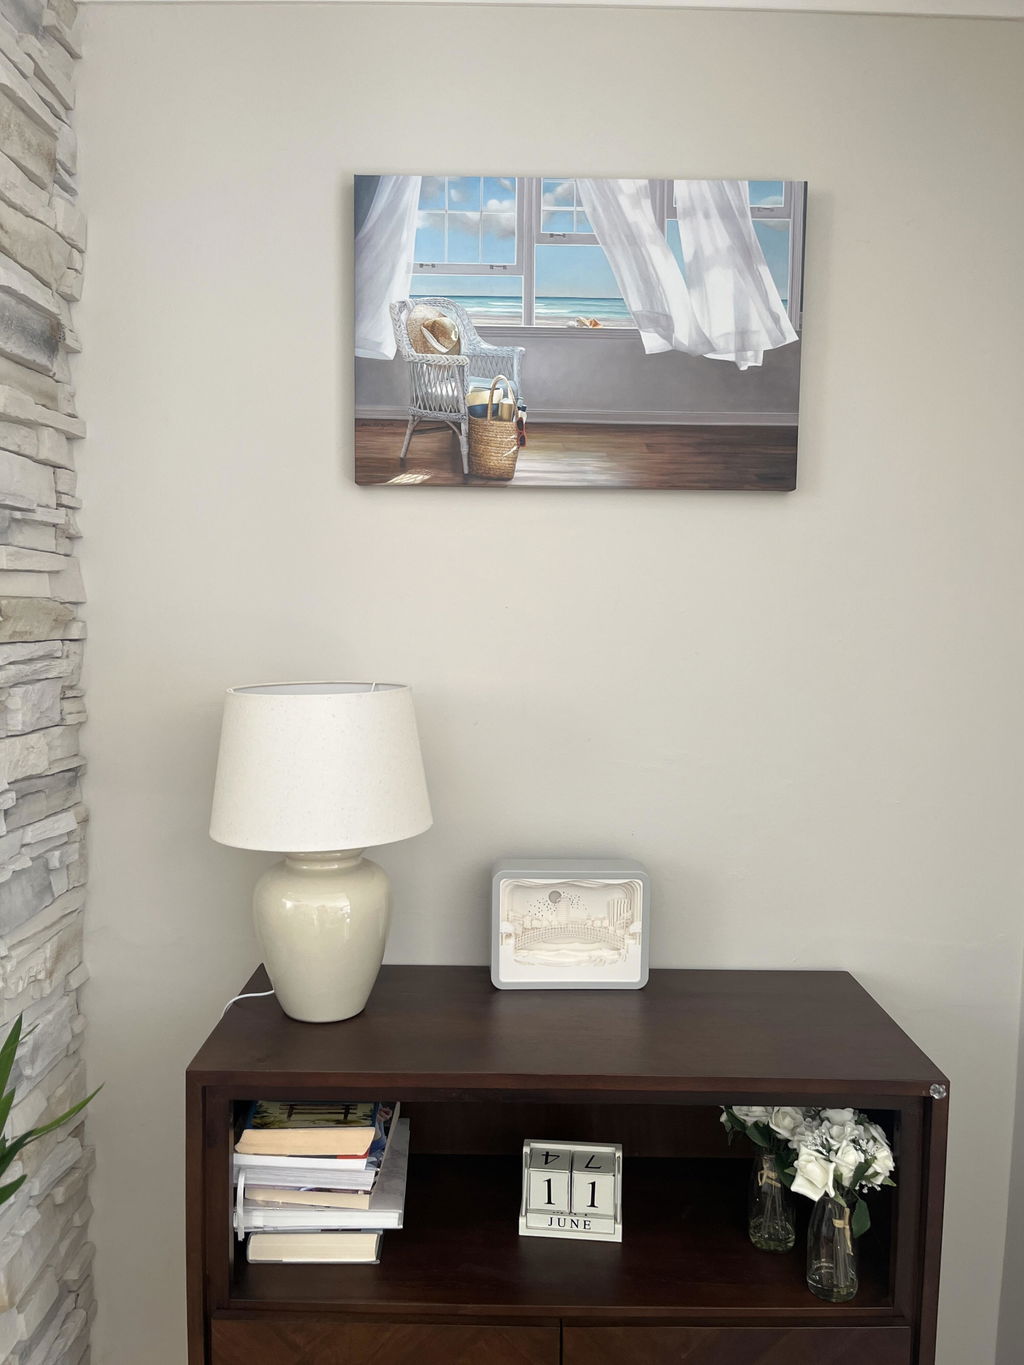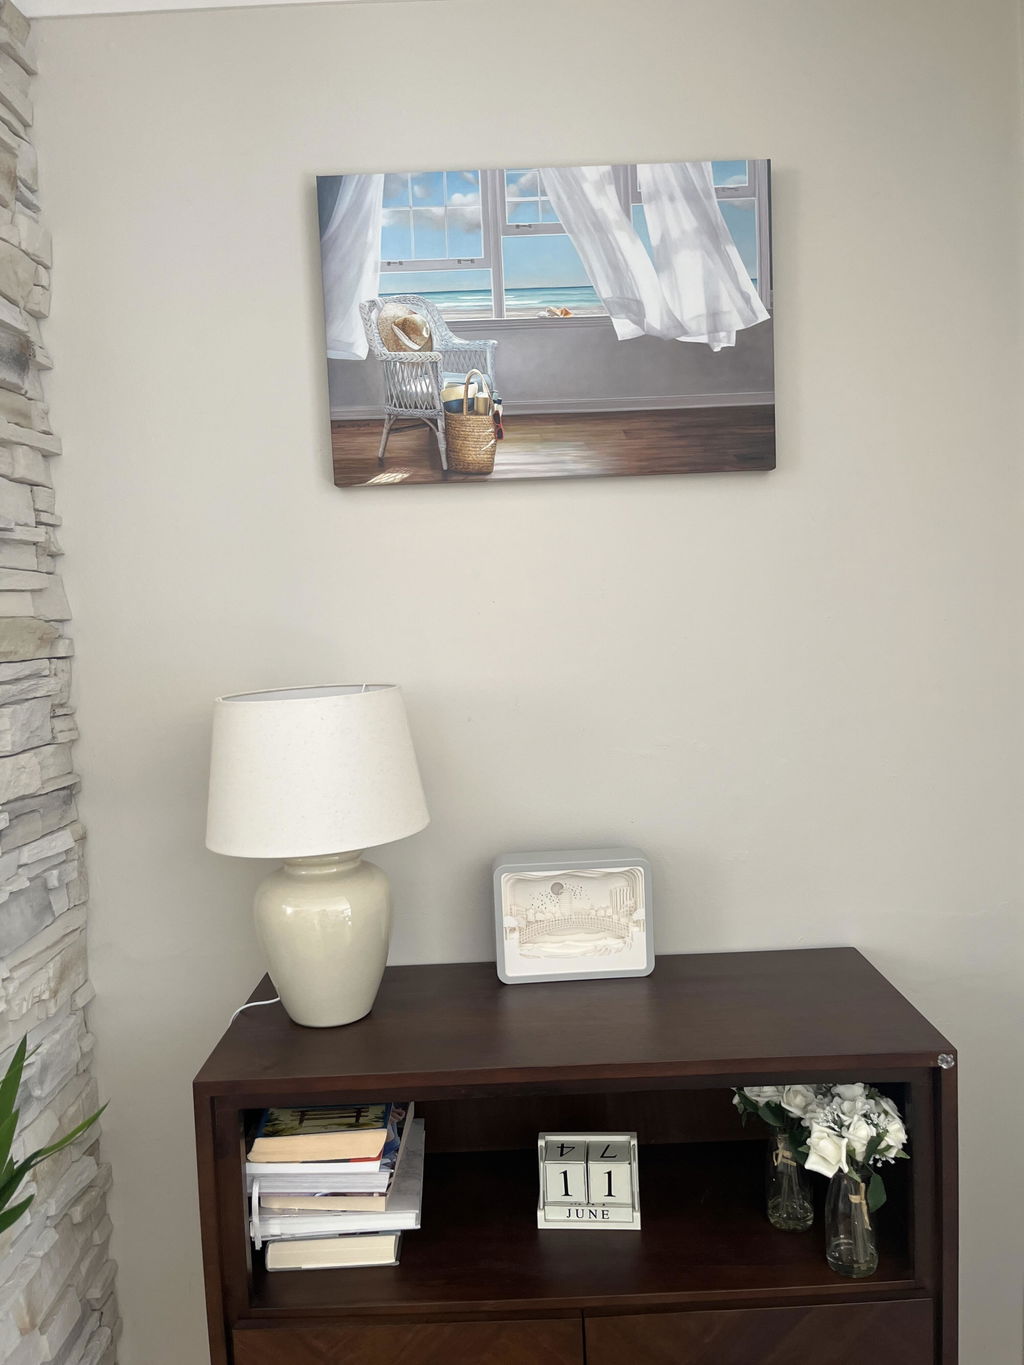

You've unboxed a canvas that's wide enough to dominate the room, and now it's leaning against the wall because the first step feels less obvious than the last. The temptation is to grab a nail, estimate the height, and hope the frame stays put. That approach works until the wall interface fails, the canvas tilts, or a large piece lands on furniture below.
Learning how to hang large canvas art starts with a decision, not a drill. Match the canvas's actual weight to the wall construction, then choose hardware with enough reserve capacity for movement, imperfect materials, and long-term use. Size affects placement and stability, but weight and wall type determine the mounting method.
Table of Contents
- Understanding Weight and Wall Type Before You Start
- Choosing the Right Hardware for Your Canvas Weight
- Measuring and Marking for Perfect Placement
- Mounting Techniques for Single and Multi-Panel Canvas
- Renter-Friendly and Temporary Hanging Solutions
- Troubleshooting Common Problems and Long-Term Care
Understanding Weight and Wall Type Before You Start
A broad canvas may feel light in your hands, yet its size can load one hook unevenly and expose a weak wall connection. Weigh the finished piece before choosing hardware. Include the frame, stretcher bars, backing, and attached hanging system. A bathroom scale gives a practical reading: weigh yourself holding the canvas, then subtract your own weight.
Wall construction determines what that weight can safely do. Drywall, plaster, brick, concrete, and wood paneling require different fasteners. On drywall, a stud creates a direct structural connection. If the hanging points miss the stud, use an anchor that spreads or locks behind the surface instead of depending on a small area of gypsum board.

Build a weight and wall profile
Complete this check before buying hardware:
- Weigh the finished canvas: Use the installed weight, not a size-based estimate.
- Inspect the wall surface: Drywall usually sounds hollow when tapped. Plaster often feels denser and may reveal older construction. Brick and concrete present a hard masonry surface.
- Locate framing: A stud finder can identify likely stud positions behind drywall. In plaster, drill carefully because the surface can crumble around an unprepared hole.
- Check the back of the art: D-rings, wire, sawtooth hangers, and cleats transfer force differently. A wide canvas often needs two support points to control tilt and movement.
The rear hardware also affects the load path. A strong anchor cannot correct a loose D-ring, undersized wire, or poorly attached cleat.
Add reserve capacity
Select hardware rated above the artwork's actual weight rather than matching the label exactly. Hanging guidance commonly recommends a margin of 25% to 50% above the artwork's actual weight for movement and long-term safety. The drywall picture-hanger guidance also makes clear that the stated rating depends on suitable installation conditions.
A 40-pound canvas therefore needs hardware rated well above 50 pounds, not a hanger marked for precisely 40 pounds. Product ratings assume the correct wall, fastener, installation method, and loading direction. They do not compensate for damaged drywall or a fastener placed in the wrong material.
Some heavy-art guidance takes a more conservative view of published anchor capacity. Weigh the piece, identify the wall, and choose the mounting method from both factors rather than from canvas dimensions alone. For a broader placement overview, use this guide on how to hang wall art. Classification comes first. Hardware follows.
Choosing the Right Hardware for Your Canvas Weight
A light canvas over a drywall desk needs a different mounting method from a heavy, wide piece above a sofa. Start with two questions: how much does the artwork weigh, and what is behind the wall surface? Hardware must suit both the load category and the wall construction.
| Canvas Weight | Recommended Hardware | Installation Method |
|---|---|---|
| Under 10 lb | Basic picture hook or suitable nail | Secure into a suitable wall point, preferably with two points for a broad canvas |
| 10 to 20 lb | Plastic anchor for light duty, or metal molly or toggle bolt | Install according to the anchor's wall and load instructions |
| 20 to 50 lb | Toggle bolts, molly bolts, or stud screws | Use two support points, or attach directly to framing |
| 50 to 100 lb | French cleat, heavy-duty toggles, or multiple stud screws | Span and engage studs wherever possible |
| Over 100 lb | Multi-stud cleat, rail, or masonry anchoring system | Obtain professional assessment for valuable or oversized work |
Treat the table as a starting point, not a license to exceed the product instructions. Wall condition, anchor spacing, the canvas's rear fittings, and the direction of force all affect the result. A single hook may hold the weight yet allow a wide canvas to twist or swing.
Match the anchor to the wall
On drywall, basic nails and picture hooks suit lighter work. Plastic anchors can handle more, but they may pull through, creep, or enlarge the hole as a heavier canvas shifts. Metal molly bolts and toggle bolts spread force behind the drywall or plaster, making them more suitable for medium-weight pieces. Follow the anchor's stated wall type and load rating rather than relying on the canvas size.
A stud changes the decision. Screws driven into framing provide a direct load path, so use them whenever their position works with the artwork. Masonry walls require appropriate masonry fasteners, while damaged or soft drywall may need repair before any anchor is installed.
The rear fittings matter just as much. D-rings, wire, sawtooth hangers, and cleats transfer force differently. A wide canvas often benefits from two support points, which reduce tilt and side-to-side movement. A strong anchor cannot compensate for a loose D-ring, thin wire, or poorly fixed cleat.
Use a cleat for heavy or oversized work
For a canvas in the heavier load categories, a French cleat spreads force along a horizontal interface instead of concentrating it at one hook. It also helps the piece sit level when the two sections engage and reduces rotation. Choose a cleat that can be fixed to studs or another suitable structural surface, and verify the product rating for the actual wall and installation.
If you need to compare components before selecting a method, browse wall bracket options. The format and construction of the artwork also affect the choice, so the practical distinctions described in canvas wall art can help determine whether a simple hook is adequate or a structural mounting system is more appropriate.
Weigh the finished piece, inspect the wall, then choose the hardware. That sequence prevents the common mistake of matching a hanger to the canvas dimensions while ignoring the load path.
Measuring and Marking for Perfect Placement
A secure installation can still look wrong if the canvas sits too high, too low, or off-center. Start by treating the artwork and the furniture below it as one composition. For general eye-level placement, sources commonly cluster around 57 to 60 inches from the floor to the center of the artwork, a range discussed in canvas placement guidance. Furniture, ceiling height, and the visual weight of the piece can justify an adjustment.
Create the layout before drilling
Have a second person hold the canvas while you view it from the main entrance to the room. This catches problems that a tape measure can't, such as a piece appearing cramped against a door casing or visually disconnected from a sofa.
Painter's tape is useful for making a temporary outline. Mark the canvas's outer edges on the wall, then step back and inspect the relationship with nearby shelves, lamps, windows, and furniture. For a multi-panel arrangement, tape every panel outline so you can judge the complete grouping rather than approving each panel separately.
Measure the furniture below as well. A canvas above a sofa or console usually needs a deliberate visual relationship with that piece, rather than blind adherence to a floor measurement. The lower edge should feel connected to the furniture without appearing to rest on it.
Transfer the hanging points accurately
The most common measuring mistake is marking the wall from the canvas's top edge while forgetting that the hook sits below the top. Measure from the top of the canvas down to the actual hanging point, whether that's the wire's highest position, a D-ring, or the frame-side cleat.
Use this sequence:
- Find the intended center of the canvas or complete panel grouping.
- Mark the target center height on the wall.
- Measure from the canvas top edge to the support point.
- Transfer that distance upward from the intended top edge location.
- Mark each fastener location with a level.
- Recheck the marks against the canvas before drilling.
For two support points, measure the distance between the D-rings or cleat ends and transfer both points together. A level across the marks is more reliable than measuring each side independently. The same discipline applies to a gallery wall. Use a paper or cardboard template for each piece, tape the templates in place, and adjust spacing until the group reads as a single arrangement. More layout ideas are available in how to arrange wall art.
Mounting Techniques for Single and Multi-Panel Canvas
A single wide canvas and a triptych shouldn't be installed by the same shortcut. A solitary heavy piece benefits from a continuous support system, while multiple panels demand repeatable measurements and independent adjustment.

Single large canvas
For a heavy or oversized canvas, a French cleat is often the cleanest professional method.
- Prepare the frame side: Attach the canvas-side cleat securely to the stretcher frame or backing structure. It must engage solid material, not just thin fabric or a weak backing panel.
- Find the wall supports: Mark the studs, or choose properly rated anchors if the studs don't align with the desired position.
- Level the wall cleat: Hold the wall-side cleat on the marks, confirm it with a level, and fasten it through the strongest available points.
- Level the frame cleat: Check that the frame-side cleat is parallel to the canvas edge before lifting the piece.
- Engage from above: Lift the canvas with two people and lower the frame cleat onto the wall cleat. Don't slide the artwork aggressively across the wall.
- Secure against movement: Add anti-tilt supports or lower stabilizing points where the frame can rock, especially on an uneven wall.
A cleat can be level while the wall itself is not perfectly flat. If one corner floats, use appropriate non-damaging spacers or adjust the support system rather than forcing the frame against the surface.
For visual planning beyond a single piece, the layout principles in three-piece wall art are useful, particularly when panel spacing and overall balance matter. Designers also benefit from reviewing interior design regret tips before making irreversible wall marks.
A short visual demonstration can reinforce the sequence:
Multi-panel arrangements
For a diptych or triptych, establish one centerline for the entire composition. Cut a story stick to the intended gap, then use it between every panel so the spacing doesn't drift as you work across the wall.
Install and level the center panel first if the arrangement has a dominant middle piece. Then position the outer panels using taped templates or the story stick, mark their support points, and verify the finished group with a long level. Two hooks or two anchors prevent a wide panel from pivoting, while small rubber bumpers at the lower corners can reduce wall contact and sliding.
Renter-Friendly and Temporary Hanging Solutions
Adhesive hanging can be useful, but it isn't a universal substitute for a screw, anchor, stud, or cleat. The smoothness and cleanliness of the wall, the product's stated rating, the canvas's actual weight, and room conditions all affect whether a temporary method remains attached.

Where removable systems make sense
Heavy-duty adhesive strips or removable art hooks can work for lighter canvases on smooth, clean, stable surfaces. Keep the canvas within the manufacturer's stated capacity, use the full recommended set, and let the adhesive bond for the time specified by the product instructions before loading it.
Surface preparation matters. Dust, grease, textured paint, loose wallpaper, and freshly painted surfaces can weaken the bond. Temperature and humidity can also change adhesive performance, particularly in kitchens, bathrooms, and poorly ventilated rooms.
Tension-based systems offer a different compromise. A floor-to-ceiling tension rod or picture-hanging rail can avoid drilling into the main wall surface, while adjustable cords or hooks let you reposition the art. The system still needs a stable upper and lower contact point, and the canvas must remain within the hanging system's capacity.
Renter's rule: If the consequences of failure include a damaged canvas, damaged furniture, or an unsafe fall, don't treat an adhesive label as a structural guarantee.
What to avoid
Standard lightweight strips, suction cups, and improvised tape are poor choices for a large canvas. Suction cups need a suitable nonporous surface, and painted drywall rarely provides one. Adhesive-only mounting is especially risky in humid spaces or where the canvas projects far enough from the wall to create mechanical advantage.
If drilling isn't allowed, consider leaning the canvas on a console, using a stable easel, hanging from an existing picture rail, or choosing a lighter format. A no-drill product such as Collar 19 flexible hardware may suit a specific temporary setup, but its compatibility and capacity still need to be checked against the artwork and wall.
For lightweight, flexible display ideas, unframed art prints are often easier to change than a stretched canvas. A renter should also confirm lease rules before using even small press-in hooks, because a minor hole may still count as wall alteration.
Troubleshooting Common Problems and Long-Term Care
A canvas that tilts, sags, or creeps downward is usually reporting an installation problem, not a cosmetic one. The support points may be uneven, the hardware may be undersized, or a broad frame may be rotating around a single fastener.

Fix the installation before adjusting the artwork
If the canvas tilts, remove it and inspect both support points. Re-level the wall hardware, confirm that the frame hardware is mounted symmetrically, and add a second support point or anti-tilt bumper where appropriate. Don't compensate for a crooked hanger by twisting the frame or bending a wire.
Sagging usually indicates that the support system isn't distributing the load well. Upgrade to hardware with a more generous rating, move the attachment into studs, or replace isolated hooks with a cleat that spans a longer section of the wall. For a large, valuable, or unusually heavy piece, a professional installer can assess the frame and wall together.
Wall damage needs a controlled repair. Remove a failed anchor without enlarging the hole unnecessarily, inspect for crumbling material, and use the correct patching method for drywall, plaster, or masonry. Reinstalling a stronger anchor in the same weakened hole rarely solves the underlying problem.
Protect the art after it's mounted
Keep the canvas away from direct sunlight and sharp humidity fluctuations. Avoid placing it where heating vents, cooking vapor, or bathroom moisture repeatedly affect the fabric and frame. Check the hardware periodically for loosening, especially after moving furniture, renovating, or experiencing strong vibration.
Small rubber bumpers can keep the lower frame from rubbing against the wall and reduce minor movement. Dust the surface gently with a soft, dry tool rather than pressing into the fabric or using household cleaners. If a frame begins to warp, take the weight off the wall and address the environmental or structural cause before rehanging it.
A level check is useful after installation, but the more important inspection is whether the wall connection remains tight and whether the frame still sits evenly on every support point.
For pieces where material longevity matters, the guidance on archival-quality prints offers a useful reference for thinking about display conditions and handling.
Printano offers canvas prints and ready-to-hang wall art options, with formats and orientations that can be matched to your wall, furniture, and chosen hardware. Visit Printano to browse artwork before you measure your installation, then select a piece whose finished weight and mounting system you can support confidently.