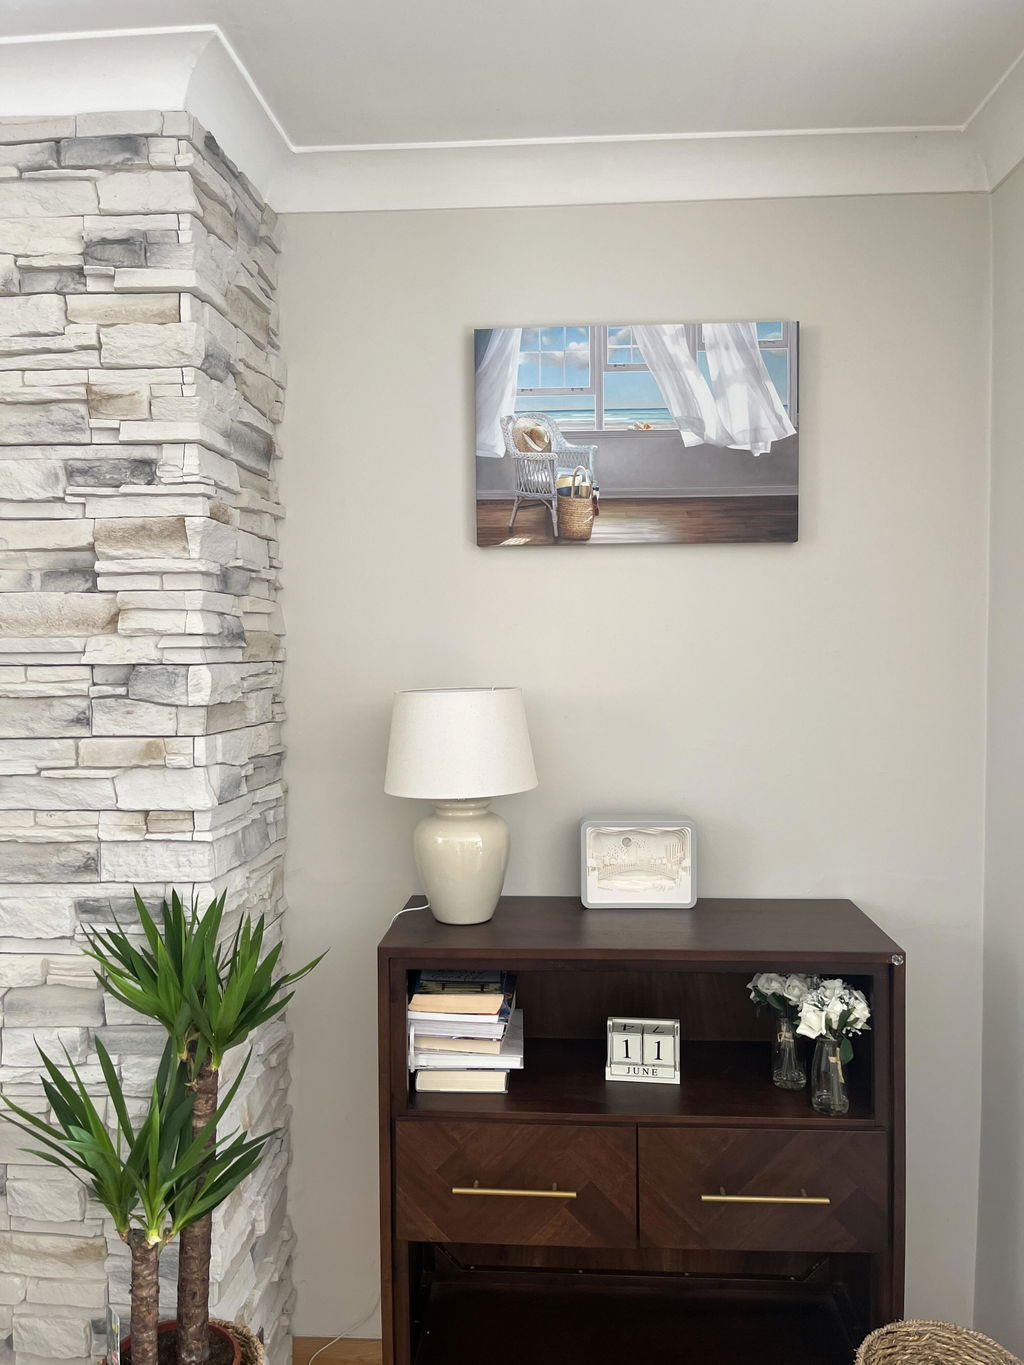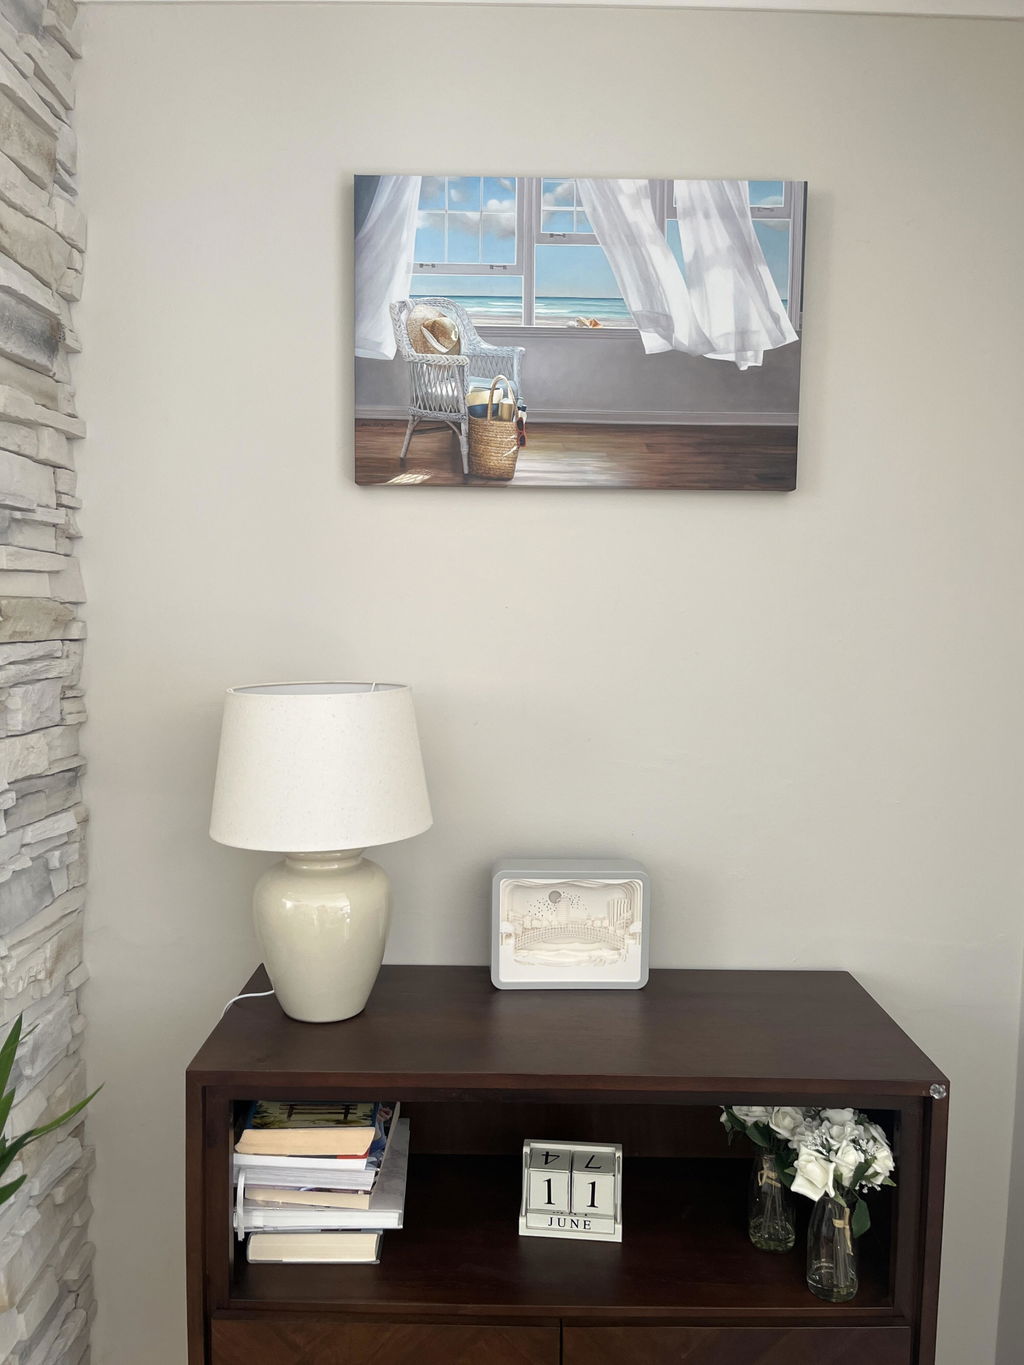

You've got the print or canvas in hand, the wall is empty, and the framing aisle is suddenly full of decisions you didn't want to make today. Frame depth, mat width, glazing, backing, hanging hardware, each choice affects how the artwork looks now and how it holds up later. The right build protects the surface, keeps the piece steady, and makes sure it reads cleanly from across the room. If you want a quick layout reference for arranging finished pieces, this wall-art guide is useful before you start measuring.
Table of Contents
- The Moment a Print Meets an Empty Wall
- Choosing the Right Frame Style and Build
- Framing Paper Prints Step by Step
- Framing Stretched Canvas and Textured Works
- DIY Kits Versus Custom Framing Versus Ready-Framed Prints
- Hanging, Lighting, and Long-Term Preservation
- Quick Recap and Common Questions
The Moment a Print Meets an Empty Wall
You open the tube, flatten the paper with your palm, and the wall suddenly feels bigger than it did five minutes ago. That's the moment many realize how to frame a painting isn't one decision, it's a sequence of smaller ones that either protect the work or make the finished piece harder to live with.
The frame isn't just decoration. Framing changes how the surface survives dust, handling, and room conditions, and it decides whether the artwork reads like a casual print, a finished object, or a gallery piece. The history matters here too, because modern framing grew out of a shift from carved panel borders to separate, removable frames, which is why today's builds are designed for replacement, restoration, and resale rather than permanent attachment. That older shift also made production more efficient, since mitered strips were easier than one-piece carved borders, and that logic still shows up in shop practice now. The historical timeline is traced in the Survey of Picture Framing History.
Practical rule: if the artwork might need future conservation, resale, or remounting, choose a frame system that can come apart cleanly.
A first-time framer usually needs to answer five questions. What's the artwork type, paper print, stretched canvas, or irregular handmade piece. Do you need a mat. Do you need glazing. How will it be mounted. How will it be hung. If those answers start sounding too custom for the budget or the timeline, a ready-framed option can be the smarter route because it skips most of the build decisions and gets you to the wall faster.
The rest of the process works best when you sort by artwork type first, then decide whether the frame should disappear behind the piece or become part of the design. A paper print wants a different structure than a textured canvas, and a warped handmade work needs more tolerance than a machine-perfect rectangle. That's the primary filter, not whether the frame looked good in the store under fluorescent lights.
Choosing the Right Frame Style and Build

A print with a clean border, a stretched canvas with painted edges, and a textured handmade piece all ask for different frame builds. Choose by the artwork first, then decide how much of the frame should disappear and how much should become part of the piece. A frame that looks right on a showroom wall can still sit too shallow, pinch a textured surface, or make a paper work feel crowded.
Choose the frame by how the artwork is built
An engaged frame sits flush to the artwork and reads as one unified border. Use it for traditional paper pieces, polished interiors, and work that benefits from a crisp edge. An integrated frame can serve the same purpose in practical terms, since the border and art read as a single unit rather than separate layers.
A floater frame leaves a visible gap, so the art appears to hover inside the opening. That is the cleaner choice for stretched canvas, especially when you want the painted edge or canvas texture to stay visible. For a collector who wants a ready-to-hang canvas without building a custom gap from scratch, Printano's floating frame prints comparison guide shows the same layout decision in a finished format.
Material matters less for fashion than for weight, rigidity, and finish. Solid wood is the easiest to adjust and the most familiar for traditional builds. Metal reads lighter and more contemporary, and the RISD Museum notes that aluminum L-shaped metal frames arrived later in the century as framing adapted to modern display preferences (RISD Museum framing manual). Composite frames work when you want a cleaner price point, but they give less forgiveness if the fit is off.
If the piece is heavy, textured, or slightly irregular, choose a profile with enough depth to clear the surface without forcing it flat.
Use the finish to control the room read
A natural wood finish softens a room and works well with organic palettes. Painted frames can blend into walls or sharpen contrast. Gilded or metallic finishes push the piece toward a more formal display. The right finish depends on whether the artwork should recede into the room or stand out from across it.
| Frame Style Quick Reference | Best For | Look |
|---|---|---|
| Engaged frame | Paper prints, classic interiors | Crisp, traditional, unified |
| Floater frame | Stretched canvas, textured work | Gallery-like, dimensional |
| Metal profile | Contemporary rooms, light visual weight | Clean, modern, minimal |
| Wood profile | Versatile use, warmer interiors | Natural, adaptable, balanced |
A ready-made print can remove most of the build decisions. Printano offers framed art prints in multiple frame finishes and sizes, with vertical, horizontal, and square orientations, and ships framed orders ready for straightforward wall display (Printano). If the artwork size already fits the wall and the finish matches the room, that saves time and avoids custom work that may not improve the final result.
Framing Paper Prints Step by Step

Paper prints fail at the edges first. They buckle when the backing is wrong, yellow when non-archival materials touch them, and drift when the mount is too loose, so the job starts with fit and restraint, not decoration.
Build the layer stack in the right order
Set the frame face down on a clean padded surface, then test every layer before you commit to adhesive or tape. A paper print should sit centered in the mat opening, attached to backing with archival tape or adhesive, then protected with glazing, a dust cover, and hanging hardware. That order matters because it keeps the front surface protected while the paper stays stable inside the frame.
Cut the mat window slightly smaller than the display area you want. It hides uneven edges and keeps attention on the artwork instead of the border. The opening should not reveal stray deckle, cropped printer marks, or rough trimming unless you want those details visible.
If the print is meant to stay flat and clean for years, start with materials made for that job. Printano's archival-quality print guide is a useful reference for the paper side of the build, especially if you are deciding whether to frame a fresh print or order it ready-framed.
Join corners and seal the back cleanly
The 45-degree miter joint remains the standard corner method for wooden frame builds. The RISD Museum framing manual notes that corners are typically cut at 45 degrees and secured with hardware, and it also traces historical nail styles across frame construction. For a paper print, the point is simple, a well-cut corner keeps the frame square and reduces visible gaps.
The back matters just as much as the front. A dust cover helps keep debris out, and a small humidity hole in the backing paper gives the assembly a little breathing room, which helps in rooms with changing indoor conditions. If the print has real value, use archival materials throughout, because ordinary tape and adhesive are where a lot of long-term staining starts.
- Check the fit first: dry-fit the frame, mat, backing, and glazing before taping anything.
- Center the print carefully: keep the borders even on all sides before hinging.
- Use archival tape only: household tape turns brittle and can discolor paper.
- Keep the stack flat: do not over-tighten the back, or the paper can ripple.
- Seal the dust cover: a clean back looks finished and helps keep debris out.
Common mistake: using a mat opening that is too large. It exposes edge defects and makes the whole piece look off-center even when the art is straight.
The build should feel snug, not forced. If the paper bows, the glazing presses too hard, or the back will not close without strain, the frame is wrong for the piece.
Framing Stretched Canvas and Textured Works
Stretched canvas asks for a different frame build than paper. The surface already has depth, the stretcher bars need clearance, and the painted face cannot be pressed the way a print can.
Size the rabbet before anything else
For canvas works, the Canadian Conservation Institute recommends a rabbet of at least 1 inch so the stretched canvas depth clears the frame properly (Canadian Conservation Institute). If the rabbet is too shallow, the frame can crush the edge, create pressure points, or rub the paint film. That mistake may look harmless at first, then show up later as uneven seating or visible wear along the edge.
Use offset clips to hold the piece in place, spaced about every 6 inches around the perimeter, and open that spacing to about 8 inches for larger works (Canadian Conservation Institute). That gives the canvas support without clamping the stretcher bars too tightly. In the shop, that balance matters more than raw hold, because a frame should steady the work, not squeeze it flat.
Measure irregular work side by side
Handmade canvases are often slightly out of square, and that is where a lot of framing mistakes start. Measure each side separately if the piece is even a little irregular. One edge can run long while the opposite side comes up short, and building to a single measurement makes corner gaps obvious the moment the frame is assembled.
Paint and varnish need to be fully dry before framing, and stable mounting is better done with mechanical fasteners such as brass mending plates and screws than with nails (Canadian Conservation Institute). That matters most with older work, warped stretchers, or pieces that already sit unevenly, because the job is support, not forcing the structure into a shape it does not want to hold.
For a practical overview of display choices for wrapped and textured pieces, Printano's canvas wall art guide is useful if you are deciding between a float presentation and a more enclosed finish.
A canvas frame should support the work's shape, not correct it by force.
If you want the edge visible, float mounting is usually the cleanest choice. It keeps the canvas reading as an object, which suits textured paint, wrapped edges, and work that does not need a mat.
DIY Kits Versus Custom Framing Versus Ready-Framed Prints
A buyer usually has three paths, and each one fits a different kind of project. The wrong choice is the one that costs time in a place where you needed certainty.
Compare the three paths by control and convenience
A DIY kit gives you control, but you do the measuring, cutting, fitting, and fixing yourself. It works best for standard sizes and for people who already have the tools and patience to deal with a trial fit that may need a second pass.
A custom framer gives you precision and specialty handling. That's the right move when the artwork is valuable, unusually sized, warped, or destined for a room where every frame has to match exactly. The trade-off is that custom work asks for more coordination, and the final piece depends on the shop's schedule as much as your own.
A ready-framed print makes sense when the art size already matches the wall, the room needs a coordinated look, or the project needs multiple pieces that should arrive visually consistent. Printano's framed art prints come in multiple finishes and sizes, with vertical, horizontal, and square formats, so the decision is often about choosing the right image and size rather than building the frame from scratch (Printano).
| Path | Best For | Trade-Off |
|---|---|---|
| DIY kit | Standard sizes, hands-on projects | More labor, more room for fit errors |
| Custom framer | Irregular, valuable, or sensitive work | Higher coordination, longer lead time |
| Ready-framed print | Fast installs, coordinated interiors | Less build-level customization |

Ask three questions before you choose
If the wall is broad and the room needs a repeated look, ready-framed pieces are efficient for designers and hospitality buyers who need matching sets across several rooms. If the dimensions are odd or the piece needs conservation handling, custom framing usually pays for itself in fewer mistakes. If the job is simple, a DIY kit can still be fine, but only if the size, depth, and finish are standard.
For buyers comparing photo and art formats, this frame selection guide is helpful because the same logic often applies when you're choosing between paper, canvas, and framed display.
Hanging, Lighting, and Long-Term Preservation
Wall hardware decides whether a frame stays level or slowly drifts out of alignment. The room also decides how long the piece stays healthy, because light, humidity, and anchor choice all shape the life of the artwork once it leaves the bench.
Hang for balance, not just for height
A common professional reference is to place the center of the artwork at 57 inches from the floor (Laurie Baars DIY framing guide). That benchmark works because it lands near eye level in many rooms and keeps the piece from floating too high or sinking toward furniture. For the actual hang, position hooks relative to the distance between the frame's D-rings by splitting that span evenly from center, which helps the frame sit straight instead of pulling to one side.
Anchor choice matters more than many expect. Drywall, plaster, and masonry each need different support, and glazing adds weight that changes what the wall can safely hold. If the frame includes glass, choose hardware for the full load, not the bare frame weight.
Preserve the artwork after it's on the wall
Avoid direct sun whenever you can, because light accelerates fading even on decent materials. For paper works, the backing can include a small humidity hole, which helps the frame breathe rather than trapping everything inside a sealed box. That's useful in rooms where indoor climate swings during the year.
Canvas works usually don't need glass, and in damp spaces glazing can trap moisture and create conditions for mildew. That's why preservation framing isn't the same as display framing. The goal is to choose the least intrusive build that still protects the surface and holds the form.
Practical rule: if the room runs humid, don't add a sealed glass layer to a canvas unless the conservation plan specifically calls for it.
If you're moving a framed piece before it ever reaches the wall, this packing guide from Posch & Silva Moving Solutions is worth reading so the frame arrives without corner damage or pressure on the glass.
Grouping also changes perception. A single statement work needs breathing room. A series reads better when the spacing and frame language stay consistent, especially in hospitality, retail, or gallery-style walls where the room should feel planned rather than crowded.
Quick Recap and Common Questions
The order matters. Frame style comes first, because it needs to match the artwork type. Mat comes next for paper prints, especially when you need a clean border or edge concealment. Glazing is a yes for many paper works, a no for most canvases, and a case-by-case decision for preservation. Mounting has to protect the surface without forcing it flat. Hanging finishes the job only when the weight, anchor, and placement are all correct.
Short answers to the questions people ask after the first build
How do you fix a slightly crooked frame? Recheck the D-ring spacing and move the wall hooks so the span is split evenly from center. If the frame still drifts, the problem is often weight imbalance in the backing or an off-square build.
When should you skip glass? Skip it on most stretched canvases and on any piece where trapped moisture would be a problem. Paper works often benefit from glazing, but the room and the material still decide.
What do you do with a warped canvas? Measure each side separately, avoid forcing the stretcher into a perfect rectangle, and use a frame depth that leaves clearance. If the warp is significant, a custom fit is safer than trying to hide it with hardware.
When is a ready-framed Printano print the smarter choice? When the size already suits the wall, the finish matches the room, and you need a straightforward install without building a frame from scratch. It's also the more practical choice for coordinated sets, because the frame finish and orientation can stay consistent across a group.
If you're ready to skip the trial-and-error stage, browse Printano for framed art prints in sizes and finishes that fit real walls without a workshop. You'll spend less time troubleshooting fit and more time getting the piece on the wall where it belongs.