
You've got a photo you care about. Maybe it's a family portrait sitting in a shipping envelope, a travel print still rolled in a tube, or a wedding image living on your phone because choosing a frame feels strangely high-stakes.
That hesitation makes sense. A frame does more than hold a picture. It changes how the photo feels, how long it lasts, and whether it looks at home on your wall or oddly disconnected from the room around it. The best frames for photos aren't just “pretty.” They fit your goal.
If you think about framing as a set of small decisions instead of one big intimidating choice, it gets much easier. Start with the frame material. Then decide how much protection the photo needs. After that, look at matting and size, match the style to your space, choose your buying path, and finish with proper hanging.
Table of Contents
- Choosing Your Foundation Frame Materials and Finishes
- Protecting Your Picture With Glazing and Backing
- Mastering Mats Sizing and Proportions
- Finding Your Style by Pairing Frames With Decor
- Three Paths to Framing Ready-Made Custom and DIY
- Tips for Hanging and Displaying Your Framed Photos
Choosing Your Foundation Frame Materials and Finishes
The frame itself sets the tone before anyone even studies the image. If the photo is the person entering the room, the frame is the outfit.

Think of the frame as clothing for the photo
Wood feels like a bespoke jacket. It adds warmth, texture, and a sense of permanence. Family portraits, outdoor scenes, black-and-white prints, and sentimental photos often look more grounded in wood because the material softens the presentation. Natural grain also helps a frame feel less sterile.
Metal is closer to a crisp modern coat. It tends to have slimmer profiles, cleaner lines, and a more architectural look. If your photo is graphic, minimal, urban, or contemporary, metal usually supports that mood without adding visual noise.
Polystyrene or composite works like a practical everyday option. It can mimic painted wood, metallic finishes, or simple gallery styles while staying light and budget-friendly. For casual displays, kids' art, rental apartments, or rooms where humidity is a concern, it often makes sense.
Practical rule: Choose the material that supports the feeling of the photo, not just the color of the wall.
A close-up baby portrait in a chunky black metal frame can feel too severe. A sharp cityscape in distressed farmhouse wood can feel confused. The best frames for photos create harmony between subject and setting.
Frame Material Comparison
| Material | Best For | Aesthetic | Cost |
|---|---|---|---|
| Wood | Family photos, portraits, traditional interiors, warmer rooms | Natural, classic, textured | Mid to higher |
| Metal | Modern prints, offices, minimalist interiors, graphic photography | Sleek, clean, contemporary | Mid |
| Composite | Budget projects, lightweight displays, casual rooms | Flexible, varied, often imitates other finishes | Lower to mid |
If you like the character of timber, browsing examples of natural wood frames can help you spot the difference between pale oak-style warmth and deeper walnut-style richness.
How finish changes the mood
Material is only half the story. Finish does the fine-tuning.
A matte black frame reads crisp and restrained. White feels airy and clean. Natural oak feels relaxed. Gold can feel refined, vintage, or glamorous depending on how ornate the profile is. The same photo can look formal in one finish and casual in another.
Here's a simple way to decide:
- For emotional photos: softer finishes usually work better. Think natural wood, warm white, soft bronze.
- For bold or graphic images: sharper finishes keep things focused. Think black metal, satin silver, thin dark wood.
- For eclectic rooms: choose a finish that repeats a tone already in the room, like hardware, table legs, or lamp bases.
A frame shouldn't win a staring contest with the photo.
That's where many buyers get stuck. They assume “special” photos need ornate frames. Often the opposite is true. The more meaningful the image, the more helpful a calm frame becomes. It lets the memory carry the weight.
Protecting Your Picture With Glazing and Backing
A frame has a visible face and an invisible job. The visible face is style. The invisible job is protection.
Glass or acrylic starts with risk tolerance
Glazing is the clear front layer that sits over the photo. It is commonly known as glass, but acrylic is a common alternative. Think of glazing like sunglasses for your artwork. It shapes what you see, but it also shields what's underneath.
Glass usually feels more traditional. It has a familiar hardness and a crisp surface. Acrylic is lighter and more shatter-resistant, which makes it appealing for large frames, homes with children, busy hallways, or spaces where a falling frame would be a bigger risk.
Neither option is “always best.” Ask a simpler question instead. Where will this frame live, and what could happen to it there?
- Choose glass if you want a classic feel and the frame is modest in size.
- Choose acrylic if weight, safety, or easier handling matters more.
- Pause on either option if the photo is irreplaceable and hangs in strong daylight. Then protection matters more than habit.
What glazing actually does
Standard glazing covers the surface. Better glazing helps manage light.
If you've ever hung a photo across from a window and only seen reflections, you've seen the limit of basic glazing. Anti-reflective options help the image feel more immediate because you're noticing the photo, not the room mirrored on top of it. UV-protective glazing matters when a photo will stay on display for years, especially in bright rooms.
For fine art photography, framing experts note that a classic frame with a mat board creates breathing space, while aluminum mounting gives a modern, sleek appearance that emphasizes the image as an object itself, as explained in this guide to framing a fine art photograph. That's a useful reminder that protection and presentation work together, not separately.
If you like decorative frames in bright, relaxed spaces, browsing examples of coastal decor from Volkswagen Memorabilia can be helpful because it shows how the frame's front material and styling both affect the final look.
Backing is the quiet protector
The backing board sits behind the photo, but it matters more than most shoppers realize. Cheap backing can introduce problems over time. A better backing helps the print stay flatter and better protected.
Look for acid-free backing when preservation matters. If the print itself is made to last, it makes sense to pair it with display materials that support that goal. A quick explainer on archival-quality prints is useful if you want to understand why paper, backing, and display conditions should work as a system.
If a photo is meaningful enough to frame, it's meaningful enough to protect from the front and the back.
Mastering Mats Sizing and Proportions
A mat is the border between the photo and the frame. It seems simple, but it changes almost everything about how the image reads.

Why mats matter beyond looks
A mat gives the eye a place to rest. Without one, some photos feel crowded, especially if the image comes right up to the frame edge. It also helps keep the print from pressing directly against the glazing, which is one reason mats are common in more careful framing.
That “breathing space” is especially important in fine art presentation. As noted earlier in the article, a mat board can reduce visual competition around the image and keep the composition from feeling cramped.
The question people usually ask is, “Should the frame match the photo exactly?” Sometimes yes. But not always. There's a middle ground between exact-fit framing and a full, traditional mat.
Start with the print size and aspect ratio
Your first job is measuring the print correctly. Don't start with the frame. Start with the photo.
An 8×10 inch frame is widely used for portraits and wall-display photos in the United States, and it's often treated as the standard default because it works well on shelves, tables, and walls while keeping facial detail visible in group photos. For print sharpness, that size aligns with the common standard of 300 PPI, which means an 8×10 print needs 2400×3000 pixels for high-quality output, according to this guide on standard frame sizes.
That matters for two reasons:
- It helps you choose a practical size. If your file supports a clean 8×10 print, you can shop from a very common frame size.
- It helps avoid awkward cropping. A 4×6 snapshot and an 8×10 frame don't share the same shape. If you try to force one into the other without planning, something gets cropped or padded.
If you're working with smaller pieces, looking through examples of small art prints can help you see how mat width affects scale. Small prints often benefit from extra breathing room, but only if the proportions still feel intentional.
Choosing border width without guesswork
Many people freeze at this point. They know what a mat is, but they don't know how wide the border should be.
There's also a less-discussed version of the problem. Some people want no mat, but they still don't want the photo to feel jammed into the frame. A discussion summarized from a photography forum thread about choosing a frame notes that 68% of users struggle with the decision around a narrow border for non-matted prints, especially in the 1/4–1/2 inch range.
That's useful because it names a common visual sweet spot. If you're framing an un-matted print, a slight border inside the frame can create a little depth without turning the presentation into a formal matted piece.
Use this rough guide:
- Tiny photo, large wall: add more breathing room so the piece doesn't look undersized.
- Detailed portrait: keep the border modest so attention stays on the face.
- Casual snapshot wall: exact-fit frames can feel lively and informal.
- Single feature print: a mat or slight inner border often gives it more presence.
Here's a practical video that helps you visualize matting and proportions before you commit:
A simple way to visualize balance
Set the photo on a table. Then place a sheet of plain paper around it to mimic a mat. Slide the paper wider or narrower until the image stops feeling cramped.
More mat doesn't always mean more elegance. The right amount is the one that gives the image room without making it feel stranded.
If the photo is intimate, like a portrait or a candid family moment, overly wide borders can make it feel emotionally distant. If the photo is dramatic, like a scenic view or architectural shot, wider matting can enhance that sense of scale.
Finding Your Style by Pairing Frames With Decor
A frame can look perfect on a store shelf and wrong in your home. That usually happens when the buyer chooses for the frame alone instead of the relationship between frame, photo, and room.

Good pairing versus bad pairing
Consider a farmhouse-style living room with linen upholstery, warm wood, and soft neutral walls. A weathered wood frame around a nature photo can feel natural there. The frame echoes the room's texture, and the photo feels settled.
Now place the same image in a glossy chrome frame with razor-thin lines. It may still be attractive on its own, but it won't feel integrated. The room says relaxed and tactile. The frame says sharp and urban.
The reverse happens in a modern office. A black metal frame around abstract photography often feels disciplined and clean. Swap it for a thick carved gold frame and the image can feel overdressed.
Match the room first, then refine for the photo
A useful shortcut is to identify your room's dominant language.
- Traditional rooms: wood frames, classic profiles, softer finishes
- Modern rooms: thin metal, black, white, or restrained wood
- Bohemian rooms: mixed materials, natural finishes, imperfect textures
- Industrial rooms: black metal, weathered wood, simple profiles
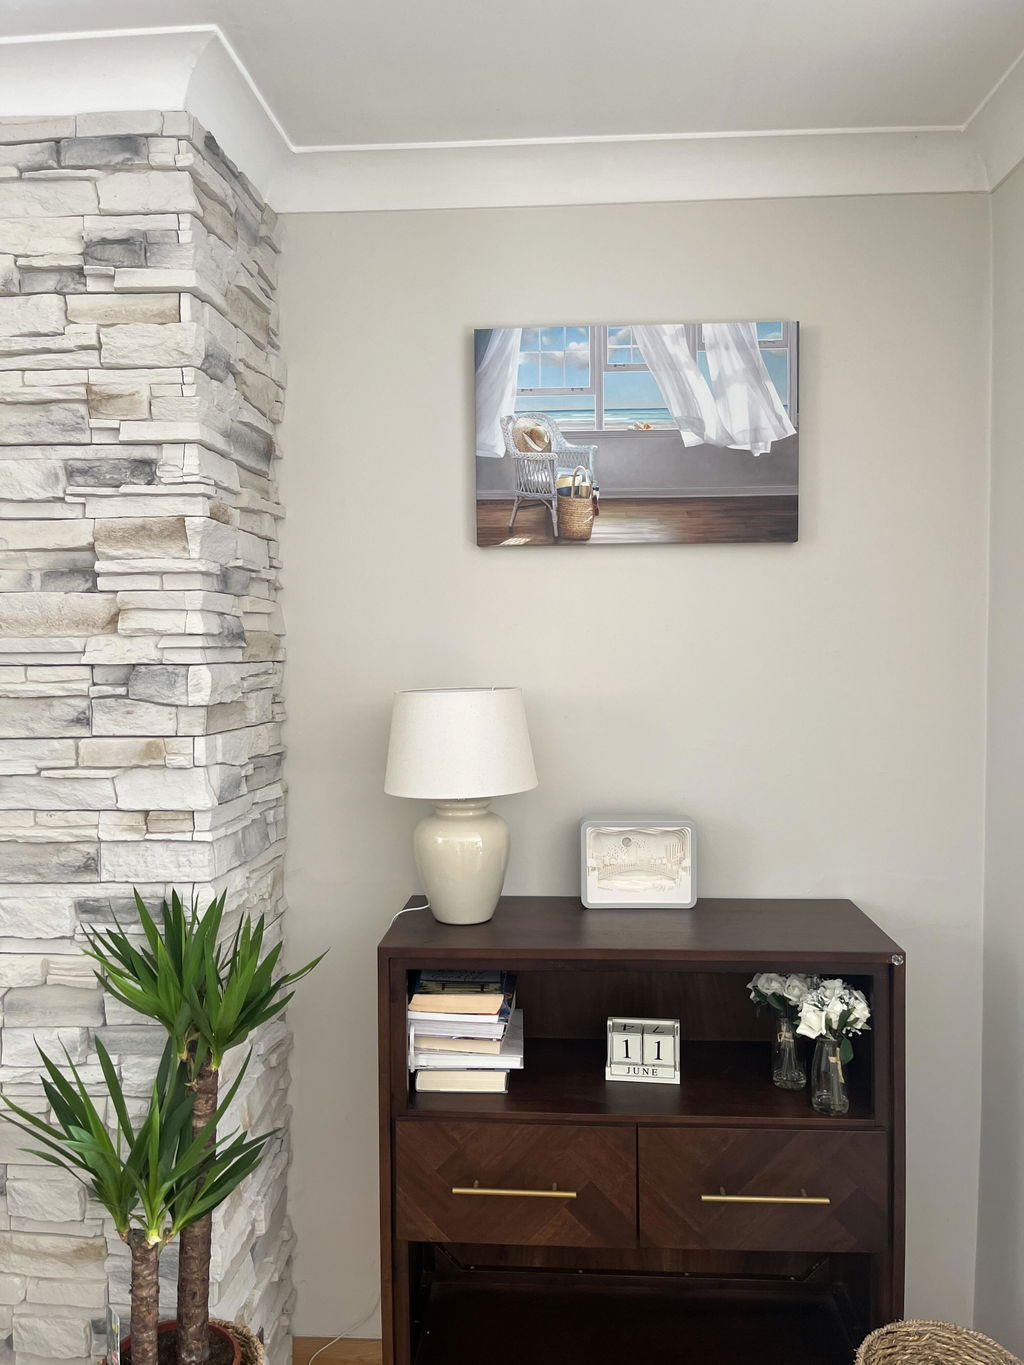
- Coastal rooms: pale finishes, washed woods, airy colors
After that, refine based on the subject of the image. If the room and the photo disagree slightly, let the room win on frame style and let the photo lead on mat color or profile thickness.
If you want to see how a bright neutral frame can support many decorating styles, examples of white frame wall art make that easier to picture.
Where people go wrong with floater frames
Floater frames are a common source of confusion. They look current and elevated, so shoppers often try to use them on everything.
But 42% of consumers buy floater frames for paper prints, even though professionals stress that floater frames work when the artwork has consistent stretcher-bar depth and square geometry, conditions that standard photo paper doesn't meet, according to this frame guide from Dick Blick.
That's why a floater frame often looks right on canvas and awkward on a paper print. The structure is designed to showcase depth around the edges. Paper doesn't provide that edge depth.
A trendy frame isn't a better frame if the object inside it doesn't match the frame's structure.
Three Paths to Framing Ready-Made Custom and DIY
Users don't need every framing option. They need the right path for the photo in front of them.

Ready-made when simplicity wins
Ready-made frames are the easiest route when your photo fits a common size and you want a fast result. They're ideal for standard portraits, casual wall arrangements, and projects where convenience matters more than precision.
This path works best when:
- The size is standard
- The photo is replaceable or easy to reprint
- You want to frame several pieces at once
- You don't need unusual matting or specialty glazing
Custom when the photo deserves precision
Custom framing makes the most sense for odd sizes, sentimental originals, formal display pieces, or rooms where every finish detail matters. This is the route for fine art prints, unusual proportions, inherited photos, and single feature pieces over a console, bed, or mantel.
You're paying for fit, flexibility, and better alignment between the image and the room. If you've ever tried to force an unusual print into a standard frame, you already know why custom exists.
DIY when you want control
DIY framing can be satisfying if you enjoy hands-on projects and don't mind measuring carefully. It gives you freedom to mix frame sources, cut your own mats, or build a gallery wall gradually.
A simple decision filter helps:
| Path | Best For | Main Benefit | Watch Out For |
|---|---|---|---|
| Ready-made | Standard sizes | Fast and simple | Limited fit and finish choices |
| Custom | Valuable or unusual pieces | Precision and preservation | Higher cost and longer lead time |
| DIY | Creative, hands-on projects | Flexibility and control | Measurement and assembly mistakes |
If you're unsure, ask three questions. Is the photo replaceable? Is the size standard? Do you want a result that feels good enough, or exactly right? Your answers usually point to the right path quickly.
Tips for Hanging and Displaying Your Framed Photos
A well-chosen frame can still disappoint if it's hung too high, too low, or without enough visual balance around it.
A short hanging checklist
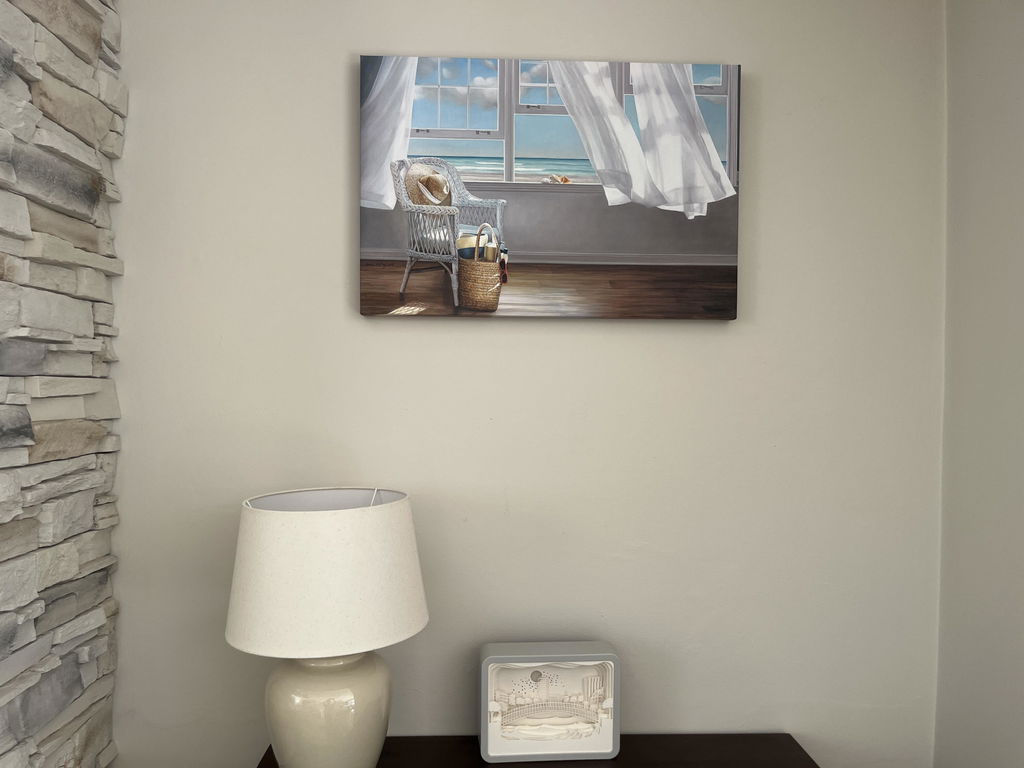
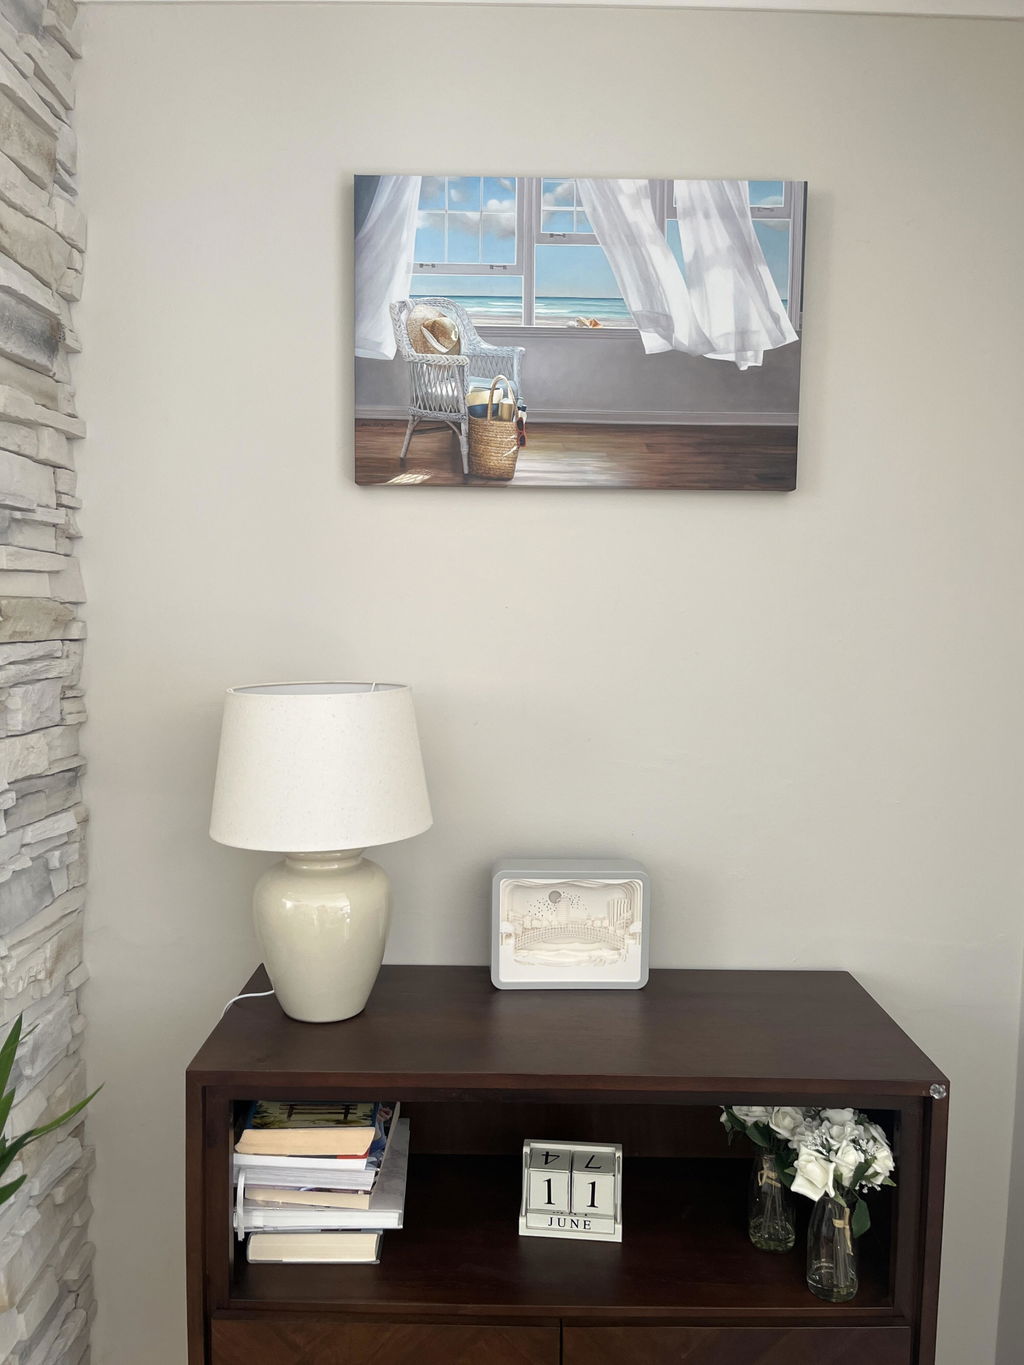
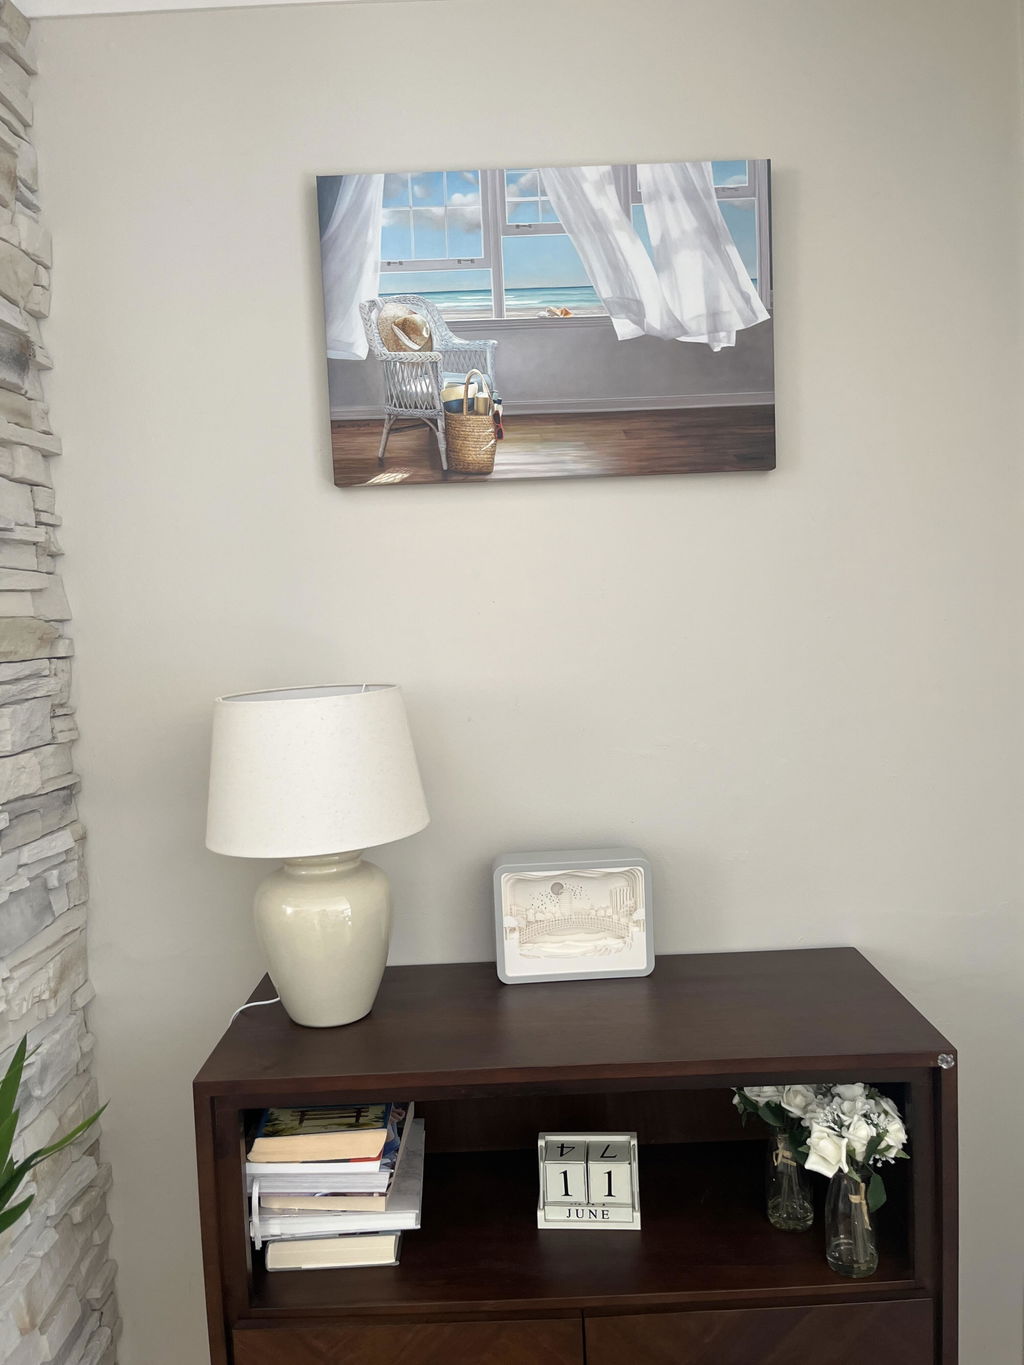
Start by placing framed photos at a comfortable viewing height. Art is often hung higher than it should be, which makes the piece feel disconnected from furniture and from the people in the room. When a frame sits above a sofa, console, or bed, treat it as part of that grouping rather than as a floating object on an empty wall.
For gallery walls, lay the arrangement out on the floor first. Pick one anchor piece, then build around it. Keep spacing consistent so the collection feels intentional instead of scattered.
Use the right hardware for the frame's size and weight. A level, measuring tape, painter's tape, and proper wall anchors make a huge difference. If you want a more detailed walkthrough, this guide on how to hang art with precision is a helpful companion.
For more placement ideas and wall layout basics, this article on how to hang wall art can help you plan before you start hammering.
If you're ready to turn a favorite image into something display-worthy, Printano offers museum-quality art prints and framing options in a wide range of sizes, finishes, and styles. It's a practical place to start when you want artwork that feels considered, polished, and easy to bring into your home.