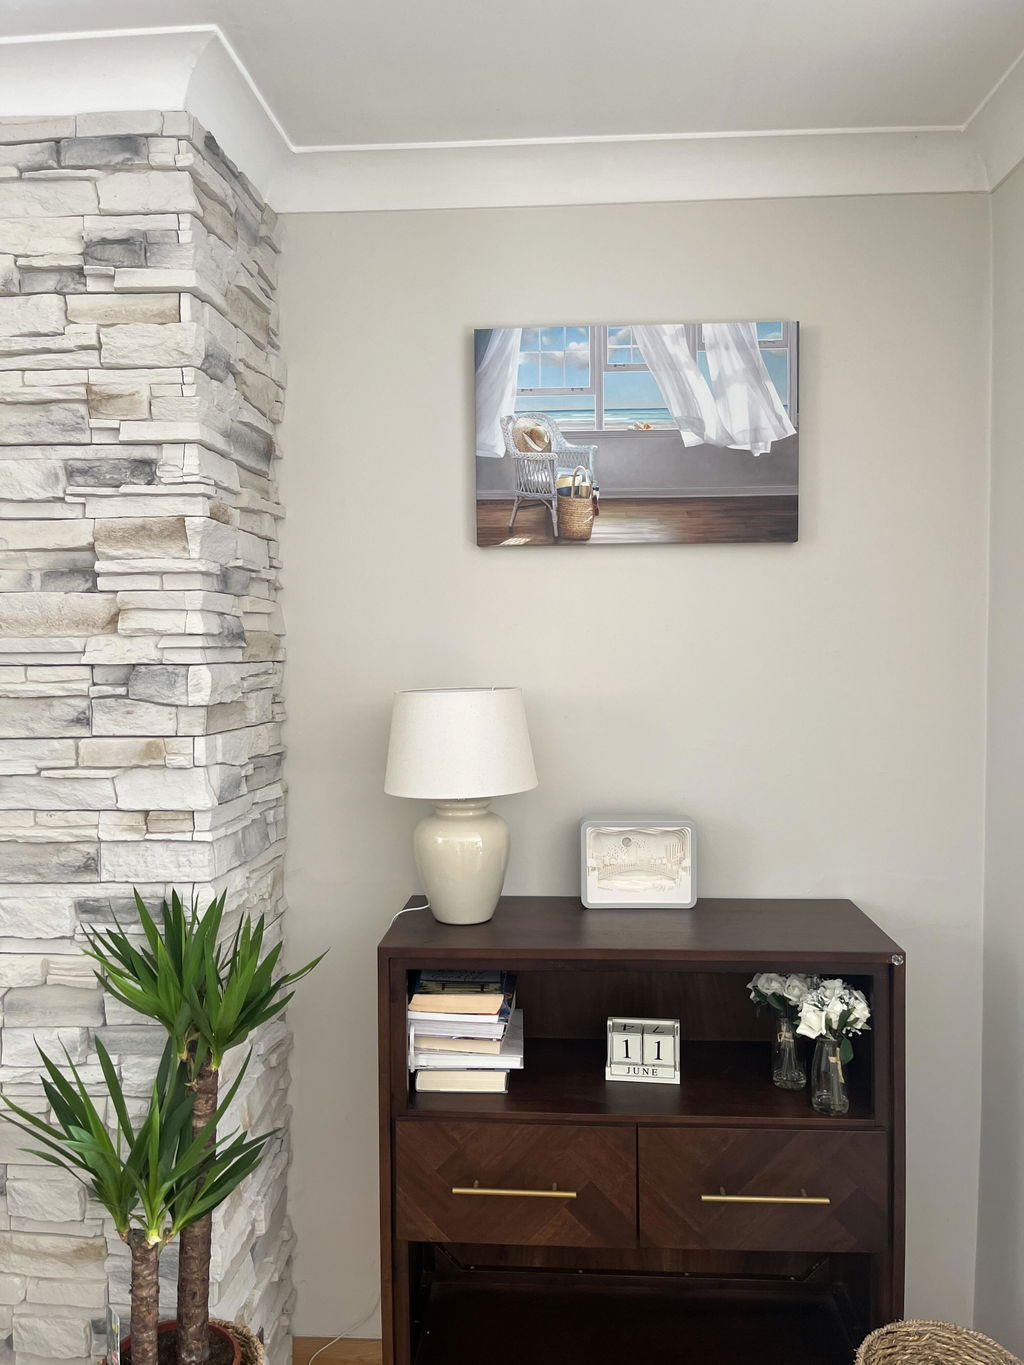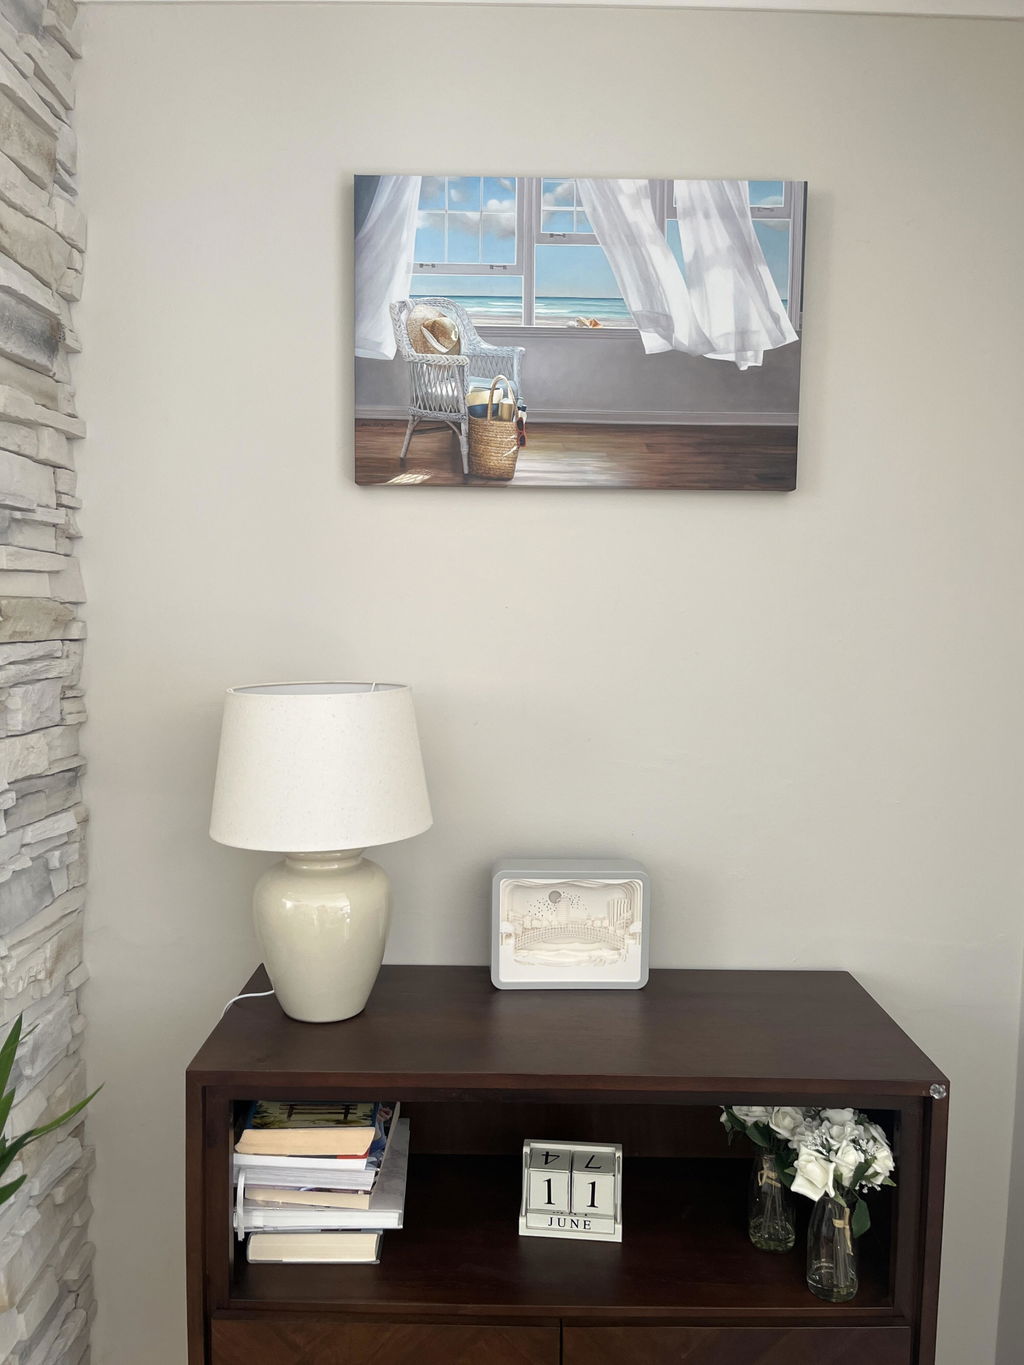

You've just moved into a rental, or you're refreshing a room before listing it, and the walls look too bare. You want the framed print above the console, but you don't want nail holes, chipped paint, or a landlord dispute when it's time to leave. That's where damage free picture hanging sounds ideal, but the result depends less on the label and more on the wall beneath it.
Smooth, clean, fully cured paint can give adhesive systems a reliable surface. Old matte paint, texture, humidity, dust, and an oversized glass frame can produce a very different outcome. The practical approach is to match the hardware to the artwork, inspect the wall first, install with patience, and remove the adhesive in the direction it was designed to release.
Table of Contents
- Why Damage Free Hanging Became the Default
- Choosing the Right Hardware for Your Art
- Assessing Your Wall Before You Hang
- Installation Steps That Actually Work
- Troubleshooting Common Problems
- Removing Art Without Damaging Walls
Why Damage Free Hanging Became the Default
A renter furnishing a new apartment often starts with lightweight prints, a few frames, and a strict rule about leaving the walls intact. The first attempt usually goes well on a clean painted wall. A small frame disappears into the room, the layout can be adjusted, and the display feels more permanent than leaning art on the floor. That convenience is why removable hanging has moved from a novelty to a standard decorating tool.
The modern category is closely associated with 3M Command. According to Command's product history, product-development work traces back to 1992, the first product launched in 1996, and the line was reportedly in the black by $10 million within three years. A dedicated picture-hanging strip arrived in 2005, after the wider no-damage platform had already been established. The company also reformulated the system in 2015 as paint chemistries changed.
That timeline matters in practice. Damage-free hanging isn't an ancient decorating tradition adapted for renters. It's a late-20th-century consumer innovation designed around removable adhesion, predictable installation, and lower risk than putting a fastener into drywall.
Practical rule: “Damage-free” means lower-risk under the specified conditions, not guaranteed safety on every wall.
The distinction separates adhesive hanging from traditional nails and screws. Mechanical fasteners create a small, deliberate hole and can support artwork through a wall anchor or stud. Adhesive systems avoid that hole, but they depend heavily on surface contact, paint strength, temperature, curing time, and correct removal. For renters, stagers, offices, and households that regularly refresh decor, the trade-off is often worthwhile.
Before choosing a hanging product, plan the arrangement itself. A useful guide to arranging wall art can help you decide whether the artwork needs one centered support, several points of contact, or a looser arrangement that would be safer on a ledge.
Choosing the Right Hardware for Your Art
The frame, not the wall, should determine your first hardware decision. A lightweight paper print and a glass-filled frame may have similar dimensions, but they place very different demands on an adhesive. Shape matters too. A flat frame sits close to the wall, while a wire-backed piece concentrates load at a hook.

The clearest published benchmarks come from an expert comparison of nail-free art-hanging methods. Poster putty or tape is rated at under 1 lb, adhesive hooks at approximately 3 to 8 lb depending on size, and adhesive picture strips at up to about 16 lb per set of four pairs. Treat these figures as product-specific guidance, not permission to load any adhesive system beyond its packaging instructions.
| Hardware Type | Weight Capacity | Best For | Limitations |
|---|---|---|---|
| Adhesive picture strips | Up to about 16 lb per set of four pairs, according to expert guidance | Small, flat frames and lightweight art | Sensitive to surface condition, installation errors, and overloading |
| Adhesive hooks | About 3 to 8 lb depending on size, according to expert guidance | Wire-backed frames and pieces needing a slight gap | The hook remains visible and concentrates load |
| Poster putty or tape | Under 1 lb, according to expert guidance | Temporary paper items and very light prints | Poor choice for valuable, framed, or projecting objects |
| Specialty systems | Capacity depends on the system and wall attachment | Larger decor when a rated product and compatible surface are available | Requires careful product matching and may still be unsuitable for weak finishes |
Adhesive picture strips are usually the cleanest visual option for a small frame because paired strips distribute support across the back rather than suspending the frame from one point. They work best when the frame sits flat and the wall is smooth, clean, and properly cured. They're not a sensible choice for a heavy, deep, or glass-dominant frame just because the packaging uses “damage-free” language.
Adhesive hooks suit a frame with a wire or sawtooth hanger. They're useful when you want to remove the frame without separating paired strips from its back, but the visible hook can create a small shadow gap and a less refined finish.
Poster putty belongs in the temporary category. It can hold a paper print in a child's room, studio, or short-term display, but it won't provide the stability or load capacity of a properly installed picture strip.
For larger canvas art, compare the artwork's construction, hanging hardware, and center of gravity before choosing an adhesive. Printano's guide to hanging large canvas art is a useful planning reference, but a heavy or valuable piece may be better leaned, placed on a ledge, or mounted with a mechanical system.
Assessing Your Wall Before You Hang
Most damage-free failures begin with the wall. A strip can be perfectly fresh and correctly sized, yet still lose its hold when it's attached to dusty paint, a porous finish, or a damp surface with limited contact.

Start with the surface
Look at the wall in side light. Smooth, sound, cured paint is the easiest working surface. Texture reduces the area that can make full contact, while porous plaster, chalky paint, wallpaper, and fragile decorative finishes create uncertainty. Guidance on wall conditions for removable picture hangers specifically warns against wallpaper, textured surfaces, freshly painted walls, and fragile finishes.
Paint age is only a rough indicator. Older paint may be well cured but weakened by repeated cleaning, sun exposure, humidity, or previous adhesive removal. Newer paint can look dry while still needing additional curing time. Manufacturer guidance calls for waiting 7 days after painting, while more recent practical guidance recommends waiting 2 to 3 weeks for fresh paint before applying adhesive. Use the longer interval when the wall is important, the finish is delicate, or the room has poor ventilation.
Check texture and moisture
Bathrooms, kitchens, laundry areas, and exterior-facing walls can experience humidity that changes how adhesive behaves. Don't place a strip beside a steam source or on paint that feels cool, damp, powdery, or slightly tacky. A textured wall can also hold dust in its recesses, leaving less clean surface for the adhesive to grip.
Clean the chosen area with isopropyl alcohol and allow it to dry completely. Avoid household cleaners that leave a conditioning film. Before committing to a visible location, test the product on a hidden spot or an inconspicuous area. Independent hanging guidance recommends this precaution because even products marketed as damage-free can lift paint or leave residue when the finish is weak or poorly cured.
If the test area pulls up paint, the wall is textured enough to prevent full contact, or humidity is difficult to control, choose a ledge, shelf, picture rail, easel, or leaning arrangement instead. A wall-friendly method isn't successful if it turns a small decorating project into repainting.
Installation Steps That Actually Work
Good installation is quiet and methodical. Rushing the cleaning stage, pressing for too little time, or loading the frame immediately after attachment can make a sound product appear defective.

Prepare both contact surfaces
Remove dust from the wall and the back of the frame. Degrease the wall with isopropyl alcohol, then wait until it's fully dry. Do the same to the frame wherever the strips will sit, and don't apply adhesive over a loose paper backing, oily wood, fabric, or a dusty recess.
For a flat, lightweight frame, use paired picture strips near the upper corners and add lower support when the frame rocks, bows, or tends to tip. Multiple support points reduce movement and keep the frame close to the wall. A single hook can be appropriate for a wire-backed piece, but don't substitute one hook for a distributed strip system when the frame needs support across its back.
Press, wait, and load gradually
Follow the product's own placement instructions. Current Command guidance specifies a 30-second wall press and a 1-hour adhesive build time before loading the frame, with indoor use between 50°F and 105°F. These conditions and timings are documented in the manufacturer's hanging instructions.
Press the adhesive firmly against the wall for the full required time. If the system instructs you to separate the frame from the wall-side strips before curing, do that rather than leaving the frame loaded immediately. The adhesive needs time to build contact without the frame pulling against it.
A level helps, but don't rely on the level alone. Mark the top edge lightly with painter's tape, check the frame from normal viewing distance, then attach it once the position works. The installation sequence in this wall-art hanging guide is useful when you're coordinating several pieces and want the layout to remain consistent.
Installation note: A clean wall and correct cure time matter more than adding extra adhesive to compensate for a poor surface.
Keep the first test modest. If a frame is near the product's limit, has glass, or sits in a room with changing humidity, choose more conservative support or a non-adhesive method. Never treat extra strips as a substitute for a compatible surface.
Troubleshooting Common Problems
A frame that drops after several days often reveals a removal or surface problem rather than a sudden hardware defect. Start by taking the piece down carefully and checking whether the adhesive has curled, stretched, or left residue.
For residue, use the product's release method before reaching for a scraper or solvent. Pulling against the paint can spread adhesive and lift a larger patch. Test any cleaner on a concealed spot, especially on older paint, matte finishes, or walls exposed to humidity. If the finish softens or color transfers, stop and switch to a mechanical hanging method.
Paint peeling needs the same restraint. Photograph the area, collect any loose flakes, and avoid reinstalling adhesive on that patch until the finish is repaired and fully cured. A clean-looking wall can still have weak paint after a recent repaint, previous patching, or repeated condensation.
When the same product fails on one wall but holds on a smooth, clean wall elsewhere, investigate the surface first before blaming the hardware. Texture, aged paint, moisture, and cleaner residue can change how the strip releases and how much paint it carries away.
A frame that shifts, tilts, or taps the wall may also be transferring movement through the display. In a gallery arrangement, increase the spacing, stabilize contact points, and check each frame from normal viewing distance. Planning the composition with coordinated gallery wall art sets can reduce later repositioning and repeated adhesive use.
For a practical review of damage-free hanging methods, see this practical hanging guide. If problems continue after careful removal and a surface check, choose a hook, rail, ledge, or floor-standing arrangement suited to the wall condition.
Removing Art Without Damaging Walls
Removal is where correct technique matters most. Don't pull the frame straight toward you, because that loads the adhesive against the paint and can lift the surface. First remove the artwork or frame from the wall-side attachment if the product is designed to separate that way, then locate the release tab.
Pull the tab slowly downward and parallel to the wall, extending it at least 15 inches, or 38 cm, according to Command's removal guidance. Keep the strip close to the wall as it stretches. A sharp tug, sideways pull, or direct outward peel can break the strip or transfer force into the paint.
If the tab resists, stop rather than tearing at it. Work gradually and support the wall-side area with your free hand without pressing the adhesive farther into the paint. After removal, inspect for lifted paint, residue, or a soft finish before installing anything else in that location.
No adhesive method can guarantee a perfect release from every wall. Weak paint, uncured finishes, texture, humidity, and previous repairs can still cause damage. Photographing the wall before installation and marking positions with painter's tape can help you keep a rental display organized without writing on the finish.
Choose artwork and hanging hardware as one decision, not two separate purchases. Printano offers framed art prints and selected stretched canvas pieces with hanging hardware installed, along with multiple sizes, orientations, and materials, so you can select a format that suits the wall and then confirm that the finished piece matches your chosen support method. Visit Printano to browse artwork for a clean, adaptable display.