
You've got the paint squeezed out, the canvas is ready, and the question still nags at you. Will the knife make this piece feel bold and alive, or will it just turn into a smeared mess on the first pass? That hesitation is normal, and it usually disappears the moment you realize oil painting with palette knife isn't about forcing the paint, it's about placing it with intent and letting the surface do part of the work.
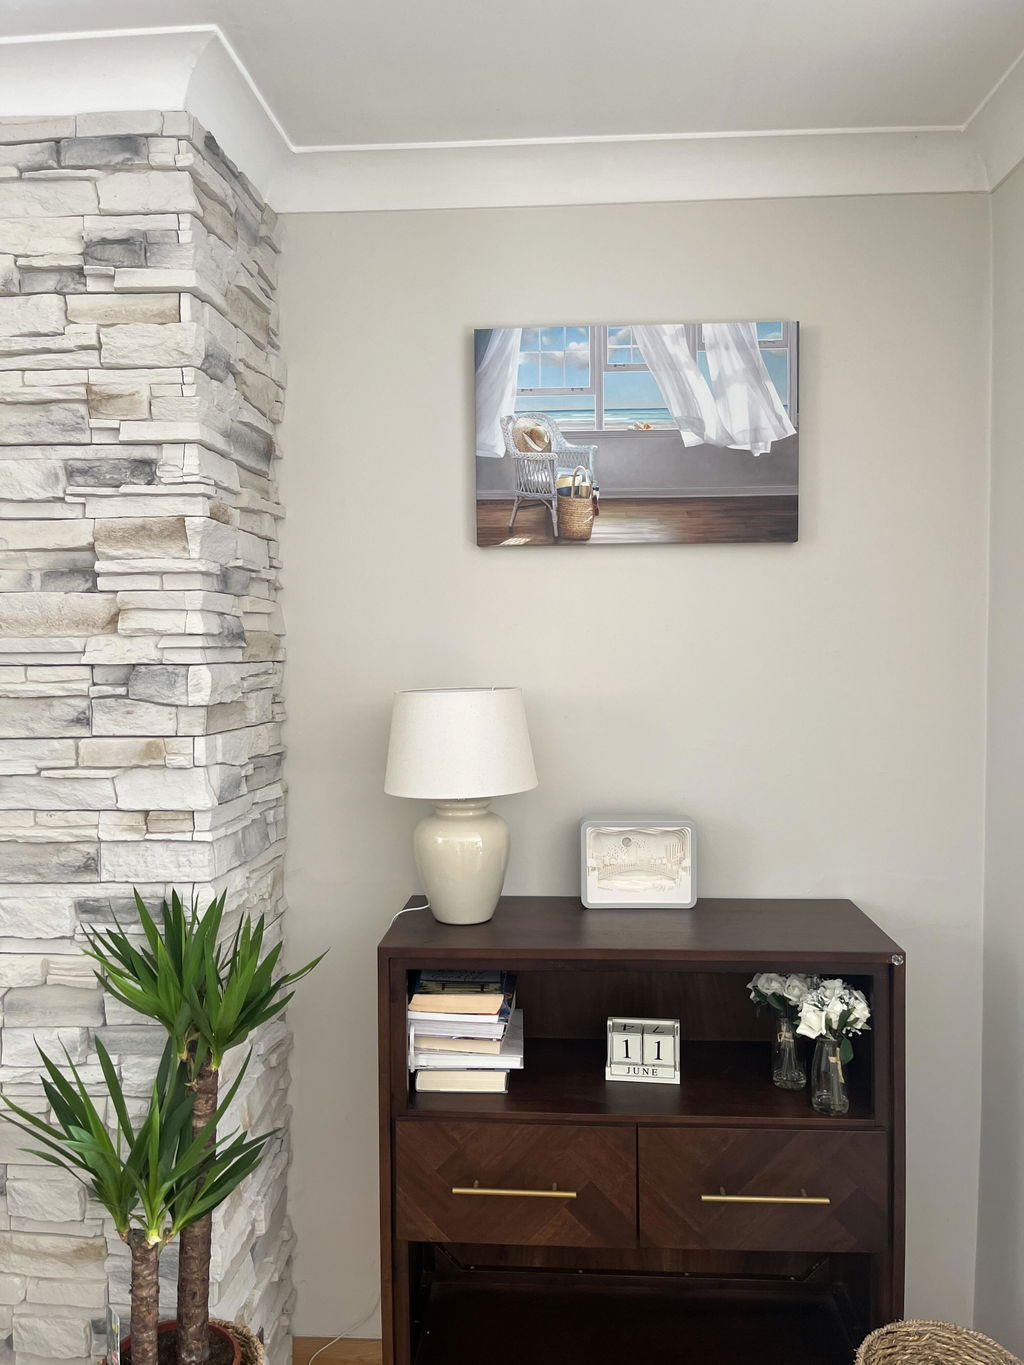
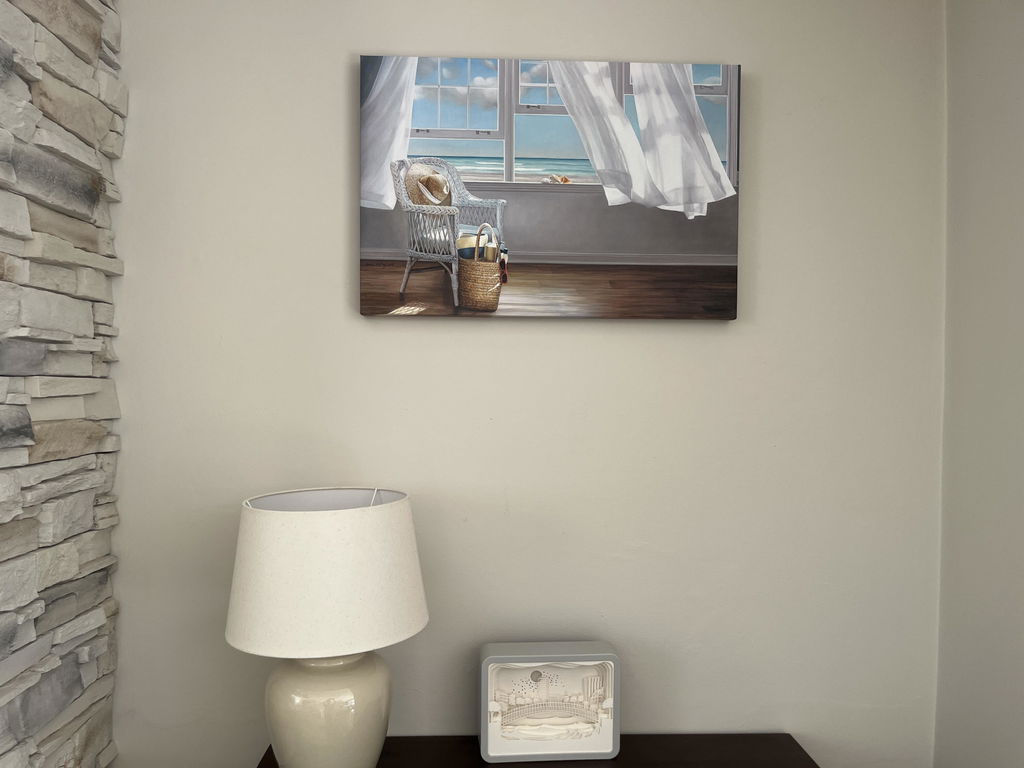
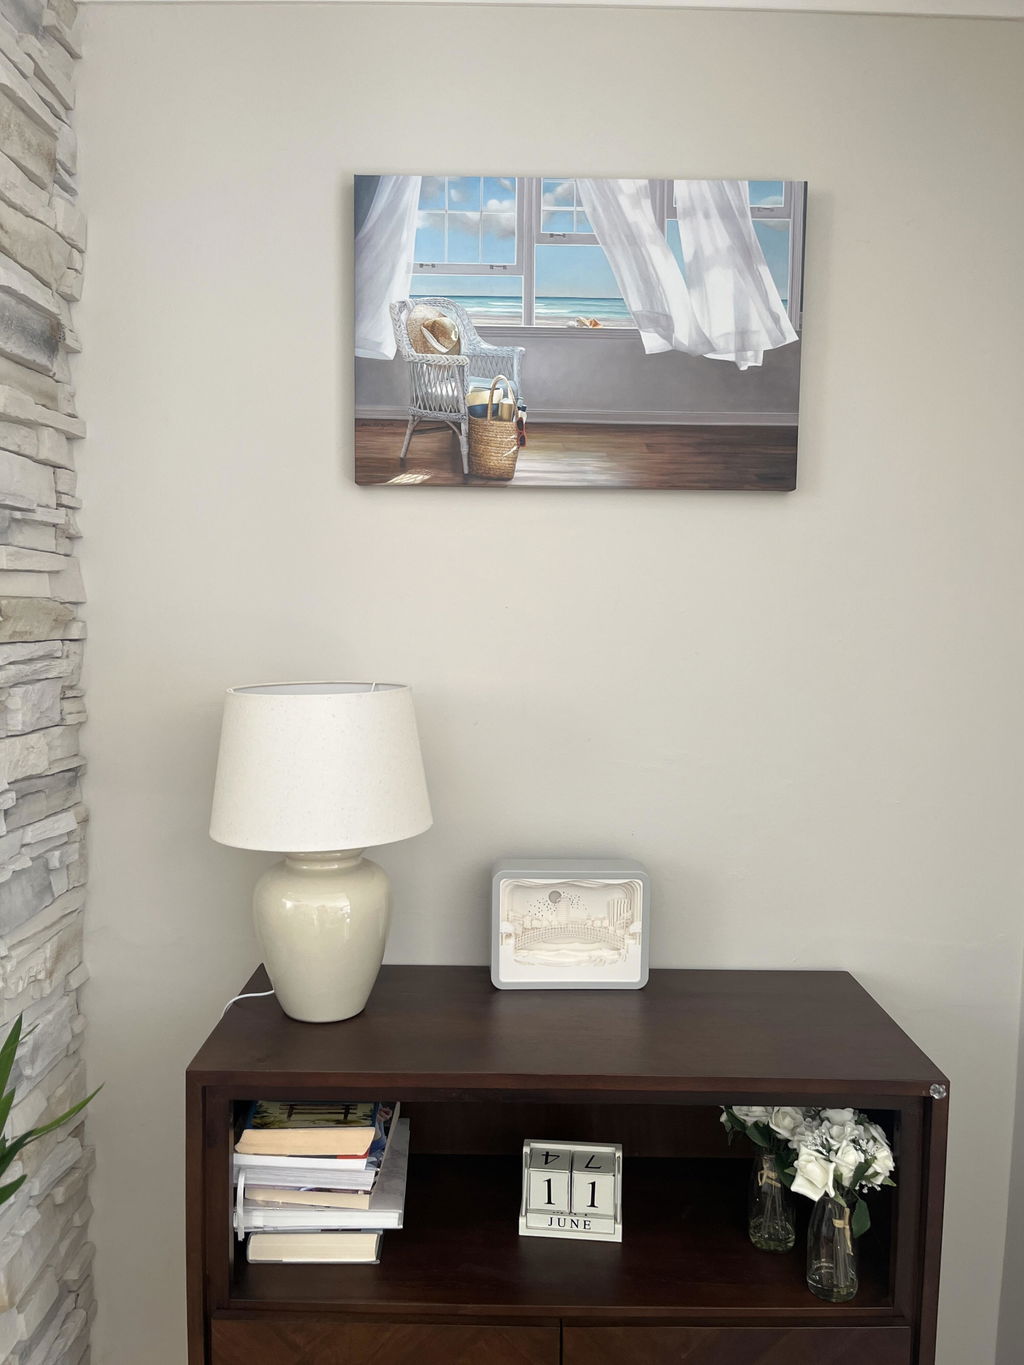
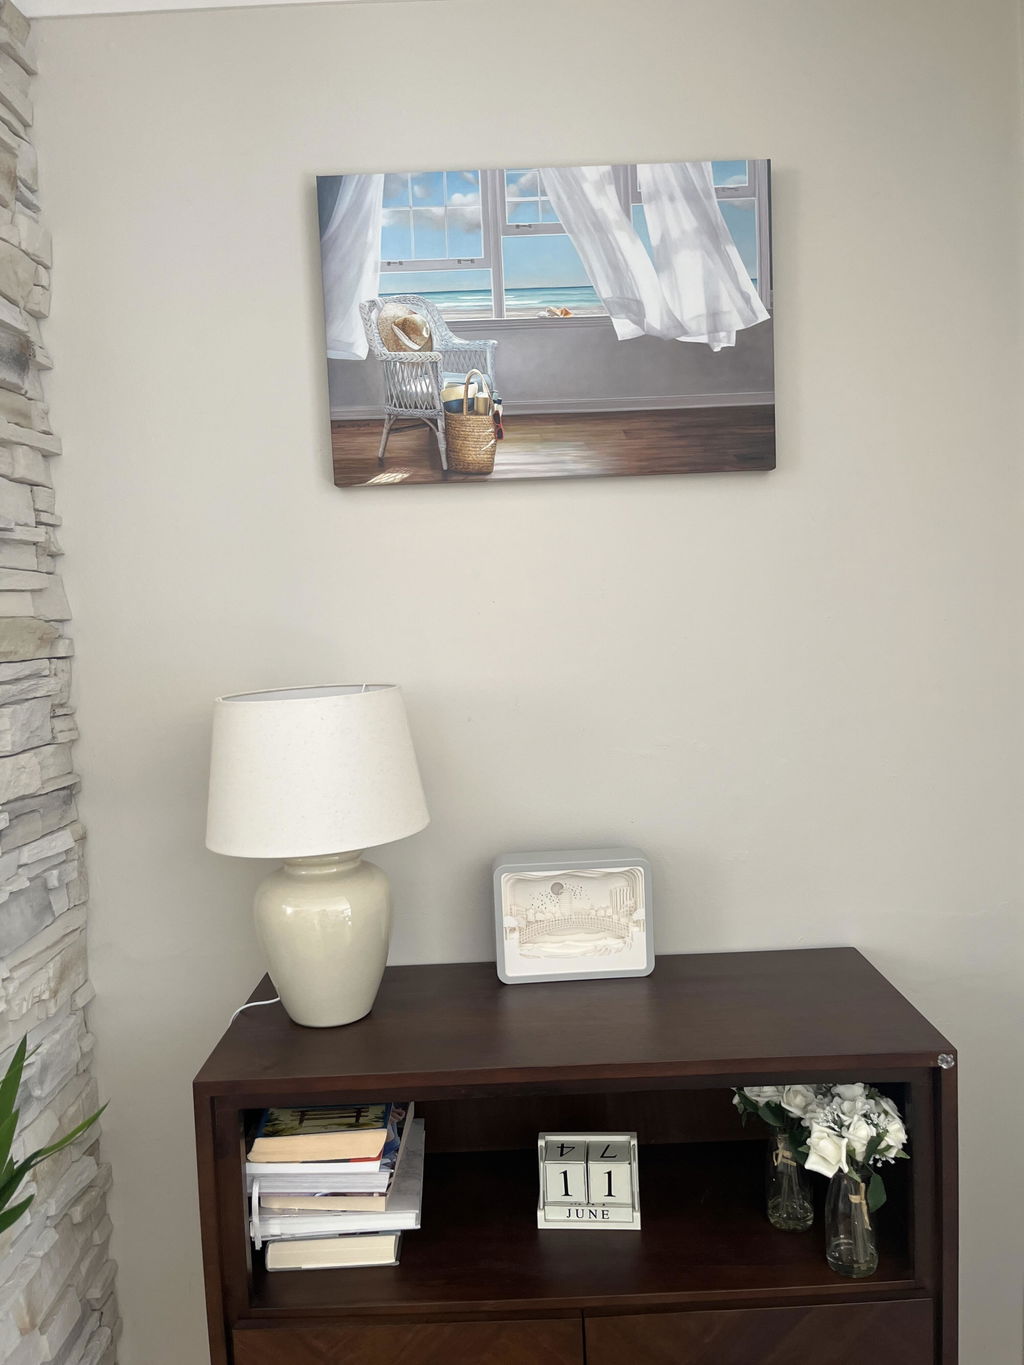
The appeal is immediate. A brush can describe form, but a knife gives you texture, height, and edge in one move, which is why it's so closely linked to impasto, the method of applying paint in visibly thick layers (Kia School on impasto and knife painting). The technique also carries real history, with roots described as reaching back to the Renaissance and continuing into modern practice, including the expressive surface energy associated with Impressionist and post-Impressionist approaches (Keboto on palette knife history). If you want to see how textured originals can hold up as wall pieces, there's a useful example in this original oil paintings feature.
What follows is the practical version. You'll get the tool choices that matter, the strokes that work, a simple painting workflow, the mistakes that ruin texture, and the finishing decisions that help a painting read well on a wall or in a print.
Table of Contents
- The Allure of Painting with a Knife
- Gathering Your Essential Palette Knife Tools
- Mastering Core Palette Knife Techniques
- Your First Painting A Simple Landscape Project
- Avoiding and Fixing Common Mistakes
- Finishing and Showcasing Your Textured Artwork
The Allure of Painting with a Knife
The first time you drag a loaded knife across canvas, the surface answers differently. Paint rises, catches the light, and leaves a clean physical edge that a brush cannot quite copy. That immediate change is why many artists return to the knife whenever they want a painting to feel tactile instead of merely descriptive.
A knife also changes the mood of the work. A brush encourages continuous movement and softer transitions, while a knife pushes you toward decisive placement, which helps when you want a vista, flower, or abstract surface to read with confidence. The mark looks more sculpted, and that sculptural quality is part of the pleasure in oil, where the paint can hold peaks and ridges instead of flattening out.
The history behind the tool matters because it shows this is a real painting method, not a novelty trick. Palette knife painting grew from early experiments with texture into modern practice, and that long use helps explain why it still feels current rather than dated. You can see that same confidence in strong contemporary examples such as Allayn Stevens original oil paintings, where surface, gesture, and color carry as much weight as subject matter.
The knife rewards confidence faster than perfection.
What you gain is control over more than thick paint. A knife can lay broad color, sharpen an edge, scrape back a passage, or leave a quiet finishing touch when the tip is treated like a fine tool. That wider range matters because it keeps the method from being trapped in one look.
If you have only seen dramatic textured paintings, the flexibility can be surprising. The same tool that builds a heavy ridge of paint can also clean a passage, sharpen a silhouette, or give a highlight a crisp, readable finish. That range is useful for work meant to hang on a wall, where clarity matters as much as texture, and it also helps later if you want the surface to photograph well or translate cleanly into print.
Gathering Your Essential Palette Knife Tools

The smartest starter kit is smaller than most beginners expect. You don't need a drawer full of exotic knives, and you don't need a huge color spread to get convincing texture. You need tools that hold shape, clean easily, and let the paint sit up on the surface instead of collapsing into a muddy film.
Knives that actually earn their keep
A few blade shapes cover most jobs. A trowel-style knife is useful for broad placement and thick passages, a straight knife is handy for flatter drag strokes, and a diamond-shaped knife often helps when you want a point or edge for smaller accents. The exact brand matters less than the feel of the blade in your hand, because control comes from predictable flex and a shape that matches the mark you want.
The blade should feel like an extension of your wrist, not a stubborn scraper. If it bends too much, you lose the crispness that makes knife work sing. If it's too large for the scale of your canvas, you'll fight the surface instead of shaping it.
Paint and surface choices that support texture
Oil paint with stronger body is easier to build into raised texture, because the knife needs paint that can hold volume. Thin, fluid paint tends to flatten out, which works against the whole point of the technique. That's also why the surface matters. Canvas panels, stretched canvas, and wood panels each respond differently, but a firmer support usually feels more stable when you're pressing, dragging, or scraping.
A limited palette is often the cleanest place to begin. Fewer colors make it easier to choose values quickly, and that's important because palette knife work rewards speed of decision more than endless correction. If you're choosing a surface for a room-ready piece, compare how texture reads on different supports and look at this canvas wall art guide for practical display thinking.
Practical rule: If the paint feels loose before it reaches the canvas, it'll usually behave loosely on the canvas too.
A clean mixing surface, rags, and a sturdy support finish the kit. That may sound minimal, but minimal is often what keeps the workflow decisive. The fewer distractions around you, the easier it is to keep the paint fresh and the strokes intentional.
Mastering Core Palette Knife Techniques

The knife only starts to work when every movement has a purpose. A heavy load of paint is not enough on its own, because the result depends on how that paint is placed, lifted, dragged, and left alone. That is the core of impasto in oil painting with palette knife, thick paint handled with control, not just volume.
Loading the knife
Start by gathering a clean bead of paint along the blade, not burying the entire knife under it. The goal is a small ridge that transfers cleanly when the blade meets the surface. If you overload the first layer, later passages can suffer, with cracking, peeling, or paint that never settles into a stable skin.
The feel should be supple, not gloopy. A properly loaded knife lets you place color in one motion, then stop instead of revisiting the same spot over and over. That single habit makes the surface look better, because each extra pass can flatten the texture you just built. It also matters if you plan to finish the work for display or print, since a clean, raised mark photographs better than a surface that has been pushed around until it turns dull.
The flat drag
Use the flat drag when you want a broad block of color with a visible edge. Hold the blade at a slight angle so the paint transfers cleanly, then pull once and let the stroke end on its own. Knife painting starts to feel less like rubbing and more like placing tiles of color.
Pre-mix values before the knife touches the canvas. A useful tutorial workflow recommends having a wide range of values ready on the palette, so you can choose the right tone on the blade instead of overblending on the surface (YouTube tutorial on knife control and values). That keeps passages bright, dark, or mid-tone by choice. It also helps the image stay readable when it is turned into wall decor, since texture and value both need to hold up at a distance, as discussed in abstract wall art prints.
The edge and tip
The edge and tip are your detail tools. Use them for fine lines, small branches, sharp highlights, and crisp accents where the painting needs a focused note instead of a broad statement. You do not have to abandon the knife to get detail, you only change the contact point.
Palette knife work often surprises people. It is not only about large texture, it also works as a finishing tool for selective marks, especially in layered compositions where depth matters as much as surface drama. On a room-facing piece, that balance between texture and clarity keeps the image readable at viewing distance, and it also helps the painting reproduce more cleanly when it is photographed for print.
Scraping and sgraffito
Scraping lifts or thins paint, while sgraffito exposes lower layers through a drawn line. Both techniques help when the surface starts to feel too heavy. They let you recover light, suggest bark, grass, or ridges, and add visual rhythm without piling on more paint.
Overworking is the problem here. Experienced instructors warn that palette-knife paint turns muddy very quickly if you keep pushing it around, so the answer is usually a cleaner blade and a more deliberate stroke, not more blending (YouTube tutorial on avoiding muddy knife work).
Your First Painting A Simple Landscape Project

A simple natural setting is the best first project because it gives the knife a place to shine without forcing you to invent too many forms at once. Sky, distance, land, and foreground texture each want a different handling, and an outdoor scene lets you practice that variety in one painting. The key is to think in layers of space, not in isolated objects.
Prepare the composition
Start with a light sketch and decide where the horizon sits. Keep the shapes simple. Too many small landmarks at the beginning can choke the painting before the texture has room to breathe.
A clear composition also keeps you from crowding the surface, which is a real danger when using thick paint. The knife naturally encourages boldness, so the drawing stage should protect the painting from becoming visually cramped.
Lay in the distant forms first
Work from back to front. A professional palette-knife workflow recommends blocking in distant forms first, then building the midground and foreground, and leaving the most distinct details until the final stage (YouTube landscape workflow demonstration). That sequence gives you depth before ornament.
Start with the sky and horizon area using broad, calm strokes. Keep the marks simpler and flatter than the foreground, because the distance should feel less assertive. If the sky becomes too textured too early, the whole scene can lose atmospheric space.
Build the middle ground with restraint
Once the distance is in place, bring in hills, tree masses, water edges, or field shapes. Use the knife's flat and edge to vary the surface without turning every shape into a feature. At this stage, value matters more than outlines, because each new shape has to sit logically against what's already there.
Keep the middle ground quieter than you think it should be.
That advice helps because the knife can tempt you into overemphasizing every section equally. Such a scene reads better when some passages stay soft and subordinate, especially before the foreground arrives.
Add foreground texture and final accents
Foreground texture is where the painting gets its punch. Use thicker paint, sharper edges, and more contrast to suggest grasses, rocks, trunks, or flower heads. Then stop. The final accents should feel like punctuation, not a second composition laid over the first.
This is the stage where small details become believable because the earlier layers already established structure. A few sharper strokes can suggest more than a full description ever could. For a display-minded approach, it also helps to think ahead to how the finished piece will hang, and this guide to landscape wall art is useful for that mindset.
Avoiding and Fixing Common Mistakes
A lot of frustration starts when a painter keeps revisiting the same patch, hoping the knife will somehow rescue it. With palette knife work, that usually makes the surface duller, flatter, and less intentional. Texture responds best to clear decisions, not constant correction.
Muddy color and overworking
Muddy color usually comes from mixing too much on the canvas. Make the stroke, clean the blade, and leave the passage alone long enough for the eye to read it as fresh. Repeated blending turns colors gray and kills the clarity that gives knife painting its bite.
Preloading a useful range of values also helps. If the tone is already mixed on the palette, there is less temptation to keep scraping and reworking the same area on the painting. That keeps the surface from becoming muddled and worn.
Studio rule: If a passage starts looking soft in the wrong way, stop touching it.
Cracking, drying trouble, and paint that sits too heavy
Thick paint can look rich and alive, but it has to be placed with control. Knife painting guidance warns that loading the first layer too heavily can lead to cracking, peeling, or paint that does not dry as intended, so controlled layering is safer than dropping on one oversized mass.
Heavy texture still has to feel confident. Place the thicker ridges where they can support themselves, and let the earlier layers carry some of the structure. The surface should read as deliberate relief, not a pile of paint with no plan beneath it.
Detail work is possible, but it needs a smaller gesture
A common myth says knives only suit oversized expressive marks. That misses a lot of what the tool can do. The edge and tip can make accents, tight lines, and small corrections, especially when a highlight or contour needs to stay crisp instead of soft.
Choose the tool by the size of the mark. Use the face of the blade for broader movement, rotate to the edge for a sharper note, and bring in a brush when the passage needs more precision than the knife can comfortably give. That keeps the painting readable, and it also helps when you are preparing work for display or print, because the strongest texture is the texture that still holds up in a photograph and on the wall. For hanging decisions, this guide to how to hang wall art is a practical place to start.
Finishing and Showcasing Your Textured Artwork

A knife painting doesn't end when the last stroke lands. The surface still has to dry, settle, and be presented in a way that respects its physical height. If you rush that part, the texture can look awkward, and the color can lose the presence that made the piece worth painting in the first place.
Drying, protection, and presentation
Thick oil layers need time, and the heavier the paint, the more carefully you should handle it before finishing or framing. Once the surface is ready, varnish can help protect the work and unify the appearance of the paint, but it should be applied with respect for the peaks and ridges so you don't flatten the very texture you worked to build. That care matters even more when the painting will be viewed as wall decor.
Framing choices should support the relief instead of hiding it. A floater-style frame often suits textured work because it gives the painting breathing room at the edge. If you're placing the piece in a room with other decorative elements, this guide to finishing your living room decor is a useful way to think about how art sits within a larger interior.
Photographing texture so it still reads online
Good photography is where many textured paintings lose their power. Front-on, flat lighting can erase the ridges, while harsh glare can make the paint look uneven or shiny in the wrong places. Angled light usually works better because it lets the raised strokes cast tiny shadows and show their structure.
Use a stable camera position and keep the lens square to the painting so the geometry stays clean. Then move your light source, not the artwork, until the surface shows depth without reflective washout. If you plan to hang the piece later, the same eye for placement applies, and this how-to on hanging wall art helps connect the studio decision to the finished room.
Preparing for print or display
Not every textured painting reproduces equally well, so take your reference photos after the work is dry enough to hold its form, but before the room lighting changes the surface too much. Capture one clean image for structure, then a second angled one if the texture is important to the piece's identity.
That approach helps buyers and viewers understand what the painting really offers. The surface isn't just color, it's part of the design. When you treat it that way, the artwork reads more accurately in print, on screen, and on the wall.
A CTA for Printano is simple, explore textured art and wall décor with a sharper eye for surface, color, and scale, then choose pieces that feel as dimensional in your room as the best palette knife paintings do on canvas.